Facebook Tips & Strategies

How to Make a Food Page on Facebook

By Spencer Lanoue
October 31, 2025

Ready to get your delicious food in front of more people? Creating a Facebook Page is one of the best ways to build a community of loyal fans who crave your culinary creations. This guide will walk you through setting up your page, crafting content that makes people hungry, and strategies to grow your audience from scratch. We’ll cover everything from the initial clicks to building a long-term content plan.

Step 1: The Technical Setup (The 5-Minute Foundation)

First things first, let’s get the page built. This part is straightforward and will only take a few minutes. Don't overthink it, you can always edit these details later.

Go to the Page Creation Hub

Log in to your personal Facebook profile. On the left-hand menu, click "See more" and then find and click on "Pages." On the next screen, you'll see a button that says "+ Create new Page." This is where you begin.

Fill In the Essential Information

Facebook will now ask for three core pieces of information:

  • Page name: This should be the name of your restaurant, food blog, catering business, or brand. Keep it simple and recognizable. For example, "Big Mike's BBQ" or "Sarah's Vegan Kitchen."
  • Category: This helps Facebook understand what your page is about and show it to the right people. Start typing terms that fit your business, and options will appear. Good choices include "Restaurant," "Food & Beverage," "Bakery," "Caterer," or "Food Blogger." You can pick up to three.
  • Bio: This is your short and sweet elevator pitch. In just a few sentences, tell people what you do. Something like, "Serving authentic Southern-style barbecue in the heart of downtown" or "Sharing simple and delicious plant-based recipes for a healthier you."

Once you’ve filled these in, click the "Create Page" button. Congratulations, your page technically exists! Now, let's make it look good.

Step 2: Dressing Up Your Page for Success

An empty Facebook Page looks sad and untrustworthy. This next step is all about adding your branding and key information to make a great first impression. Food is incredibly visual, so spend a little extra time here.

Your Profile Picture: The Face of Your Brand

Your profile picture is the little circle icon that appears next to all of your posts and comments. It's your most frequent brand impression, so make it count.

  • For Restaurants & Food Businesses: Your logo is usually the best choice. Make sure it's clear, high-resolution, and easily readable even when it’s small.
  • For Bloggers & Personal Brands: A high-quality headshot can work well, or a logo if you have one. If you use a photo of yourself, make sure it's bright and professional.
  • The Alternative: A Hero Dish. Don’t have a logo? A stunning, well-lit photo of your absolute best-selling, most iconic dish can also be a fantastic profile picture. Think of a perfect burger, a gorgeous slice of cake, or a vibrant salad.

Your Cover Photo: The Grand Welcome Banner

The cover photo is the large banner image at the top of your page. This is your chance to show off your brand's personality and highlight what you're all about.

  • A Mouth-Watering Food Spread: A beautiful, high-quality photograph of several of your best dishes is always a winner.
  • Your Restaurant’s Ambiance: Show people what it’s like to be there. A photo of your dining room, patio, or kitchen in action can be very effective.
  • A Short Video: Facebook cover photos can also be videos! A short, looping clip of someone making a dish, pouring a drink, or showing off a sizzling plate of food is incredibly eye-catching.
  • Highlighting Specials or Events: You can use this space to promote a current special, a happy hour, or an upcoming event. Just remember to update it when the promotion is over.

Completing Your 'About' Section

On the left side of your Page, you'll find options to "Edit details." Fill out every section you can. People come to your page for information, so make it easy for them. Prioritize these:

  • Website: Link directly to your website.
  • Phone Number: Make it easy for people to call for reservations or orders.
  • Email Address: Provide another way for people to contact you.
  • Location: For a physical business, this is non-negotiable. It allows people to check in and see you on a map.
  • Hours of Operation: Keep these updated, especially for holidays.
  • Call-to-Action (CTA) Button: Customize the button at the top of your page. Options include "Order Now," "Book Now," "Call Now," or "See Menu." Choose the one that aligns with your primary business goal.

Step 3: Creating Content That Connects (and Converts)

Your page is set up and looks great. Now comes the most important part: what do you actually post? Your content plan should be a mix of posts designed to tempt the taste buds, build community, and drive business.

The Essentials: High-Quality Photos and Videos

This is the bedrock of any food page. Blurry, dark, or unappetizing photos won't work. You don't need a professional photographer for every post, but you do need to understand the basics of good food photography.

  • Use Natural Light: Find a spot near a window. Natural light is almost always more flattering for food than indoor lighting or a harsh flash.
  • Focus on the Details: Get close-ups of gooey cheese pulls, flaky crusts, or perfect grill marks. Let the food be the hero.
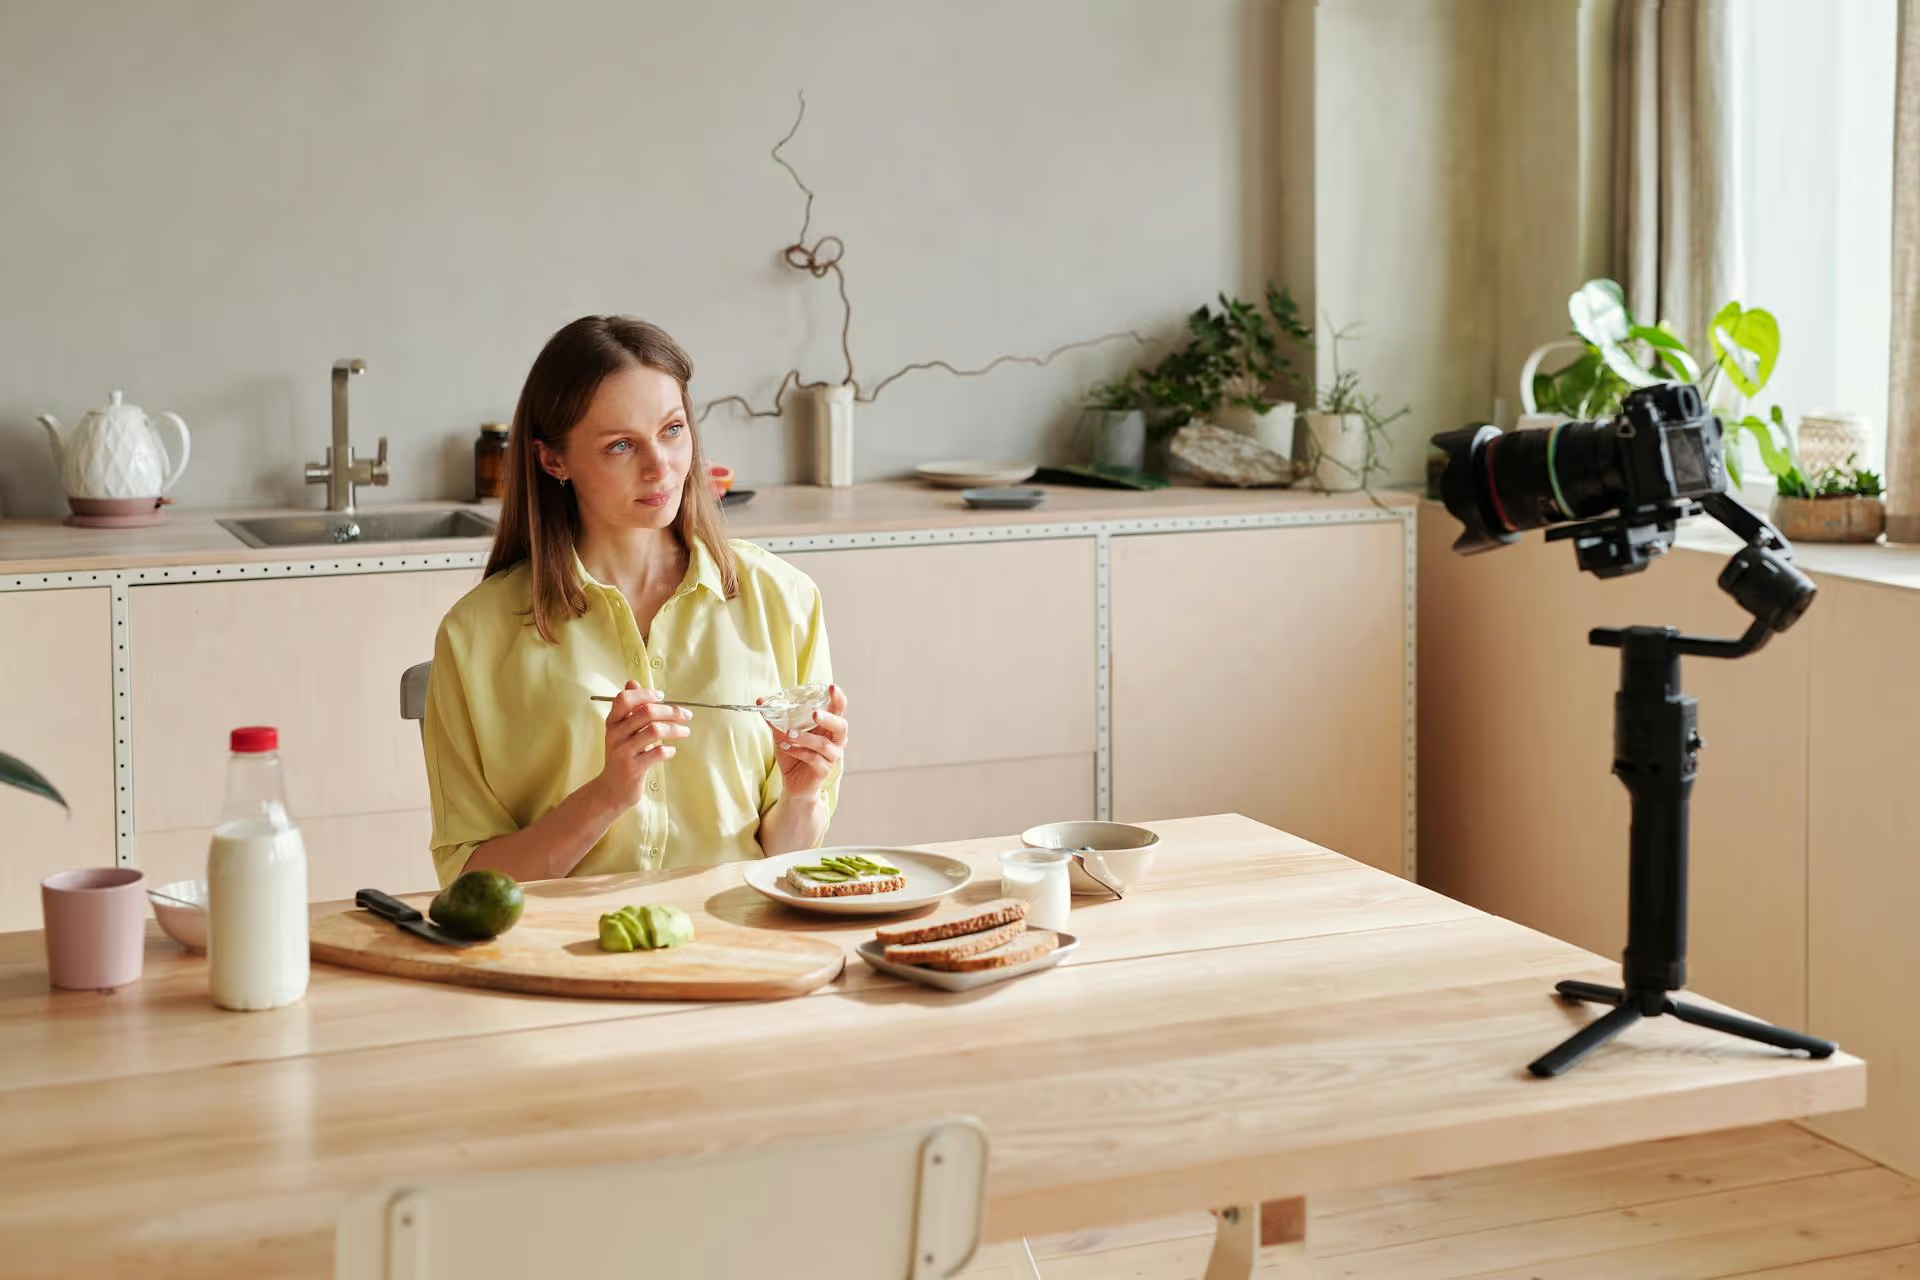
  • Short-Form Video is King: Post short videos (Reels) showing your food being made, plated, or enjoyed. Think time-lapses of a pizza baking, a slow-motion pour of syrup on pancakes, or a quick tour of your daily specials. Video consistently gets more engagement than static photos.

Showcase What Your Customers Love

Don't just post pictures of your food, tell stories about it. Why is a certain dish so popular? What's the history behind the recipe?

  • Menu Item Spotlights: Dedicate entire posts to a single menu item. Share a great photo, describe its ingredients and flavors, and share a story about it.
  • Behind-the-Scenes Action: People love seeing how the sausage gets made - literally. Show your team cooking in the kitchen, prepping ingredients, or even just having fun at work. It humanizes your brand.

Generate Engagement with Your Community

Your Facebook Page shouldn't be a one-way street. The goal is to get people talking.

  • Ask Open-Ended Questions: Post a picture of a burger and ask, "What are your must-have burger toppings?" Or show a dessert and ask, "Sweet or savory... which one are you?"
  • Run Polls: Use Facebook's poll feature to ask simple A-or-B questions. "Tacos or Burritos for dinner tonight?"
  • Feature User-Generated Content (UGC): When customers post great photos of your food and tag your page, ask for permission to re-share their post. It’s authentic, free content that acts as a powerful testimonial.

Provide Value Beyond Your Menu

Build trust and become a resource for your followers by sharing helpful content.

  • Share Quick Recipes or Tips: A simple recipe for a signature cocktail, a dipping sauce, or a kitchen tip can perform very well.
  • Promotions and Giveaways: Everyone loves a deal. Run contests like "Tag a friend you'd share this pizza with for a chance to win a free pie!" to rapidly increase your reach and engagement.

Step 4: Growing Your Audience from the Ground Up

You have a great-looking page and a plan for content. Now, how do you get followers?

Start with Your Inner Circle

On your page, there's a feature to "Invite Friends." Go ahead and invite your personal Facebook friends who you think would be interested in your page. This gives you an initial audience base to build from.

Promote Your Page Everywhere

Your online and offline worlds should connect. Mention your Facebook page in your physical location and on your other digital properties.

  • In-Store Signage: Put a "Follow us on Facebook" sticker on your door, menu, or at the register. Add a QR code that links directly to your page.
  • Your Website: Add a social media icon that links to your Facebook page in your website's header or footer.
  • Other Social Media: Include a link to your Facebook page in your Instagram, TikTok, or X bio. Cross-promote your best content across platforms.

Engage with Your Local Community

Become an active participant in your local digital community. This doesn't mean spamming your link everywhere. It means engaging authentically.

  • Join and Interact in Local Groups: Many towns and neighborhoods have community Facebook Groups. Participate in conversations, answer questions, and - when appropriate - share information about your business. Just be sure to check the group's rules on self-promotion.
  • Collaborate with Other Businesses: Partner with a non-competing local business for a giveaway. For example, a restaurant could partner with a nearby dessert shop for a "dinner and dessert" prize package.

Step 5: Master Community Management

Building a follower count is just the start. The real value comes from nurturing an engaged community. This means being responsive and fostering a positive environment.

Respond to Everything

When someone takes the time to leave a comment on your post or send you a message, respond to them. Aim to reply within a few hours. Acknowledging comments, even with a simple "Thanks!" or a like, shows you’re listening and encourages more people to participate in the future.

Manage Your Reviews and Feedback

Facebook Pages have a section for reviews. This is valuable social proof, and you should actively manage it.

  • For Positive Reviews: Thank the user personally for their kind words. It shows you appreciate their business.
  • For Negative Reviews: This is an opportunity, not a disaster. Respond publicly and professionally. Apologize that they had a bad experience, thank them for their feedback, and invite them to discuss the issue further offline via a private message or a phone call. An effective response can turn a negative into a positive for anyone else reading.

Final Thoughts

Creating a successful food page on Facebook is about more than just setting up a profile. It’s a blend of stunning visuals, a consistent content strategy, genuine community engagement, and promoting your page both online and off. By following these steps, you can build a vibrant hub for your brand that attracts new customers and keeps your current ones coming back for more.

Once you are creating all this great content - photos, Reels, promotions - managing the scheduling and engagement can feel like a full-time job. I've found that having a central place to plan our content on a visual calendar makes a huge difference. With a tool like Postbase, we can schedule our videos and photos across multiple platforms at once, respond to all our comments from one inbox, and see which dishes are getting the most love with simple analytics. It helps us stay organized and focus on what’s important: connecting with our community over amazing food.

Spencer's spent a decade building products at companies like Buffer, UserTesting, and Bump Health. He's spent years in the weeds of social media management—scheduling posts, analyzing performance, coordinating teams. At Postbase, he's building tools to automate the busywork so you can focus on creating great content.

Other posts you might like

How to Add Social Media Icons to an Email Signature

Enhance your email signature by adding social media icons. Discover step-by-step instructions to turn every email into a powerful marketing tool.
Read more

How to Add an Etsy Link to Pinterest

Learn how to add your Etsy link to Pinterest and drive traffic to your shop. Discover strategies to create converting pins and turn browsers into customers.

Read more

How to Grant Access to Facebook Business Manager

Grant access to your Facebook Business Manager securely. Follow our step-by-step guide to add users and assign permissions without sharing your password.

Read more

How to Record Audio for Instagram Reels

Record clear audio for Instagram Reels with this guide. Learn actionable steps to create professional-sounding audio, using just your phone or upgraded gear.

Read more

How to Add Translation in an Instagram Post

Add translations to Instagram posts and connect globally. Learn manual techniques and discover Instagram's automatic translation features in this guide.

Read more

How to Optimize Facebook for Business

Optimize your Facebook Business Page for growth and sales with strategic tweaks. Learn to engage your community, create captivating content, and refine strategies.

Read more

Stop wrestling with outdated social media tools

Wrestling with social media? It doesn’t have to be this hard. Plan your content, schedule posts, respond to comments, and analyze performance — all in one simple, easy-to-use tool.

Schedule your first post
The simplest way to manage your social media
Rating