

How to Add Social Media Icons to an Email Signature
Enhance your email signature by adding social media icons. Discover step-by-step instructions to turn every email into a powerful marketing tool.
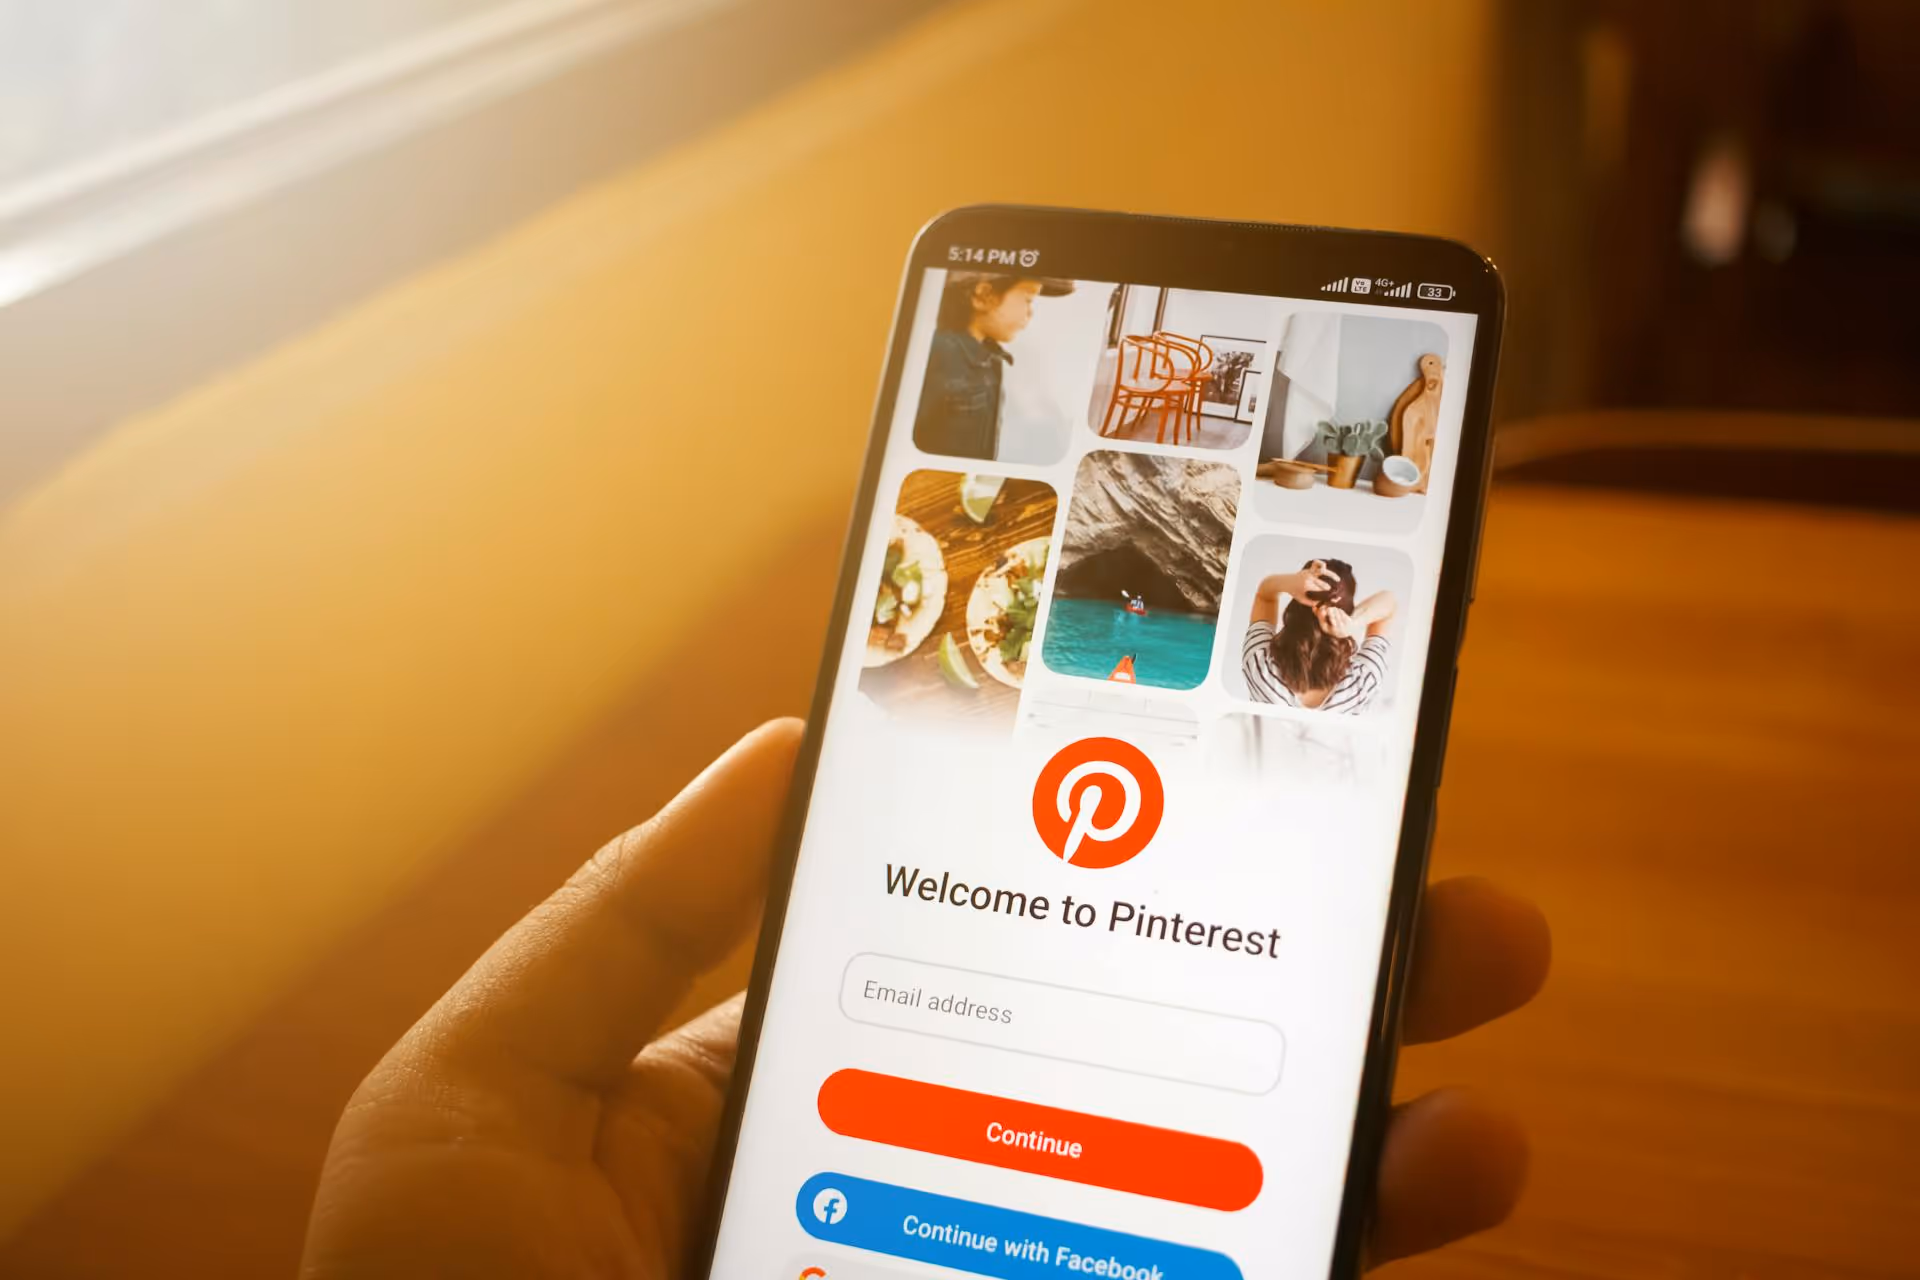
Pinterest is far more than a digital scrapbook for recipes and wedding inspiration, it’s a powerful visual search engine capable of driving a steady stream of traffic directly to your blog. If you’ve been overlooking it, you’re missing out on an audience actively searching for the exact solutions your content provides. This guide breaks down exactly how to set up your profile for success, create Pins that get clicked, and develop a sustainable strategy to turn Pinterest into your top traffic referrer.
Unlike other platforms where content disappears in a feed within hours, Pinterest operates on a much longer timeline. A single Pin can continue to gain traction and send visitors to your blog for months, or even years, after you’ve published it. This is because Pinterest isn't about what's happening now, it’s about what people are planning for the future. Users - or "Pinners" as they're called - are actively looking for ideas, products, and information to help them achieve a goal. When your blog post provides the answer they’re searching for, they don't just see your content - they click, save, and visit your site, making them some of the highest-intent traffic you can find.
Before you create a single Pin, you need to lay a proper foundation. An optimized profile tells Pinterest and its users who you are, what you offer, and why they should follow you. Think of your profile as the front door to your blog’s content.
If you have a personal account, the first thing you need to do is convert it to a free Business account. If you're starting from scratch, just sign up for a Business account directly. This step is not optional. A Business account unlocks essential features like Pinterest Analytics, Rich Pins, and the ability to run ads if you choose to do so later. Analytics alone is worth the two minutes it takes to switch, as it gives you vital data on what’s working.
Every part of your profile is an opportunity to attract your ideal reader. Here’s how to optimize it:
Rich Pins automatically sync information from your website to your Pins. When you save a Pin from a blog post, it will pull the headline, meta description, and author directly into the Pin, giving it more context and a more professional look. There are different types of Rich Pins (product, recipe, article), and once you've validated them for your site, the feature will apply to all content shared from your domain. This simple feature makes your Pins more useful and clickable.
Great Pins are a mix of strategic design and compelling copy. Your goal is to create something that stops the scroll and makes a user think, "That's exactly what I was looking for."
You don't need to be a graphic designer to create beautiful Pins. Tools like Canva offer thousands of ready-made Pinterest templates. Just keep these principles in mind:
Every blog post you write should be a source for multiple Pins. Don't just make one Pin and call it a day.
Pinterest is, at its heart, a search engine. That means keywords are everything. Using the right keywords tells the Pinterest algorithm what your content is about, which helps it show your Pins to users who are actively searching for those topics.
Finding keywords on Pinterest is surprisingly straightforward. One of the best methods is to simply use the search bar. Type in a broad topic from your niche (e.g., "living room decor"). Pinterest’s autocomplete will show you what people are searching for related to that term. Once you hit enter, you'll see a row of colorful bubbles with related keywords. These are SEO gold. Click on them to drill down even further and discover long-tail keywords your audience is using.
Once you have a list of keywords, you need to place them in all the right spots:
Seeing results from Pinterest requires a consistent effort. The algorithm favors creators who are actively adding new, helpful content to the platform.
Consistency is more important than volume. The consensus among Pinterest experts is that what matters most is publishing fresh Pins regularly. "Fresh" simply means a new Pin image/video with a new title or description that hasn't been seen on the platform before - even if it links to an old blog post. This is great news for bloggers because you can continuously create new Pins for your existing archives. Aiming for 5–10 fresh Pins per day is a great goal to drive steady growth.
Pinning fresh content every day sounds like a full-time job, which is why scheduling is a non-negotiable part of any winning Pinterest strategy. Scheduling tools allow you to batch create dozens of Pins at once and schedule them to be posted to various boards over the coming days and weeks. This frees you up from the daily grind and ensures your account stays active even when you're not.
You can't improve what you don't measure. Diving into your Pinterest Business Analytics will give you the feedback you need to refine your strategy.
While metrics like impressions and saves are nice, one metric reigns supreme for bloggers:
By checking your analytics frequently, you can identify which of your content pillars, Pin designs, and headline styles are generating the most traffic. Then, you can double down on what works and create more content that resonates with the Pinterest audience.
There's no doubt that using Pinterest to promote your blog is a smart strategy that yields long-term results. By optimizing your profile, consistently creating valuable, keyword-rich Pins, and analyzing your performance, you can turn the platform into a reliable source of traffic that works for you around the clock.
To help you stay consistent and manage all your content in one spot - from Pinterest Pins to TikTok videos - we designed Postbase with a visual calendar that lets you plan weeks ahead. You can schedule content across all your social platforms, which lets you focus more on creating the amazing blog posts and videos that drive traffic back to your site.
Spencer's spent a decade building products at companies like Buffer, UserTesting, and Bump Health. He's spent years in the weeds of social media management—scheduling posts, analyzing performance, coordinating teams. At Postbase, he's building tools to automate the busywork so you can focus on creating great content.

Enhance your email signature by adding social media icons. Discover step-by-step instructions to turn every email into a powerful marketing tool.
Record clear audio for Instagram Reels with this guide. Learn actionable steps to create professional-sounding audio, using just your phone or upgraded gear.
Check your Instagram profile interactions to see what your audience loves. Discover where to find these insights and use them to make smarter content decisions.
Requesting an Instagram username? Learn strategies from trademark claims to negotiation for securing your ideal handle. Get the steps to boost your brand today!
Attract your ideal audience on Instagram with our guide. Discover steps to define, find, and engage followers who buy and believe in your brand.
Activate Instagram Insights to boost your content strategy. Learn how to turn it on, what to analyze, and use data to grow your account effectively.
Wrestling with social media? It doesn’t have to be this hard. Plan your content, schedule posts, respond to comments, and analyze performance — all in one simple, easy-to-use tool.

