

How to Add Social Media Icons to an Email Signature
Enhance your email signature by adding social media icons. Discover step-by-step instructions to turn every email into a powerful marketing tool.
Facebook Stars give your dedicated fans a way to show support and provide you with a means to earn money doing what you love. This guide breaks down exactly how to check your eligibility, get Stars set up on your account, and start using them to engage your community and monetize your content. We'll cover the step-by-step process for getting your payment info in order and share some practical tips for encouraging your audience to use them.
Think of Facebook Stars as a virtual tip jar. They are a digital good that your followers can buy and send to you during your live videos, on-demand videos, Reels, and even text and photo posts. When someone sends you Stars, you earn a portion of the revenue from those Stars.
For your audience, it’s a simple way to give a little something back, show appreciation for your content, and stand out in the comments section with an animated message. For you, the creator, it’s a built-in monetization feature that allows you to earn money directly from the community you’ve built. Each Star you receive is worth $0.01 USD. While that might not sound like a lot individually, it can add up significantly, especially during a high-energy live stream or on a Reel that really connects with people.
Before you get started, you need to make sure your Page or profile meets Meta's eligibility requirements. These rules are in place to maintain a standard of quality and authenticity for monetized content on the platform. The requirements can change, but they generally fall into three main categories.
This is the big one. Your Page and the content on it must comply with Facebook’s rules. This means following their Community Standards (the basic rules of what's allowed on Facebook), Partner Monetization Policies (rules specifically for creators earning money), and Content Monetization Policies (rules about the kind of content that can be monetized). Essentially, you need to be creating original, authentic content and be a responsible community member on the platform.
Facebook wants to see that you have an established and engaged audience. The most common requirement to unlock Stars is:
This requirement used to be higher (1,000 followers for 60 days), but Meta has made it more accessible for growing creators. This helps confirm that you have a consistent and loyal following interested in your work.
You also need to live in a country where Facebook Stars are currently available. The list of eligible countries is quite long and constantly expanding, covering most of North America, Europe, parts of Asia, and Latin America. If you try to set up Stars and don't see the option, it’s worth double-checking if your country is on the eligible list.
Wondering if you meet the requirements? Facebook doesn't make you guess. You can check your eligibility directly through the Meta Business Suite or Creator Studio.
Here’s how to do it:
This dashboard is your single source of truth for all things monetization, so it's a good place to get familiar with.
Once you’ve confirmed your eligibility, you're ready to get Stars activated. The process mainly involves agreeing to the terms and, most importantly, setting up your payment account so Facebook knows where to send your earnings. Let's walk through it.
From the Monetization tab in Meta Business Suite, find the Stars tool and click the Set Up button. This will start the onboarding flow.
The first screen you'll see is the Terms & Conditions for the Stars program. You’ll need to review these and agree to them to proceed. This is the legal agreement between you and Meta covering how you'll use the feature and how you’ll get paid.
This is the most detailed part of the process, but just take it one step at a time. Facebook needs this information to pay you and handle tax reporting. If you've already set up another monetization tool, you may be able to use an existing payout account.
If this is your first time, you'll need to create a new one. Here's what you'll need to provide:
Once you've entered all your information, you'll have a chance to review everything for accuracy. If it all looks correct, submit your application. It often gets approved quickly, sometimes even instantly. You’ll receive a notification when Stars are officially active on your Page, and you can start earning!
Just turning Stars on isn't enough - you also need to incorporate them into your content strategy genuinely. Your goal is to make it easy and appealing for your audience to participate without sounding pushy or desperate. Here are some proven best practices.
Your followers can't support you if they don't know they can! Create a simple post or story letting your community know that you've turned on Stars. You could say something like, "Exciting news! You can now support my work directly by sending Stars during my live videos and on my Reels. I appreciate every single one of you!"
This is one of the most effective tools at your disposal. During a live stream, you can set a visible Star goal on your broadcast. Instead of a vague request, this gives your community something specific to rally behind. Make the goal meaningful!
Goals create a sense of teamwork and give a tangible outcome for the support, making people much more likely to contribute.
When you're live, always keep an eye on your Stars alerts. When someone sends you Stars, give them a personal shout-out. Just a simple, "Hey, thank you so much, Sarah, for the 100 Stars! I really appreciate it," makes the sender feel seen and valued. This simple act of gratitude encourages others to join in.
During a live stream, people will be coming and going. Pin a comment to the top of the chat that explains what Stars do and how people can send them. A good pinned comment could be: "Thanks for tuning in! You can support the stream by tapping the Star icon next to the comment box. Every Star helps!"
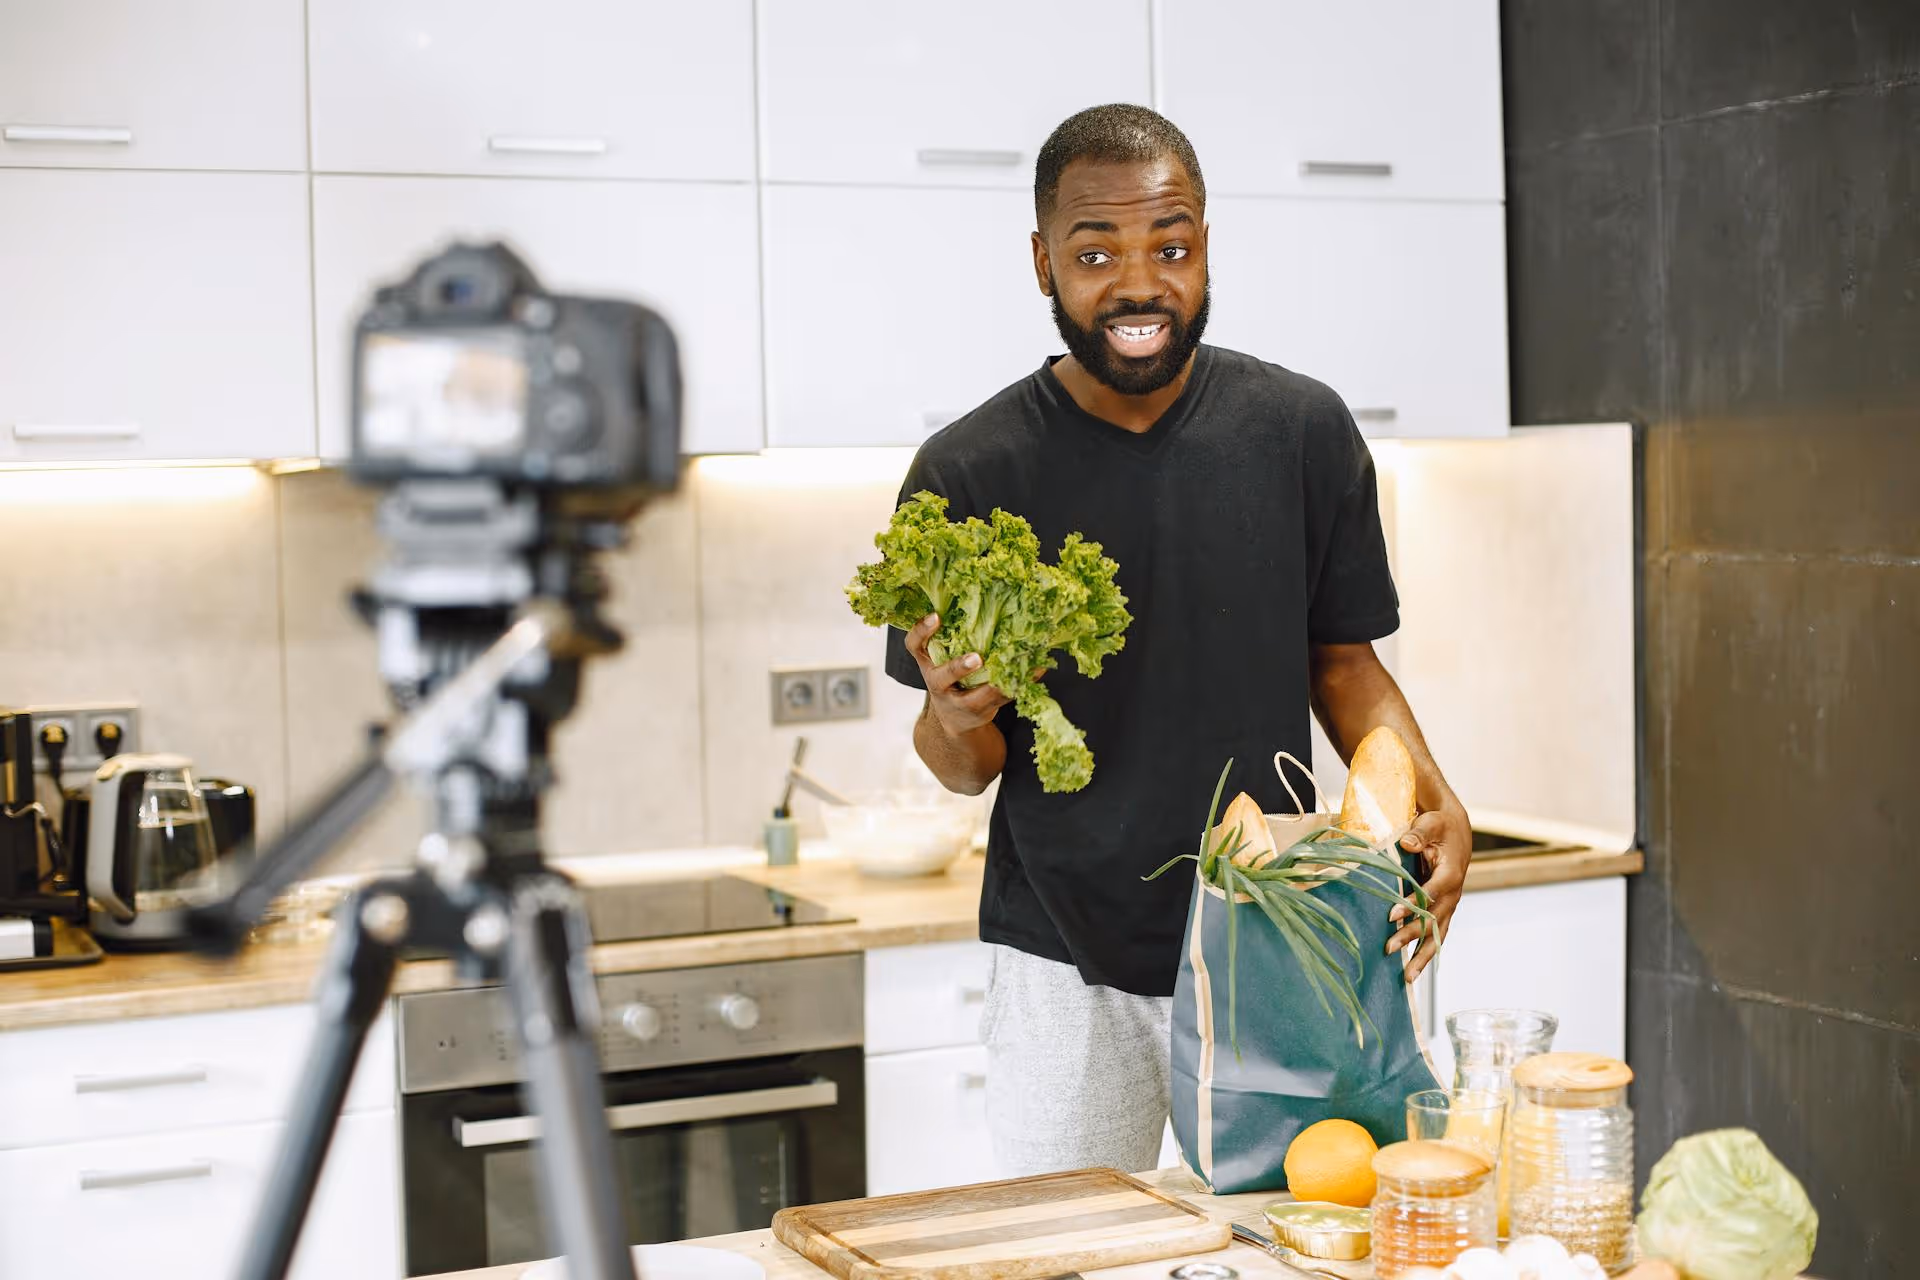
Ultimately, people send Stars because they get value from what you create. Focus on producing high-quality, entertaining, and engaging content. Whether it’s an incredibly helpful tutorial, a hilarious Reel, or an authentic, heartfelt live stream, your best content will always be your best monetization tool. If people love what you’re doing, they will be naturally inclined to support you.
Setting up Facebook Stars is a direct way to turn your passion into a revenue stream while building a stronger connection with your most engaged followers. By completing the setup process and strategically integrating Stars into your content, you open up a new avenue for support that goes beyond likes and shares.
Creating consistent content that earns that level of support is much easier when you're organized. At Postbase, we built our platform specifically for creators like you who need a simple, reliable way to plan and schedule content across all platforms - especially for video formats like Reels and stories that perform so well with Stars. So while you focus on connecting with your community during your next live stream, you can have confidence that the rest of your content calendar is already taken care of.
Spencer's spent a decade building products at companies like Buffer, UserTesting, and Bump Health. He's spent years in the weeds of social media management—scheduling posts, analyzing performance, coordinating teams. At Postbase, he's building tools to automate the busywork so you can focus on creating great content.

Enhance your email signature by adding social media icons. Discover step-by-step instructions to turn every email into a powerful marketing tool.
Record clear audio for Instagram Reels with this guide. Learn actionable steps to create professional-sounding audio, using just your phone or upgraded gear.
Check your Instagram profile interactions to see what your audience loves. Discover where to find these insights and use them to make smarter content decisions.
Requesting an Instagram username? Learn strategies from trademark claims to negotiation for securing your ideal handle. Get the steps to boost your brand today!
Attract your ideal audience on Instagram with our guide. Discover steps to define, find, and engage followers who buy and believe in your brand.
Activate Instagram Insights to boost your content strategy. Learn how to turn it on, what to analyze, and use data to grow your account effectively.
Wrestling with social media? It doesn’t have to be this hard. Plan your content, schedule posts, respond to comments, and analyze performance — all in one simple, easy-to-use tool.

