

How to Add Social Media Icons to an Email Signature
Enhance your email signature by adding social media icons. Discover step-by-step instructions to turn every email into a powerful marketing tool.
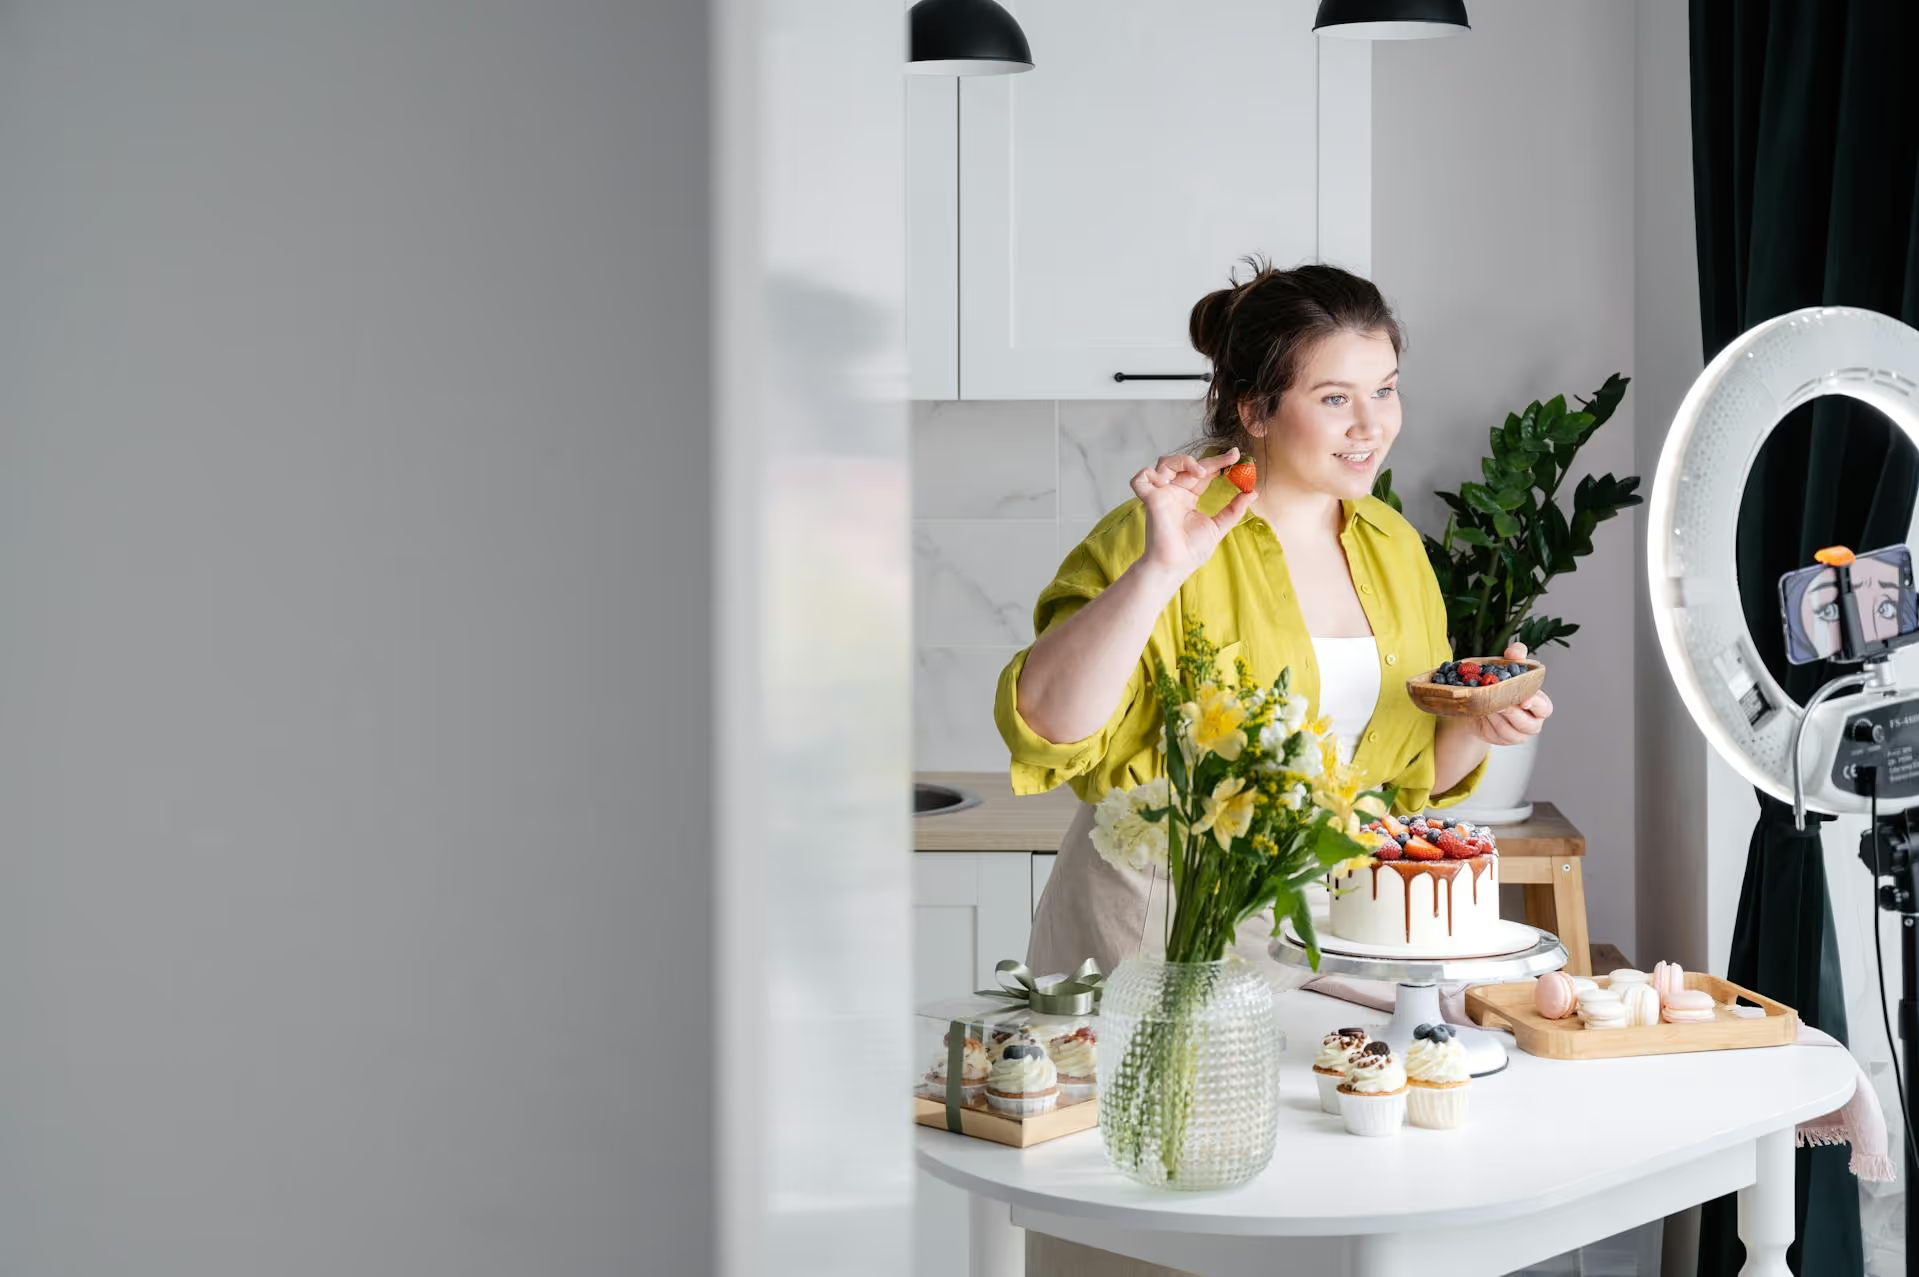
Scheduling your TikTok videos ahead of time is one of the biggest steps you can take from being a casual creator to a strategic one. It allows you to post consistently, save hours of time, and hit the perfect upload window every time without being tied to your phone. This guide breaks down exactly how to schedule videos using TikTok's native tool and explains when it makes sense to use a third-party platform for even more power.
If you're still uploading every video in real time, you're likely feeling the pressure of the content treadmill. Scheduling isn't just a "nice-to-have" feature, it's a fundamental part of a sustainable content strategy that helps you stay sane and grow your account. Here’s why it’s so effective.
The TikTok algorithm rewards accounts that post on a regular, predictable basis. But life gets in the way. Some days you're bursting with ideas, and other days you're too busy or uninspired to create. Scheduling allows you to decouple the creation process from the publishing process. You can batch-create your content when you're feeling creative and then schedule it to go live over the next week or two, creating a reliable content pipeline that keeps your audience engaged even on your busiest days.
Think about the time it takes to upload a single TikTok: you have to find the video file, write a clever caption, research relevant hashtags, pick a cover, and check all the settings before hitting post. Doing this daily adds up. By scheduling, you can set aside a single block of time - say, an hour every Sunday - to upload and prep all your videos for the entire week. This "batching" approach is far more efficient than the fragmented, on-the-fly method, freeing up mental energy and hours of your time.
Posting when your followers are most active can dramatically impact your video's initial velocity - the speed at which it picks up views and engagement. This early traction signals to the algorithm that your content is worth pushing to a wider audience on the For You Page. But what if your audience's peak time is 9 PM on a Friday when you're out with friends? Scheduling solves this. You can analyze your audience data, pinpoint your optimal posting times, and schedule your videos to go live at those exact moments, maximizing your reach without sacrificing your personal schedule.
TikTok has its own built-in scheduler, which is a great starting point for many creators. It’s free, simple to use, and gets the job done for basic planning. However, there's a catch: you can only access the video scheduler from a desktop web browser, not the mobile app. You'll also need to have a Business or a Creator Account to see the feature. (You can switch your account type for free in your settings: Settings and privacy >, Account >, Switch to Business Account).
Here’s the step-by-step process:
Open your preferred web browser (like Chrome, Safari, or Firefox) and navigate to tiktok.com. Log in to the account you want to schedule a video for. Once you're in, look for the Upload icon in the top right corner of the screen - it looks like a cloud with an upward-pointing arrow.
After clicking Upload, you'll be taken to the upload studio. This is where you prepare your video for posting. Drag and drop your edited video file into the upload frame, or click "Select file" to browse for it on your computer. Your video should be in a vertical format (9:16 aspect ratio) for the best viewing experience.
Once your video has finished processing, you can fill out all the details.
Before you schedule, decide who can see your video (Public, Friends, or Private) and what users are allowed to do with it. You can toggle options for Comments, Duet, and Stitch on or off. It's also a good idea to run the copyright check to make sure the audio you've used won't get your video muted.
This is the final and most important step. Below the other settings, you’ll find a toggle labeled Schedule video. Click it to turn it green.
Once enabled, two dropdowns will appear: one for the date and one for the time.
Double-check everything - your caption, cover, settings, and scheduled time. When you’re confident it’s ready, hit the red Schedule button. That's it! Your video is now queued up and will automatically post at your selected time. You can see and manage your scheduled posts in your profile's draft folder from your desktop.
While TikTok’s native scheduler is useful, it has clear limitations. The 10-day scheduling window and the desktop-only access can be restrictive for serious creators, brands, and social media managers juggling multiple platforms. This is where dedicated social media scheduling tools come in.
Tools designed for modern social media are built to handle the complexities that TikTok’s scheduler doesn’t. You can often manage TikTok, Instagram Reels, and YouTube Shorts all from one beautiful visual calendar, scheduling content weeks or even months ahead. These tools also provide deeper analytics and centralized comment moderation, saving you even more time.
Not all scheduling tools are created equal, especially when it comes to video. Many older platforms were built for Facebook text posts and bolted on video support as an afterthought. Here’s what matters in 2024 and beyond:
Simply knowing how to schedule is only half the battle. Using it strategically is what truly fuels growth. Here are some best practices to incorporate into your workflow.
Don't guess when your audience is online - find out for sure. TikTok provides this data directly within its analytics suite. Here’s how to find it:
Use this data to inform your scheduling. If your audience peaks at 8 PM on Tuesdays and Thursdays, make sure your best content is scheduled to go live at those times to get an initial surge of engagement.
Content batching is the secret weapon of prolific creators. Instead of trying to come up with, film, and edit a new video every single day, you do it all in focused blocks. Your workflow might look something like this:
Now, you have a full week's worth of content ready to go. Simply drop them into your scheduler, pick your optimal times, and you're set. This method reduces creative friction and gives you back mental space to focus on strategy and community engagement.
Scheduling is about creating a consistent foundation of content, not a rigid, unchangeable plan. TikTok moves fast, and jumping on a trending sound, meme, or challenge quickly can give your account a massive visibility boost. Leave one or two open slots in your weekly schedule to accommodate a timely, trend-based video. This "planned spontaneity" gives you the best of both worlds: the consistency of a planned calendar and the agility to participate in real-time conversations.
Scheduling your TikTok videos frees you from the daily grind of manual posting, enabling a more strategic and consistent approach to content. Whether you use TikTok's desktop tool for simple planning or a more robust platform to manage all your social channels at once, making scheduling a part of your workflow is a powerful step toward sustainable growth.
It's frustrating when you're managing TikTok, Reels, AND YouTube Shorts, but your social media tool feels like it was designed a decade ago. That's why we built Postbase from the ground up for today's video-first world. We believe that you should be able to upload a video once and schedule it everywhere from a single, beautiful calendar, and that your posts should actually go live when you schedule them, every time.
Spencer's spent a decade building products at companies like Buffer, UserTesting, and Bump Health. He's spent years in the weeds of social media management—scheduling posts, analyzing performance, coordinating teams. At Postbase, he's building tools to automate the busywork so you can focus on creating great content.

Enhance your email signature by adding social media icons. Discover step-by-step instructions to turn every email into a powerful marketing tool.
Record clear audio for Instagram Reels with this guide. Learn actionable steps to create professional-sounding audio, using just your phone or upgraded gear.
Check your Instagram profile interactions to see what your audience loves. Discover where to find these insights and use them to make smarter content decisions.
Requesting an Instagram username? Learn strategies from trademark claims to negotiation for securing your ideal handle. Get the steps to boost your brand today!
Attract your ideal audience on Instagram with our guide. Discover steps to define, find, and engage followers who buy and believe in your brand.
Activate Instagram Insights to boost your content strategy. Learn how to turn it on, what to analyze, and use data to grow your account effectively.
Wrestling with social media? It doesn’t have to be this hard. Plan your content, schedule posts, respond to comments, and analyze performance — all in one simple, easy-to-use tool.

