Youtube Tips & Strategies

How to Remix YouTube Shorts on iPad

By Spencer Lanoue
October 31, 2025

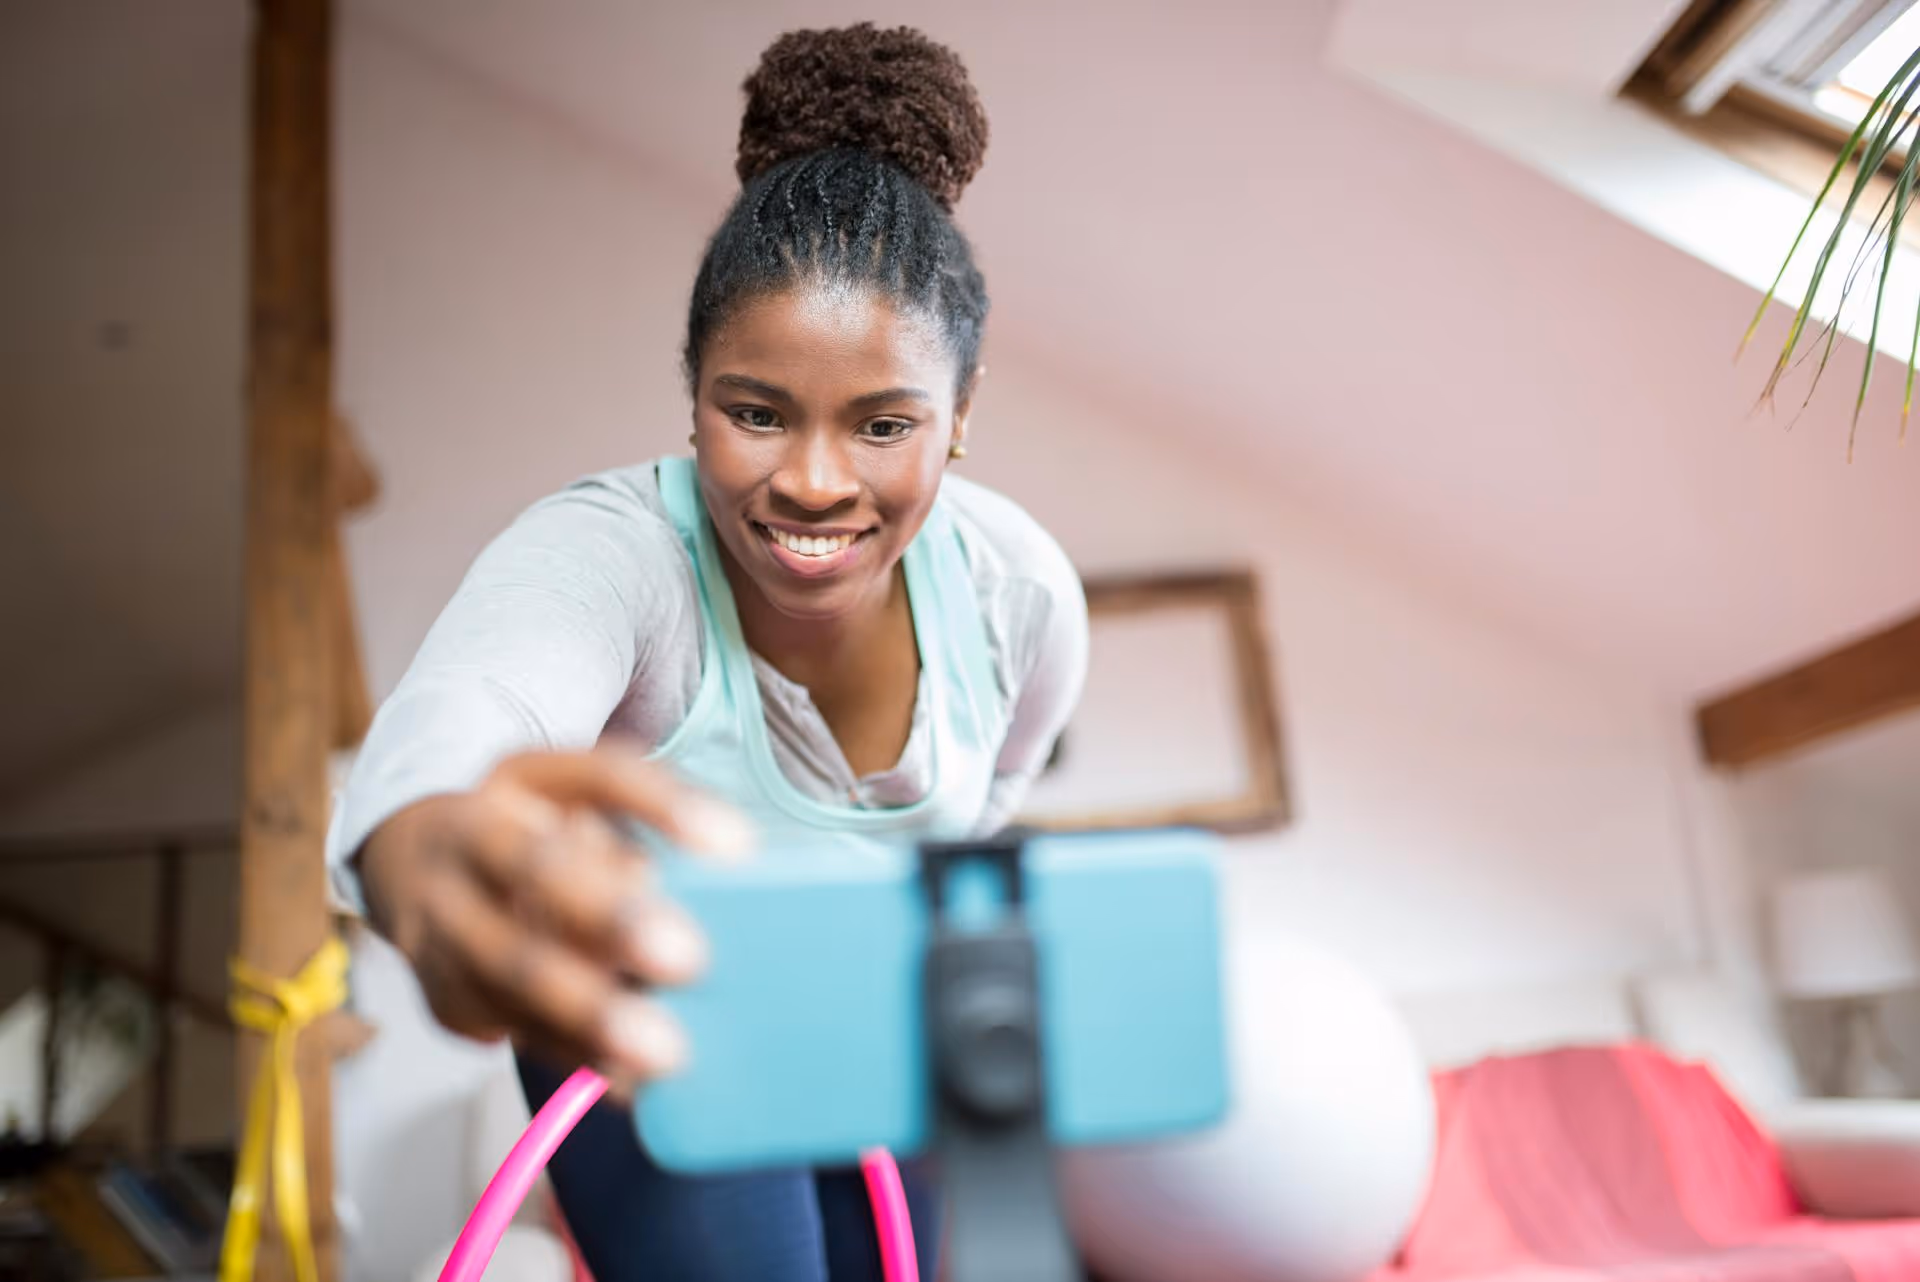
Remixing YouTube Shorts on an iPad feels like it should be simple, but the native YouTube app throws you a curveball. The Remix button for video, so prominent on the iPhone, is noticeably missing. This quick guide will walk you through a powerful workaround to create video remixes directly on your iPad using its built-in features and popular editing apps, so you can jump on trends and create amazing content without switching devices.

Understanding the Power of the Remix

Before jumping into the how-to, let's quickly touch on why remixing is such a valuable tool for growth on YouTube. Think of it as a low-effort, high-impact way to engage with the platform's ecosystem. When you remix a Short, you're not just creating a video, you're joining a conversation. You're leveraging a piece of content or a sound that is already resonating with an audience, which can give your own content an incredible boost in visibility.

There are three primary ways to remix a Short:

  • Sound: This is the most common form of remix. You use the audio from another Short as the soundtrack for your own, original video. It’s perfect for lip-syncs, dance challenges, and comedy skits that play on a trending soundbite.
  • Cut: This feature allows you to use a 1- to 5-second video segment from another Short in your own video. It's often used to set up a joke, react to a statement, or add context before showing your own clip.
  • Green Screen: With this option, you use another Short (or a standard YouTube video) as the virtual background for your own video. This is amazing for creating reaction videos, commentary, or hilarious skits where you insert yourself into a different scene.

Participating in these trends shows both the algorithm and viewers that you're an active part of the YouTube Shorts community, which is a fantastic way to build your brand and attract new subscribers organically.

The iPad Conundrum: Making Remixes Without the Button

Here’s the core issue: the official YouTube app on iPadOS doesn't currently offer the same one-tap "Remix" button you'll find on the iPhone app for creating "Cut" or "Green Screen" videos. While you can easily remix audio, the others seem out of reach. App developers often roll out features on their primary mobile platform (iPhone, in this case) before achieving full parity on tablet versions.

Instead of seeing this as a roadblock, think of it as an opportunity to gain more creative control. The manual workaround gives you much more flexibility than the native tool, allowing you to use professional-level editing techniques right from your tablet. Let's break down how to get it done.

The iPad Remix Workaround: A Step-by-Step Guide

We'll tackle the three remix types one by one. The first one is straightforward and works natively, while the other two require a clever manual process.

Remixing Audio: Using Trending Sounds

Good news! This feature works perfectly on the iPad and is the easiest way to get started. If you just want to use the sound from a popular Short, the process is simple and takes just a few seconds.

  1. Find a Short with the audio you want to use.
  2. Look for the small square or circle in the bottom-right corner of the screen. It usually features the album art or a waveform icon. Tap on it.
  3. This will open the sound's dedicated page, showing you other videos that have used it. At the top, you'll see a big red button that says “Use this sound.”
  4. Tap that button, and you’ll be taken directly to the YouTube Shorts creation camera with the audio pre-loaded. From here, you can record your clips, set a timer, and produce your Short as usual.

For audio-based trends, the iPad is already a fantastic creation tool without any workarounds needed.

The Ultimate Manual Remix: Your Guide to "Cut" and "Green Screen"

For video-based remixes, we need to manually recreate the effect. This process involves capturing the source video and then using a third-party editing app to combine it with your own footage. It might sound complicated, but it's remarkably easy once you get the hang of it.

Step 1: Get the Source Video with Screen Recording

Since YouTube doesn't offer a direct download button, the cleanest and safest way to capture a video clip on your iPad is by using the built-in screen recorder.

  • Add Screen Recording to Control Center: If you don't have it enabled, go to Settings > Control Center and tap the green "+" icon next to "Screen Recording."
  • Prepare the Short: Open the YouTube app and find the Short you want to use for your "Cut" or "Green Screen." Let it play through once to make sure it’s fully loaded and won’t buffer during your recording.
  • Start Recording: Swipe down from the top-right corner of your iPad screen to open the Control Center. Tap the Screen Recording icon (a circle within a circle). After a three-second countdown, your iPad will start recording everything on the screen.
  • Capture the Video: Play the YouTube Short from the beginning. Once it’s finished, tap the red recording icon in the top-right corner of your screen and select "Stop." The video will be automatically saved to your Photos app.

Step 2: Choose a Video Editing App

Now that you have your source video, you'll need an app to edit it. The App Store is filled with incredible options, but for speed and functionality, these two are hard to beat:

  • CapCut: This is a powerful, free video editor that has quickly become a favorite among social media creators. It’s perfect for this task because of its intuitive interface and features like automatic background removal.
  • iMovie: Pre-installed on most iPads, iMovie is Apple's own user-friendly editor. It has all the basic tools you’ll need for a "Cut" remix and can also handle green screen effects.

Download your chosen app, and let’s put the clips together.

Step 3: Creating a "Cut" Remix Manually in Your Editor

A "Cut" remix involves trimming a small part of the source video and placing it alongside your own clip. Here's a typical workflow using CapCut as an example:

  1. Open CapCut and start a new project.
  2. Import both the screen-recorded video and the video clip you filmed of yourself.
  3. Tap on the screen-recorded video in the timeline. Use the white handles at either end of the clip to trim it down to just the 1- to 5-second segment you want to feature. Make sure to cut out any parts showing the YouTube interface or your on-screen controls from the recording.
  4. Drag your personal video clip onto the timeline and place it either before or after the trimmed clip, depending on the effect you want (e.g., you reacting to the clip, or the clip setting up a joke you're telling).
  5. Preview the video to ensure the timing looks good.
  6. Tap the export button (usually an arrow icon in the top corner) to save the finished video to your Photos library. Be sure to export in 1080p for good quality.

Step 4: Creating a "Green Screen" Remix Manually

The "Green Screen" effect is just as easy to recreate, especially with a tool like CapCut that can automatically remove your background without needing an actual green screen.

  1. Start a new project in CapCut and import the screen-recorded source video. This will be your background layer.
  2. From the main toolbar at the bottom, tap "Overlay" and then "Add Overlay." Select the video you filmed of yourself. This will place your video on a new layer above the background.
  3. Make sure your overlay clip is selected. In the bottom toolbar, scroll over and find the "Remove BG" (or 'Remove Background') option.
  4. Tap it, and CapCut's AI will automatically cut you out from your background, placing you right on top of the source video. It works surprisingly well, even with a busy background like a bedroom or office.
  5. Use your fingers to resize and reposition your overlay on the screen so you're framed perfectly over the background video.
  6. Trim both layers to match in length and export your masterpiece.

Publishing Your Manually Remixed Short

You’ve done the creative work, and now it's time to share it. Uploading your manually remixed video is straightforward.

  1. Open the YouTube app on your iPad.
  2. Tap the “+” icon at the bottom of the screen and select “Create a Short.”
  3. In the bottom-left corner of the camera screen, tap the small square to open your Photos library. Select the video file you just exported from your editor.
  4. IMPORTANT: If you want to use the original audio, tap "Add sound" at the top of the screen. Search for the name of the sound or song you screen-recorded, and select it. Then, use the volume controls to turn the volume of your "Original sound" down to zero, ensuring only the official YouTube audio plays.
  5. Go to the next screen to add your caption. This is the perfect place to give credit to the original creator by tagging them with the "@" symbol. This is good etiquette and helps you become part of the larger conversation.
  6. Add relevant hashtags, set your visibility, and hit "Upload Short."

You have now successfully created and published a complex video remix, all from the comfort and power of your iPad.

Final Thoughts

While YouTube might not offer a direct one-tap "Remix" button for video on the iPad app yet, this manual workaround isn't just a backup plan - it's a path to better, more unique content. Using screen recording and a free editing app gives you complete creative freedom over timing, layering, and effects that the native tool simply can't match.

Once you’ve mastered creating Shorts, the next step is building a consistent content schedule. At Postbase, we built our platform specifically for creators like you who are deep in the world of short-form video. Our visual content calendar was designed with Reels, TikToks, and Shorts in mind, letting you plan and schedule your content across all your platforms from one place. This way, you can focus more on creating awesome remixes and less on the logistics of getting them published.

Spencer's spent a decade building products at companies like Buffer, UserTesting, and Bump Health. He's spent years in the weeds of social media management—scheduling posts, analyzing performance, coordinating teams. At Postbase, he's building tools to automate the busywork so you can focus on creating great content.

Other posts you might like

How to Add Social Media Icons to an Email Signature

Enhance your email signature by adding social media icons. Discover step-by-step instructions to turn every email into a powerful marketing tool.

Read more

How to Add an Etsy Link to Pinterest

Learn how to add your Etsy link to Pinterest and drive traffic to your shop. Discover strategies to create converting pins and turn browsers into customers.

Read more

How to Grant Access to Facebook Business Manager

Grant access to your Facebook Business Manager securely. Follow our step-by-step guide to add users and assign permissions without sharing your password.

Read more

How to Record Audio for Instagram Reels

Record clear audio for Instagram Reels with this guide. Learn actionable steps to create professional-sounding audio, using just your phone or upgraded gear.

Read more

How to Add Translation in an Instagram Post

Add translations to Instagram posts and connect globally. Learn manual techniques and discover Instagram's automatic translation features in this guide.

Read more

How to Optimize Facebook for Business

Optimize your Facebook Business Page for growth and sales with strategic tweaks. Learn to engage your community, create captivating content, and refine strategies.

Read more

Stop wrestling with outdated social media tools

Wrestling with social media? It doesn’t have to be this hard. Plan your content, schedule posts, respond to comments, and analyze performance — all in one simple, easy-to-use tool.

Schedule your first post
The simplest way to manage your social media
Rating