How to Add Social Media Icons to an Email Signature
Enhance your email signature by adding social media icons. Discover step-by-step instructions to turn every email into a powerful marketing tool.

There’s a cleaner, easier way to film polished TikToks without awkwardly holding your phone or trying to reach across the frame to tap the record button. Forget the wobbly footage and fumbled intros. We'll show you exactly how to use TikTok’s built-in hands-free features, give you some pro tips for setting up your shots, and walk through a few advanced tricks to take your content to the next level. No fancy gear required.
The single most powerful tool for recording hands-free video on TikTok is already built right into the app: the Countdown Timer. Too many creators overlook this simple feature, but mastering it is the first step toward creating more professional and dynamic content. Rather than hitting record and scrambling into position, the timer gives you a 3 or 10-second window to get ready, ensuring your video starts smoothly every single time.
Ready to try it? It's quicker than you think. Here’s how to access and use the timer function.
Now that you know how to use the timer, let’s talk about how to make your hands-free videos look great. A little setup goes a long way and transforms a simple clip into something that feels intentional and well-produced.
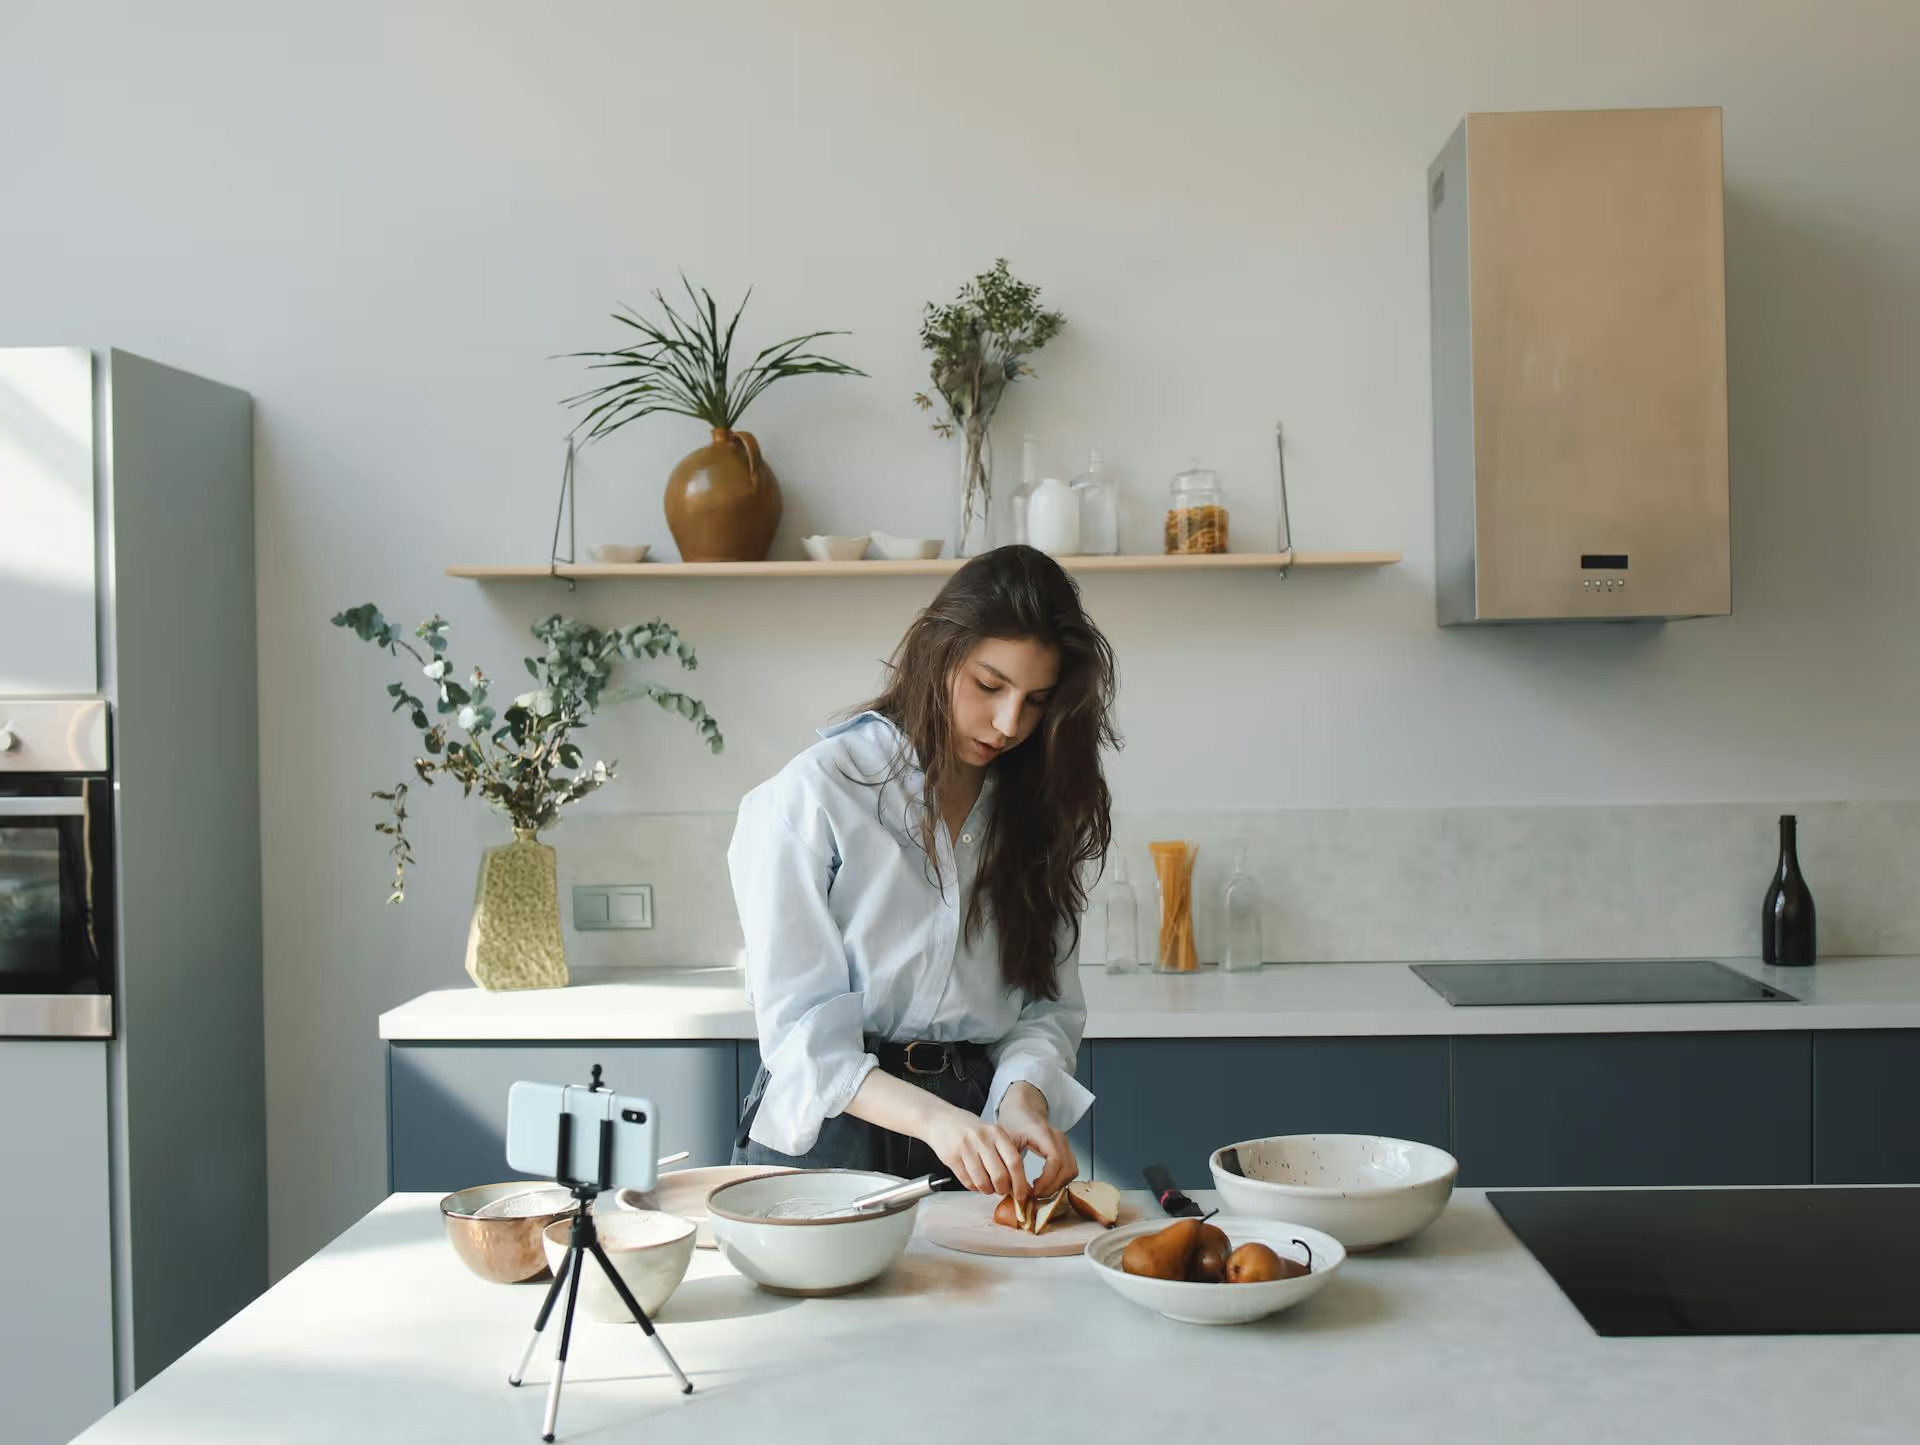
Since you won’t be holding your phone, you need a stable place to put it. You don't need a professional tripod to get started. Get creative with your environment:
Think about what your angle says. Filming from slightly below can make you look more confident and powerful, while a straight-on, eye-level shot feels more direct and personal. A high angle is great for showing off an activity, like cooking or drawing.
Good lighting is non-negotiable for high-quality video. Before you press that countdown button, find the best light source. Natural light from a window is almost always the best (and cheapest!) option. Face the window so the light illuminates you evenly - placing it behind you will create a silhouette. If natural light isn’t an option, a simple ring light will create a soft, flattering glow and eliminate harsh shadows.
The timer isn’t just for one-shot videos. It’s the secret behind outfit changes, transition trends, and stop-motion effects. You can record a series of short clips, hands-free, and TikTok stitches them together automatically. Here’s an example:
For a GRWM ("Get Ready With Me") video:
By using the timer to film a sequence of short clips, you can create a dynamic, fast-paced video that’s far more engaging than one long continuous shot.
If you're an iPhone user, you can go a step beyond the timer and actually start and stop recordings with a voice command. This feels like a superpower and is perfect for when you need to start recording spontaneously without walking over to your phone. This trick uses Apple's built-in Accessibility features, not TikTok itself.
Don't worry, this is a one-time setup that only takes a minute.
Once your hands-free clips are recorded, the real magic happens in the editing screen. Don’t forget these final steps:
Filming engaging TikTok videos doesn't require holding your phone and hoping for the best. By mastering the Countdown Timer and finding clever ways to position your phone, you open a whole new door for creativity - from cinematic shots to dynamic tutorials and seamless transitions. The tools are right there in the app, ready for you to use.
Creating great hands-free content is a major step, and having a workflow that keeps things simple is what lets you stay consistent. Here at Postbase, we built our social media management platform to keep that flow going. We designed it for the way people actually create today, with a focus on short-form video for Reels, Shorts, and TikToks. After filming your videos, our visual calendar makes planning and scheduling your content across all platforms straightforward, so you can focus more on creating and less on the logistics.
```
Enhance your email signature by adding social media icons. Discover step-by-step instructions to turn every email into a powerful marketing tool.
Record clear audio for Instagram Reels with this guide. Learn actionable steps to create professional-sounding audio, using just your phone or upgraded gear.
Check your Instagram profile interactions to see what your audience loves. Discover where to find these insights and use them to make smarter content decisions.
Requesting an Instagram username? Learn strategies from trademark claims to negotiation for securing your ideal handle. Get the steps to boost your brand today!
Attract your ideal audience on Instagram with our guide. Discover steps to define, find, and engage followers who buy and believe in your brand.
Activate Instagram Insights to boost your content strategy. Learn how to turn it on, what to analyze, and use data to grow your account effectively.
Wrestling with social media? It doesn’t have to be this hard. Plan your content, schedule posts, respond to comments, and analyze performance — all in one simple, easy-to-use tool.