

How to Add Social Media Icons to an Email Signature
Enhance your email signature by adding social media icons. Discover step-by-step instructions to turn every email into a powerful marketing tool.
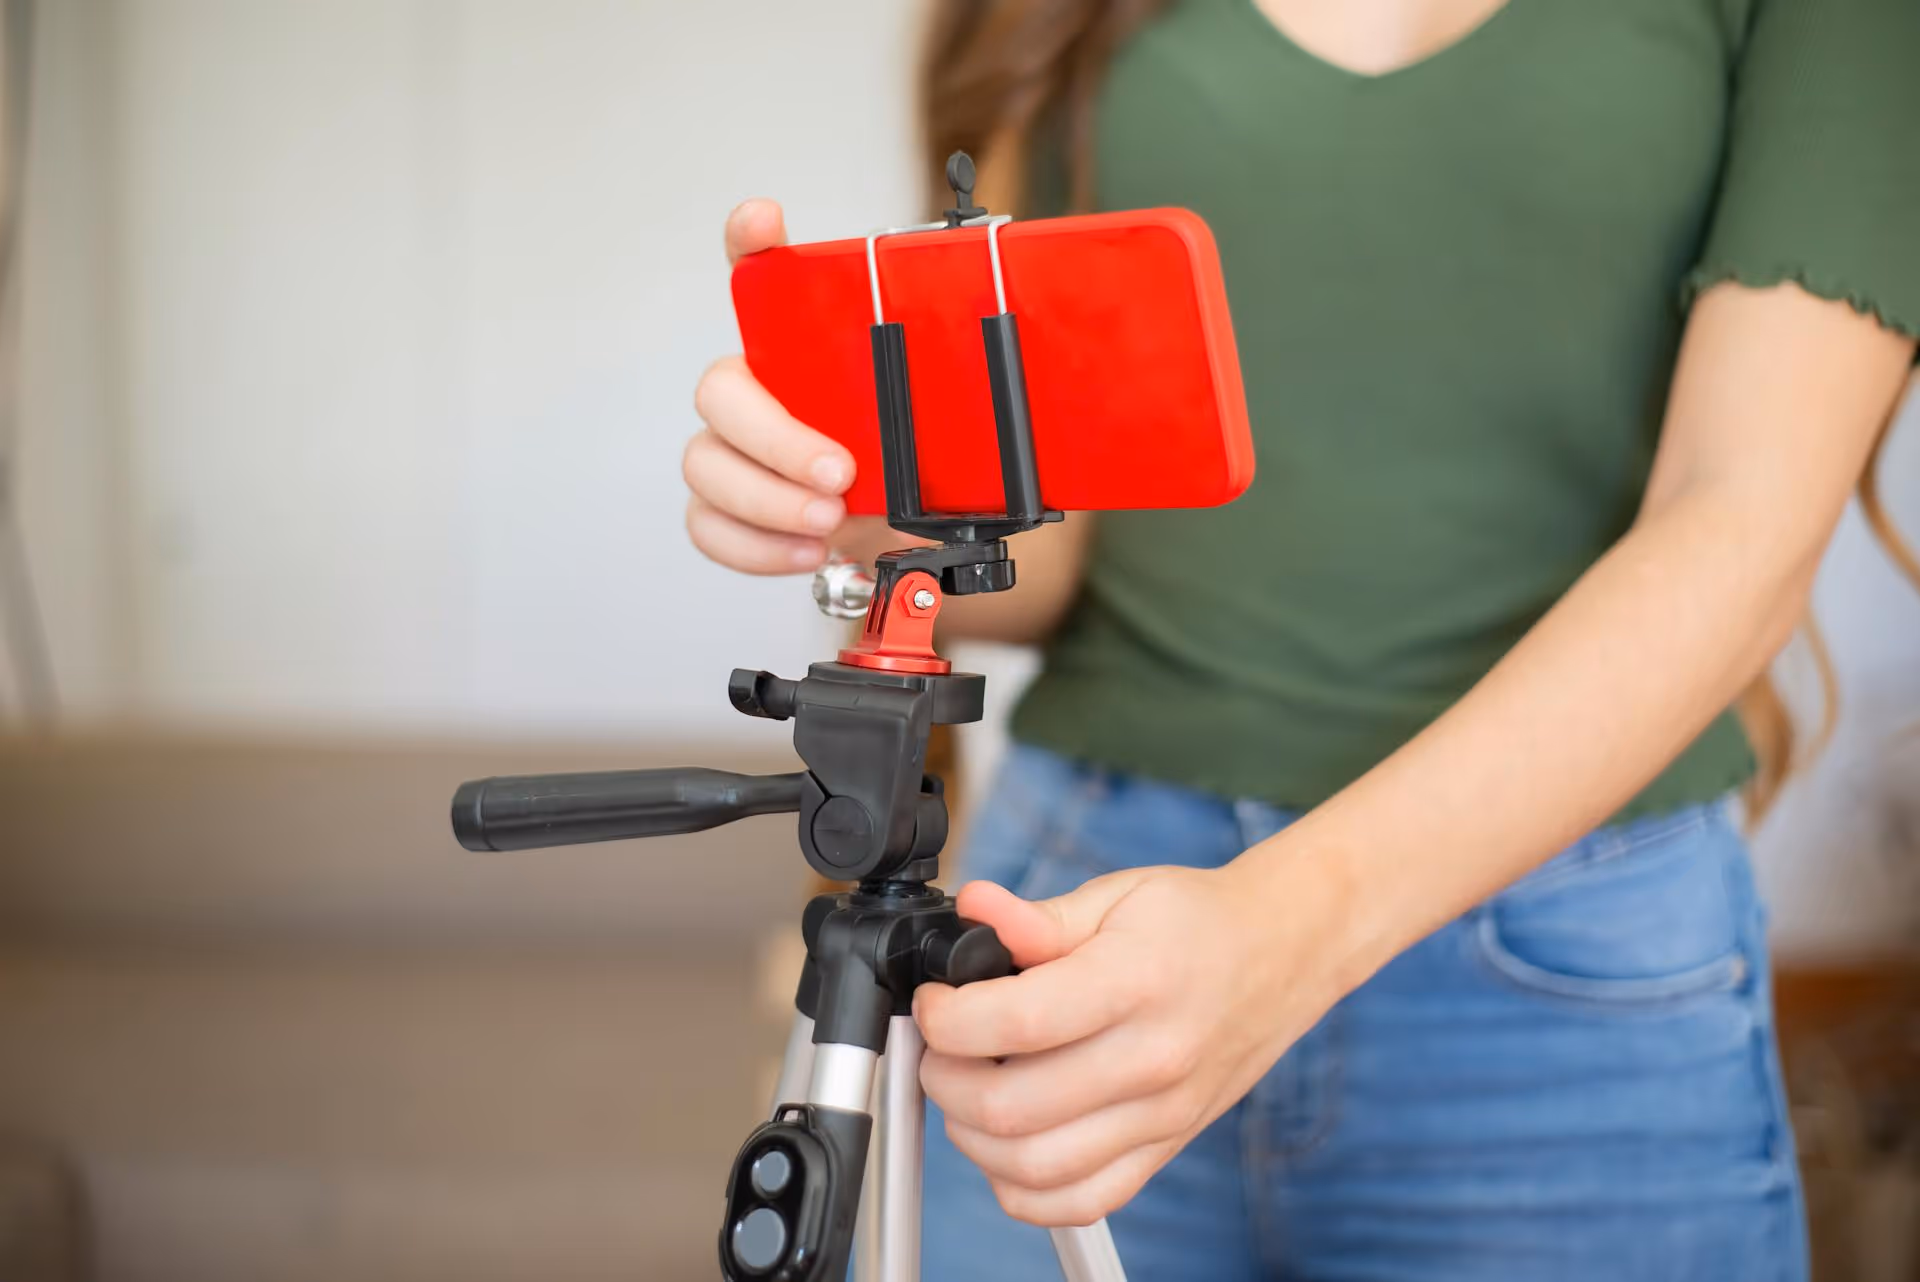
The right audio clip can be the difference between a forgotten TikTok and a viral sensation. On a platform where sound is everything, mastering how to add and edit audio isn't just a technical skill - it's the core of creating content that connects. This guide covers every method for adding audio to your TikTok videos, from using the massive built-in sound library to creating and sharing your own original sounds.
This is the most common and straightforward method for adding music or popular sounds to your videos. TikTok's library is vast and constantly updated with trending songs, comedic skits, and viral soundbites. Following trends is one of the fastest ways to get your content seen by new audiences.
Sometimes, the perfect audio is your own voice or a custom sound you created. Using original audio helps you establish a unique brand voice and can even become its own trend if other people start using your sound.
Voiceovers are perfect for tutorials, storytimes, unboxings, and instructional-style videos. You can talk over a video clip to explain what's happening on screen.
Have you ever seen a TikTok video where the audio is credited as "original sound - [username]"? You can create one of these too, either intentionally or accidentally.
How it works: Any video you upload to TikTok that is not using a sound from TikTok's library will automatically have its audio classified as an "original sound." If others like it, they can tap on the spinning record icon and use your audio for their own videos.
Using trending sounds is the most reliable way to boost your video's visibility. The TikTok algorithm favors videos that use popular audio clips, pushing them onto more For You pages.
To really make your videos stand out, you'll want to move beyond the basics of just adding and trimming sound.
We mentioned the volume mixer earlier, but its importance can't be overstated. A well-mixed video feels professional and is easier to watch. Here are some scenarios where mastering the volume sliders is essential:
Tucked away in the audio editing settings is another fun tool: Voice Effects. After you've recorded a voiceover or a video of you speaking, you can apply filters to make your voice sound like a robot, a chipmunk, or like it's echoing in a hall. These comedic effects are often used in skits and meme formats to add another layer of humor.
Mastering audio is fundamental to success on TikTok, whether you're using a trending song from the library, recording your own instructional voiceover, or crafting a custom sound that becomes its own trend. By learning how to find, trim, mix, and edit audio effectively, you elevate your content from simple clips to engaging stories that capture attention.
Getting your audio right is half the battle, but consistent posting is what truly grows your account. When you're managing a busy content schedule, you need tools built for today's visual, video-first world. That's why with Postbase, we built a visual scheduler specifically for short-form video like TikToks and Reels, so you can plan everything on a calendar, get your perfectly-soundtracked videos scheduled reliably, and see your whole strategy at a glance without the headaches of older, clunky platforms.
Spencer's spent a decade building products at companies like Buffer, UserTesting, and Bump Health. He's spent years in the weeds of social media management—scheduling posts, analyzing performance, coordinating teams. At Postbase, he's building tools to automate the busywork so you can focus on creating great content.

Enhance your email signature by adding social media icons. Discover step-by-step instructions to turn every email into a powerful marketing tool.
Record clear audio for Instagram Reels with this guide. Learn actionable steps to create professional-sounding audio, using just your phone or upgraded gear.
Check your Instagram profile interactions to see what your audience loves. Discover where to find these insights and use them to make smarter content decisions.
Requesting an Instagram username? Learn strategies from trademark claims to negotiation for securing your ideal handle. Get the steps to boost your brand today!
Attract your ideal audience on Instagram with our guide. Discover steps to define, find, and engage followers who buy and believe in your brand.
Activate Instagram Insights to boost your content strategy. Learn how to turn it on, what to analyze, and use data to grow your account effectively.
Wrestling with social media? It doesn’t have to be this hard. Plan your content, schedule posts, respond to comments, and analyze performance — all in one simple, easy-to-use tool.

