Reaction videos have taken over Facebook, and for good reason - they’re an incredibly powerful way to connect with an audience by sharing a genuine, real-time experience. This guide will walk you through exactly how to create compelling reaction videos from start to finish, covering everything from picking the right content to editing and publishing for maximum impact.
What Makes a Great Facebook Reaction Video?
- Genuine Emotion and Authenticity: This is the heart of a reaction video. Viewers watch because they want to see your real, unfiltered response. Laughing, crying, gasping in shock, or being utterly confused - it's all part of the appeal. Don't be afraid to be expressive and let your personality shine. Phony or exaggerated reactions are easy to spot and can turn viewers off instantly.
- Adding Value Through Commentary: A great reaction isn't just watching someone watch something. It's about what you add to the experience. Your value might come from humor, witty observations, expert analysis (if you're a professional in a certain field), or providing a unique cultural perspective. Pause the source video to elaborate on your thoughts, ask questions, or make connections your audience might have missed.
- High-Quality Audio: This is non-negotiable. Viewers can forgive slightly grainy video, but they will click away immediately if they can't hear you clearly or if the audio is full of static and background noise. A decent microphone is one of the most important investments you can make early in your journey. We’ll cover your options later.
- Good Pacing and Editing: An uncut, 15-minute ramble is hard to watch. Smart editing keeps the energy up and holds the viewer's attention. This means cutting out long, silent pauses, adding subtitles for clarity, and maybe using subtle sound effects or zoom-ins to emphasize a joke or a shocked expression.
Step 1: Planning Your First Reaction Video
Success starts before you ever press the record button. A little bit of planning goes a long way in making the creative process smoother and the final product more engaging for your audience.
Choosing What to React To
The content you choose to react to is the foundation of your video. You want to find a balance between things you’re genuinely interested in and topics that have a built-in audience. Here are some popular categories:
- Movie and TV Show Trailers: These are goldmines. They are short, highly anticipated, and loaded with moments that generate strong reactions.
- Music Videos: From brand-new releases by major artists to uncovering hidden gems, music videos are rich with emotion and visual storytelling.
- Viral Videos and Memes: Reacting to trending content from platforms like TikTok or YouTube helps you tap into current conversations and makes your content highly discoverable.
- Tutorials and "How-To" Videos: You can react from the perspective of an expert critiquing a video in your field or as a complete beginner attempting to follow along. Both can be very entertaining.
- Sports Highlights or Epic Fails: The high stakes of sports or the relatable humor of a fail compilation are perfect for eliciting raw, emotional responses.
Start with a niche you're passionate about. If you love gaming, react to game trailers. If you're a film student, analyze movie scenes. Your enthusiasm will be contagious.
A Quick Note on Fair Use and Copyright
Using someone else’s content is the whole point of a reaction video, but it puts you in a gray area regarding copyright law. While "fair use" often protects reaction videos because they are considered "transformative" (you're adding commentary, criticism, and new meaning), it's not a foolproof defense.
To stay on the safer side, always:
- Show only the necessary parts of the original video.
- Add significant and meaningful commentary. Don't just sit and watch silently.
- Always credit the original creator with a link in your description.
- Never re-upload the entire original video with just your face in the corner.
Disclaimer: This is not legal advice. Always research copyright law for your specific use case.
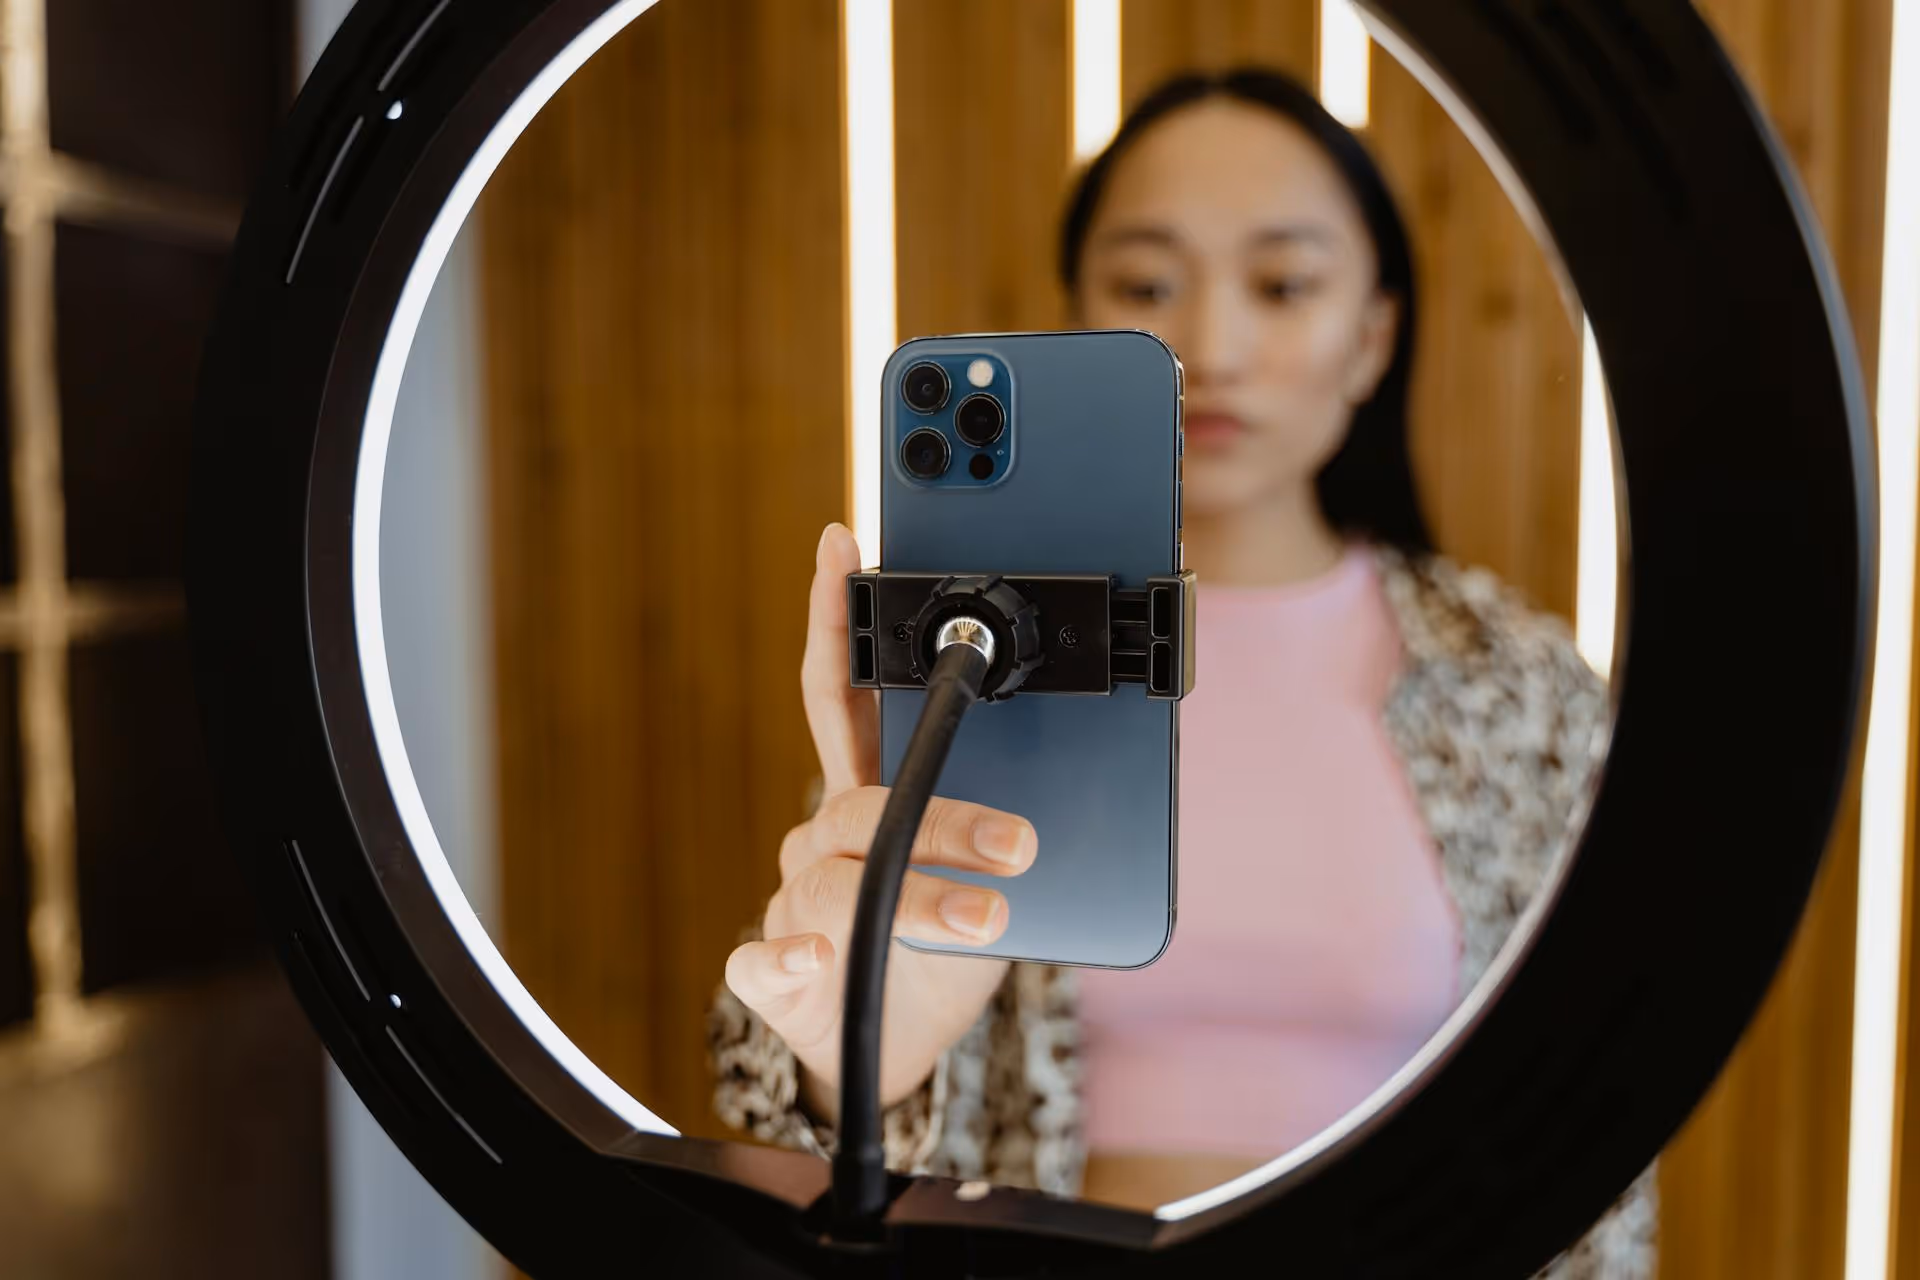
Step 2: Getting Your Gear Ready
You don't need a professional Hollywood studio to make great content. In fact, starting simple is often the best approach. Here’s what you need to get going.
The Bare Essentials (Beginner-Friendly)
- Webcam: The one built into your laptop is fine for your first few videos. If you can, upgrade to an external 1080p webcam like a Logitech C920 for a noticeable jump in quality.
- Microphone: Your laptop's built-in mic can be tinny and picks up keyboard noise. Upgrade to an affordable USB microphone like the Blue Yeti or Rode NT-USB Mini. Clear audio is an absolute must.
- Lighting: You don't need expensive lights to start. Simply face a window to get soft, natural light on your face. If you record at night, a simple ring light can make a huge difference.
Software for Recording
The main task here is to record the source video playing on your screen and your webcam feed at the same time. The easiest way to do this is with screen recording software.
- OBS Studio (Free): This is the industry standard for streamers and content creators. It’s incredibly powerful, allowing you to arrange your camera feed, the source video, and other elements into different "scenes." It has a learning curve but is totally free and offers professional-level control.
- Camtasia (Paid): A great all-in-one option that combines screen recording and a user-friendly video editor. It’s easier to learn than OBS and is perfect for creators who want a streamlined workflow.
- Built-in Tools: Both Windows (via the Xbox Game Bar) and macOS (via QuickTime Player) have free screen recording tools. They are more basic but can work in a pinch. However, they may not record your webcam and screen simultaneously as easily as dedicated software.
Step 3: Recording Your Authentic Reaction
This is where the magic happens. Your setup is ready, you have your source video queued up - now it's time to perform. The key is to forget about performance and just be yourself.
- Set Up Your Shot: Open your recording software and arrange your layout. The most common format is picture-in-picture, with the source video taking up most of the screen and your face in a smaller box in one of the corners.
- Do a Test Recording: Record yourself for 30 seconds to check your audio levels and lighting. Is your voice clear? Is your face well-lit? Fix any issues before starting the real take.
- Watch the Video for the First Time: For the most genuine reaction, you should be seeing the video for the first time while you are recording. Don't pre-watch it, as that can ruin the spontaneity.
- Think Out Loud: Voice every thought that crosses your mind. If you're confused, say "Wait, what's happening?" If a scene is epic, describe what you love about it. Silence is the enemy of an engaging reaction video.
- Use Pauses Strategically: Don't be afraid to pause the source video. This gives you a moment to collect your thoughts and provide deeper analysis or a funnier joke without trying to talk over the original audio. This is also key for demonstrating your "transformative" use of the content.
- Be Expressive: Your facial expressions and body language communicate just as much as your words. Lean into the camera when you're excited, sit back when you're shocked. Let the viewer experience the video through you.
Step 4: Editing for Maximum Viewer Retention
Your raw footage is just the starting point. Post-production is where you shape your reaction into a tight, entertaining, and watchable piece of content optimized for Facebook's fast-scrolling environment.
Editing Software Choices
- DaVinci Resolve (Free): A professional-grade editor that has an incredible free version. It offers everything from basic cutting to advanced color correction and motion graphics.
- CapCut (Free): Hugely popular for its intuitive mobile and desktop apps. It is fantastic for quickly adding captions, effects, and music, making it perfect for social media video.
- Adobe Premiere Pro (Paid): The industry standard for a reason. If you plan to get serious about video creation, Premiere Pro offers unparalleled features and flexibility.
The Essential Editing Checklist
- Sync Your Audio and Video: Make sure your reaction lines up perfectly with what’s happening in the source video.
- Cut the Fluff: Trim out long, empty pauses and any moments where you stumble over your words. The goal is to keep the energy high and the pace moving. Jump cuts are your best friend here.
- Add On-Screen Captions: This is arguably the most important step for Facebook. The vast majority of Facebook videos are watched with the sound off. Adding subtitles makes your video accessible to everyone and dramatically increases the chances someone will stop scrolling and engage.
- Balance Your Audio: Lower the volume of the source video when you're speaking so your voice is always the primary focus. You don’t want your commentary to be drowned out.
- Use Visual Embellishments (Sparingly): A quick zoom-in on your face during a shocking moment or an on-screen text pop-up to highlight a funny thought can add a layer of polish and humor.
- Create an Eye-Catching Thumbnail: Your thumbnail is your video's billboard. It needs to grab attention. A great formula is a high-emotion shot of your face combined with a compelling image from the source video and a clear, bold text title.
Step 5: Publishing and Growing on Facebook
You’ve done the work, and now it’s time to share your masterpiece. Simply uploading the video isn't enough, you need to optimize it for the Facebook algorithm.
- Choose the Right Format: While traditional 16:9 widescreen videos work, square (1:1) or vertical (4:5) videos perform much better on mobile feeds because they take up more screen real estate.
- Write a Compelling Title and Description: Your title should be clear and intriguing (e.g., "Film Student Reacts to the New MARVEL Trailer!"). In your description, ask a question to prompt comments, like "What was your favorite moment from the trailer? Let me know below!"
- Use Hashtags Wisely: Include a mix of broad hashtags (#ReactionVideo, #MovieTrailer) and specific ones related to your content (#TheBatman, #MusicVideoReaction).
- Engage with Your Community: Respond to every comment you get, especially in the first few hours after posting. This tells the algorithm that your content is creating conversation, and it will push it to a wider audience.
- Be Consistent: Building an audience takes time. Sticking to a consistent posting schedule - whether it's once a day or twice a week - lets your followers know when to expect new content and helps build momentum.
Final Thoughts
Making a successful reaction video on Facebook is a craft that blends your personality with smart technical and marketing choices. It’s about delivering an authentic experience, adding your unique voice through valuable commentary, and packaging it all together in a well-edited and optimized format. Follow these steps, stay consistent, and most importantly, have fun with it.
The key to growing any channel is consistency, but keeping up with content calendars and scheduling posts can quickly become overwhelming. At Postbase, we designed a social media management tool that makes this process feel effortless. You can plan your entire video schedule on a visual calendar, customize captions for each platform, and trust that your posts will go live exactly when they're supposed to, every single time. It gives you the freedom to focus on creating great content without getting bogged down by the logistics.
Spencer's spent a decade building products at companies like Buffer, UserTesting, and Bump Health. He's spent years in the weeds of social media management—scheduling posts, analyzing performance, coordinating teams. At Postbase, he's building tools to automate the busywork so you can focus on creating great content.