

How to Add Social Media Icons to an Email Signature
Enhance your email signature by adding social media icons. Discover step-by-step instructions to turn every email into a powerful marketing tool.
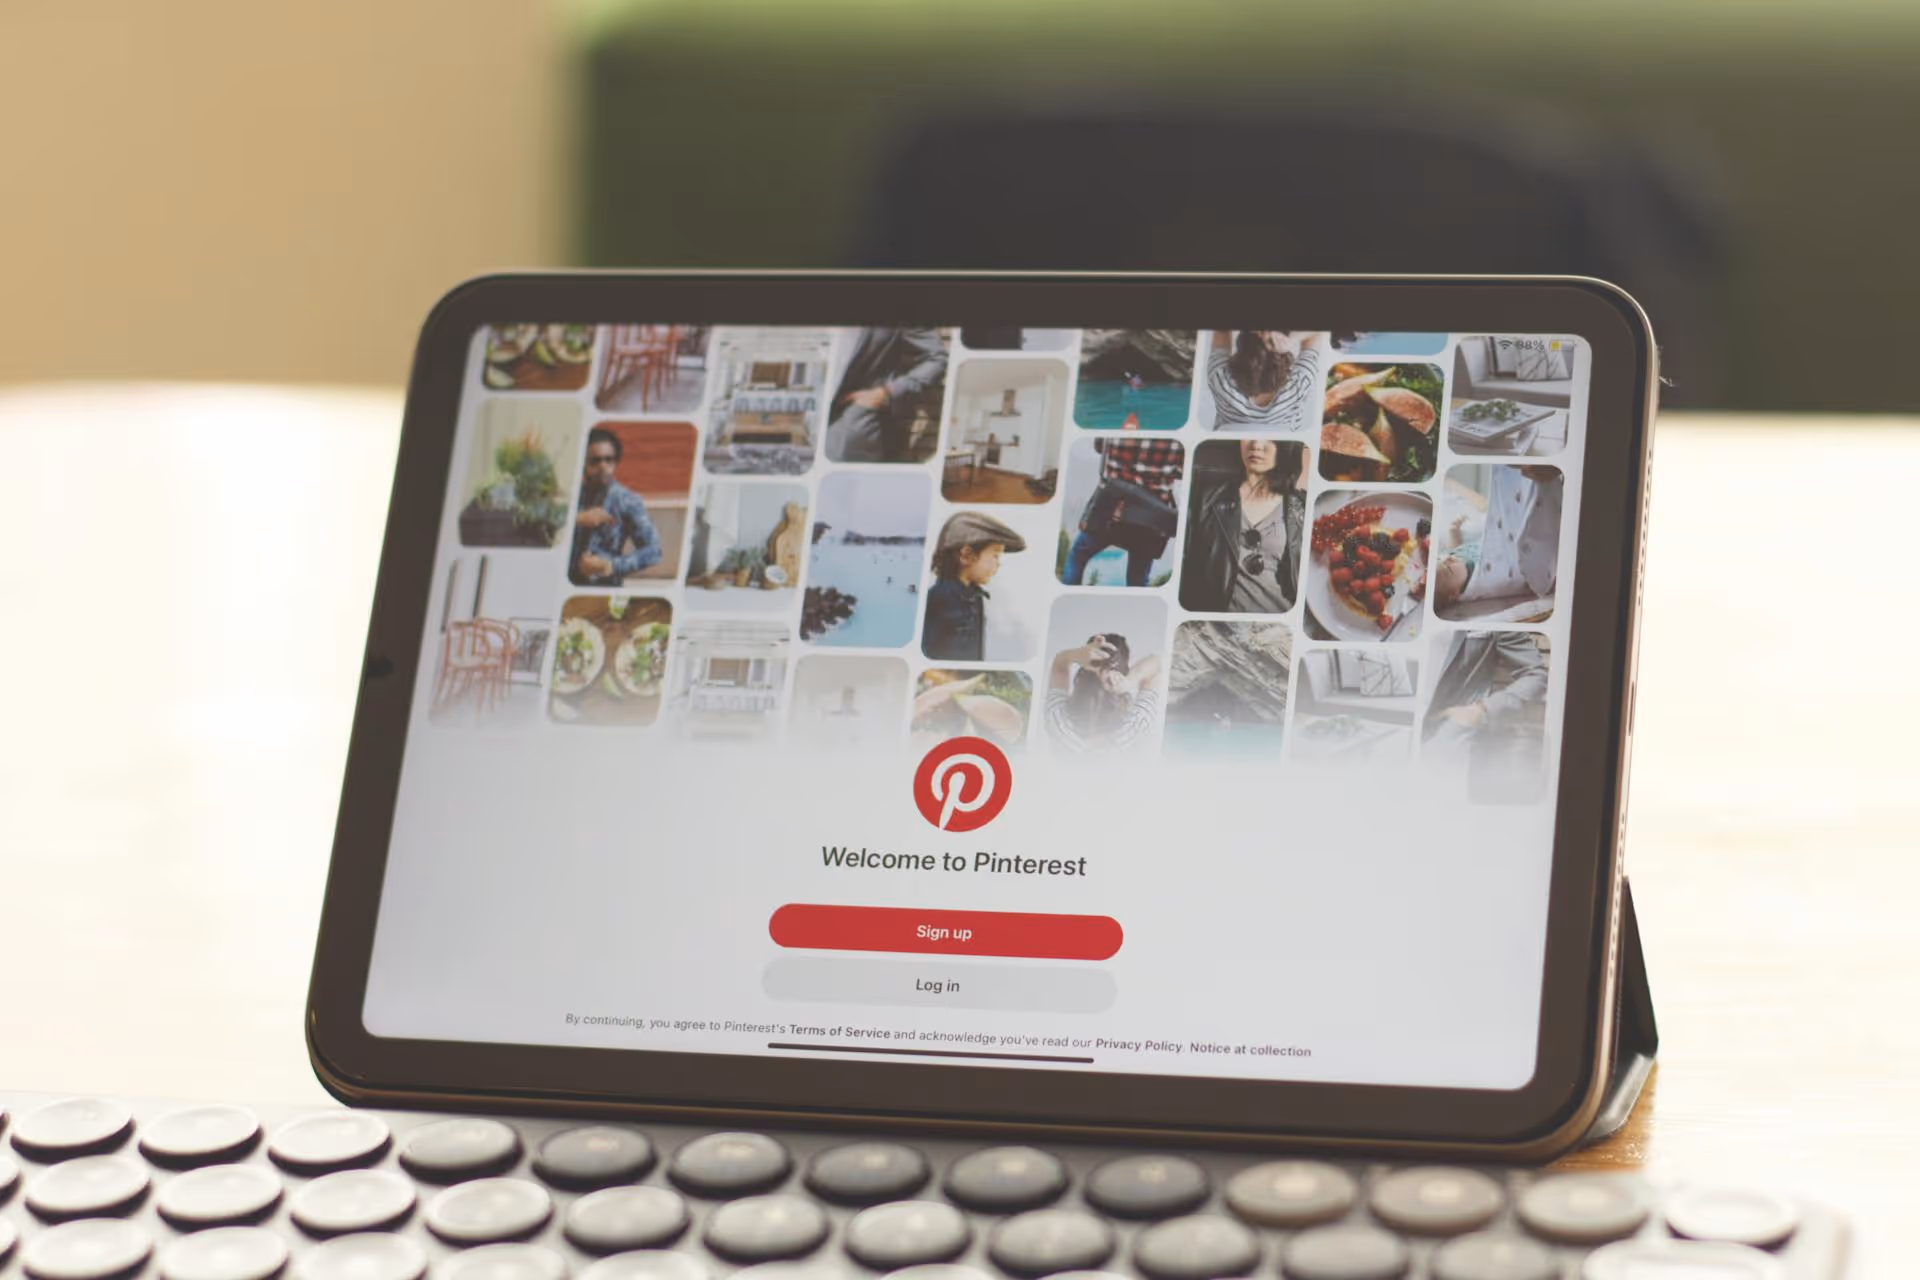
Creating a Pinterest board is your first step toward organizing ideas, planning projects, and building your brand on one of the world's biggest visual discovery platforms. This guide will walk you through the simple steps to get started, then show you how to use boards strategically to get your content seen and grow your audience.
Before jumping into the "how," let's get one thing straight. A Pinterest board is much more than a digital folder for pretty pictures. Think of it as a themed collection, a public moodboard, or an interactive guide. For creators and brands, each board is a new opportunity to show up in search results.
Why? Because Pinterest is a visual search engine. Users don't just endlessly scroll, they actively search for ideas and solutions like "fall outfit inspiration," "small bathroom remodel ideas," or "weekly vegan meal prep." Your boards, when set up correctly, can show up in those search results, bringing new eyeballs to your profile, products, and website.
Thinking this way transforms your approach. You're not just saving Pins, you're curating resources that solve a problem or provide inspiration for a specific audience, optimized to be found.
Let's start with the basics. You can create a board in a couple of different ways, both on your computer and on your phone. It's a straightforward process, no matter which device you're using.
Using the desktop site is often the easiest way to get started, giving you a full view of your profile.
Creating boards on the go is just as simple.
Creating the board is just step one. Nailing the settings transforms a simple collection into a strategic asset for your business or brand.
This is the most fundamental setting. The choice is simple but important:
You can always change a secret board to public later, but be careful: you cannot change a public board back to secret. Plan accordingly!
Need to plan an event with a friend or gather brand inspiration with your team? Collaborative boards are for you. When you invite someone to a board, they can add their own Pins, making it a shared creative space.
To invite a collaborator:
This is a great tool for working with clients on design projects, planning group trips, or building a team resource hub.
If you ignore every other optimization tip, please pay attention to this one. The board description is where you tell the Pinterest algorithm exactly what your board is about. This directly impacts how easily people can find your board through search.
When you edit your board (click the three dots next to the title), you'll find a "Description" field. Fill it with relevant, natural-sounding keywords that people would use to find the content on that board.
Let's look at an example for a board about home decor:
The second example uses specific search terms people are actually typing in, making it far more likely to get discovered.
You've got the technical skills. Now, let's talk strategy. Good boards are well-organized, visually appealing, and made for discovery.
Just like the description, your board title is a huge ranking factor. Avoid vague or cutesy titles that don't mean anything to an outsider. Be clear, direct, and use keywords.
Think about what search terms you want this board to rank for, and build your title around that.
Got a massive board with hundreds of Pins? Tidy it up with Sections. This feature allows you to create sub-folders within a board to keep your ideas organized.
For example, a board called "Backyard Landscaping Ideas" could get overwhelming quickly. You could create Sections inside it for:
This helps users (and you) navigate your content more easily. To add a Section, open your board and click the "Add Section" button.
A small detail with a big impact! Setting your board covers gives your profile a clean, cohesive, and professional look. By default, the cover is just the latest Pin you saved. Instead, you can choose any Pin from the board to represent it.
To set a board cover:
Stuck on what kind of boards to create? Here are a few ideas to get you started, categorized by industry.
Making a Pinterest board is a simple click-and-type process, but building a strategic collection that drives traffic and brand awareness takes a purposeful approach. By giving your boards clear, keyword-driven names and descriptions, organizing Pins logically, and curating for a specific audience, you elevate your profile from a personal hobby to a powerful marketing tool.
Mastering a visual platform like Pinterest is a huge win for your overall content plan. Once you get that rhythm down, the next challenge is maintaining similar consistency across all your other channels - from Reels and TikTok to YouTube Shorts. That's why we built Postbase, we needed a simple, visual calendar to plan and see all of our content in one place without the chaos. It helps us schedule everything reliably and keeps our entire social presence strong, which gives us more time to focus on creating great content in the first place.
Spencer's spent a decade building products at companies like Buffer, UserTesting, and Bump Health. He's spent years in the weeds of social media management—scheduling posts, analyzing performance, coordinating teams. At Postbase, he's building tools to automate the busywork so you can focus on creating great content.

Enhance your email signature by adding social media icons. Discover step-by-step instructions to turn every email into a powerful marketing tool.
Record clear audio for Instagram Reels with this guide. Learn actionable steps to create professional-sounding audio, using just your phone or upgraded gear.
Check your Instagram profile interactions to see what your audience loves. Discover where to find these insights and use them to make smarter content decisions.
Requesting an Instagram username? Learn strategies from trademark claims to negotiation for securing your ideal handle. Get the steps to boost your brand today!
Attract your ideal audience on Instagram with our guide. Discover steps to define, find, and engage followers who buy and believe in your brand.
Activate Instagram Insights to boost your content strategy. Learn how to turn it on, what to analyze, and use data to grow your account effectively.
Wrestling with social media? It doesn’t have to be this hard. Plan your content, schedule posts, respond to comments, and analyze performance — all in one simple, easy-to-use tool.

