

How to Add Social Media Icons to an Email Signature
Enhance your email signature by adding social media icons. Discover step-by-step instructions to turn every email into a powerful marketing tool.
There's nothing more frustrating than spending time creating the perfect picture or video, only to upload it to your Instagram Story and watch it turn into a blurry, pixelated mess. It's a common problem that makes your content look unprofessional and undermines all the hard work you put in. This guide gives you the exact tactical steps to fix your Instagram Story quality for good, from simple in-app tweaks to pro-level upload strategies.
Before jumping into the fixes, it helps to understand why your quality drops in the first place. The main culprit is compression. Instagram has to store billions of photos and videos uploaded every day, and delivering them quickly to millions of users at once requires massive amounts of data. To manage this, Instagram automatically compresses every photo and video you upload.
Think of it as squishing a big file into a smaller box. When you compress a file, algorithms must decide which data to discard to reduce its size. This process often results in a loss of detail, sharpness, and color accuracy, which you see as blurriness or pixelation. Your job is to give Instagram a file that is so well-prepared that its compression algorithm barely has to do any work.
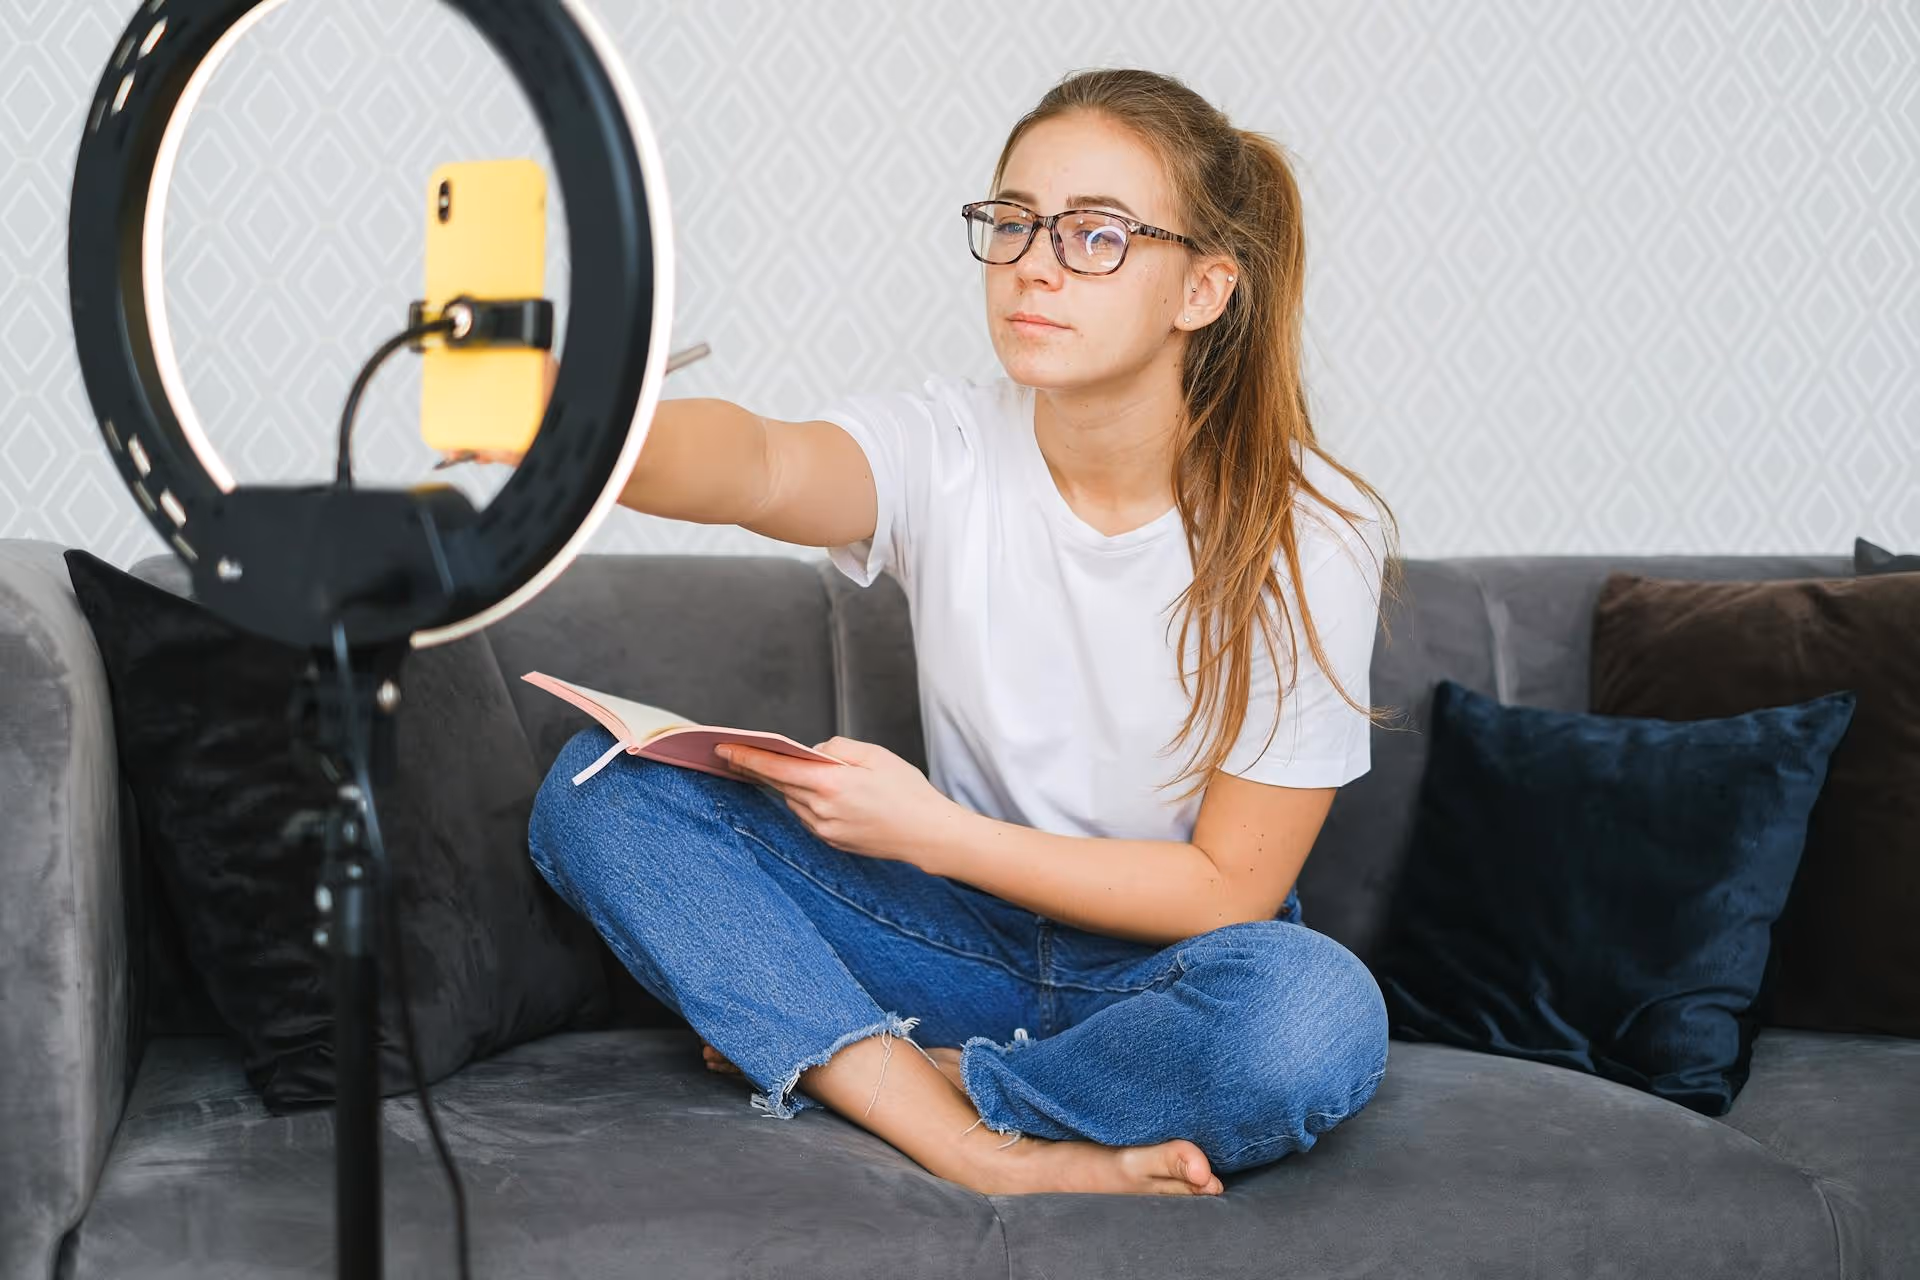
Great quality starts long before you hit the "Share" button. How you capture your content sets the foundation for a crisp final product. Here’s what to focus on.
It's tempting to open Instagram and shoot your Story directly in the app. While convenient, the Instagram Story camera prioritizes speed over quality. It applies its own layer of compression while you're recording, meaning you're starting with a lower-quality file from the get-go.
Instead, always use your phone’s built-in camera app. It leverages your device's full processing power and camera hardware to capture the highest quality video and photos possible. After you've captured the content, you can then import it into Instagram Stories.
Most modern phones can shoot in incredible detail, but you might need to enable the highest settings manually.
Giving Instagram a file that meets its exact specifications is one of the most effective ways to minimize compression and maintain quality. When your file format, size, and dimensions are off, Instagram has to forcefully resize and re-encode it, which almost always results in a blurry mess.
Instagram Stories are built for a vertical format. The ideal size is 1080 pixels wide by 1920 pixels tall, which is a 9:16 aspect ratio. If you upload a horizontal video or an oddly cropped image, Instagram will crop or stretch it to fit the screen, which degrades quality. Crop your photos and edit your videos to this exact dimension before uploading.
You don't need professional software to get this right. Most modern video editing apps on your phone allow you to set the aspect ratio with one tap.
One sneaky quality killer is how you move files between your devices. Sending a video from your computer to your phone through a messaging app like WhatsApp, Facebook Messenger, or even some email clients will severely compress the file.
To transfer files without losing quality:
After perfecting your capture and file prep, there are two quick but vital changes to make directly within the Instagram app.
This is the single most important setting to enable. It tells Instagram that you want to prioritize quality over upload speed or data usage. For some reason, it’s turned off by default for many users.
Here’s how to find it:
With this simple switch, you're commanding the app to commit more bandwidth to your uploads, resulting in a cleaner final product.
The strength of your internet connection matters immensely. If you’re on a weak cellular signal or slow public Wi-Fi, Instagram will aggressively increase compression to make sure your upload goes through without failing. The app assumes you'd rather have a low-quality upload instead of no upload at all.
To avoid this, always try to upload your Stories when you are connected to a fast and stable Wi-Fi network. If you suspect your connection is the problem, try uploading the same Story from a different, faster network to see if it makes a difference.
If you're a content creator, marketer, or just someone who refuses to compromise on quality, these advanced steps will push your Stories to the next level.
This might sound odd, but it’s a strategy used by professional creators. Instead of giving Instagram a massive 4K video file and hoping for the best, you can thoughtfully compress the video yourself first. By doing this, you control what information gets discarded, allowing you to create a high-quality file that's already within Instagram's preferred size and data rate limits. When Instagram's system sees a file that doesn't need much work, its own compression algorithm backs off, preserving your precious quality.
You can use a free desktop tool like Handbrake or the export settings in professional software like Adobe Premiere Pro. For a 1080p Instagram Story video, aim for these general settings:
Interactive elements like GIFs, music stickers, polls, and quizzes are what make Stories so engaging. However, they can also impact quality. Each element you add requires processing power and can introduce compression artifacts, especially animated GIFs, which are often very low-quality files to begin with.
This doesn't mean you should avoid them altogether. Just be mindful. If your source video or photo is tack-sharp and you add one or two simple elements, you'll likely be fine. But if you have a video that's already borderline and you plaster it with multiple flashing GIFs, don't be surprised if the final result looks a bit crunchy.
Fixing your Instagram Story quality comes down to controlling as many variables as you can before you upload. By shooting with your native camera, formatting your content to Instagram's ideal specs, and flipping on the high-quality upload setting, you can get consistently crisp and professional-looking results.
I know how frustrating it is when your platform fights you on something as simple as image quality - it’s a big reason why we built Postbase. We designed it for modern short-form video formats first, helping protect the integrity of your visual content so your schedule looks as good online as it does in your drafts. Since it's built to publish your content reliably without unexpected compression or formatting headaches, you can spend more time creating and less time troubleshooting why things don't look right.
Spencer's spent a decade building products at companies like Buffer, UserTesting, and Bump Health. He's spent years in the weeds of social media management—scheduling posts, analyzing performance, coordinating teams. At Postbase, he's building tools to automate the busywork so you can focus on creating great content.

Enhance your email signature by adding social media icons. Discover step-by-step instructions to turn every email into a powerful marketing tool.
Record clear audio for Instagram Reels with this guide. Learn actionable steps to create professional-sounding audio, using just your phone or upgraded gear.
Check your Instagram profile interactions to see what your audience loves. Discover where to find these insights and use them to make smarter content decisions.
Requesting an Instagram username? Learn strategies from trademark claims to negotiation for securing your ideal handle. Get the steps to boost your brand today!
Attract your ideal audience on Instagram with our guide. Discover steps to define, find, and engage followers who buy and believe in your brand.
Activate Instagram Insights to boost your content strategy. Learn how to turn it on, what to analyze, and use data to grow your account effectively.
Wrestling with social media? It doesn’t have to be this hard. Plan your content, schedule posts, respond to comments, and analyze performance — all in one simple, easy-to-use tool.

