

How to Add Social Media Icons to an Email Signature
Enhance your email signature by adding social media icons. Discover step-by-step instructions to turn every email into a powerful marketing tool.
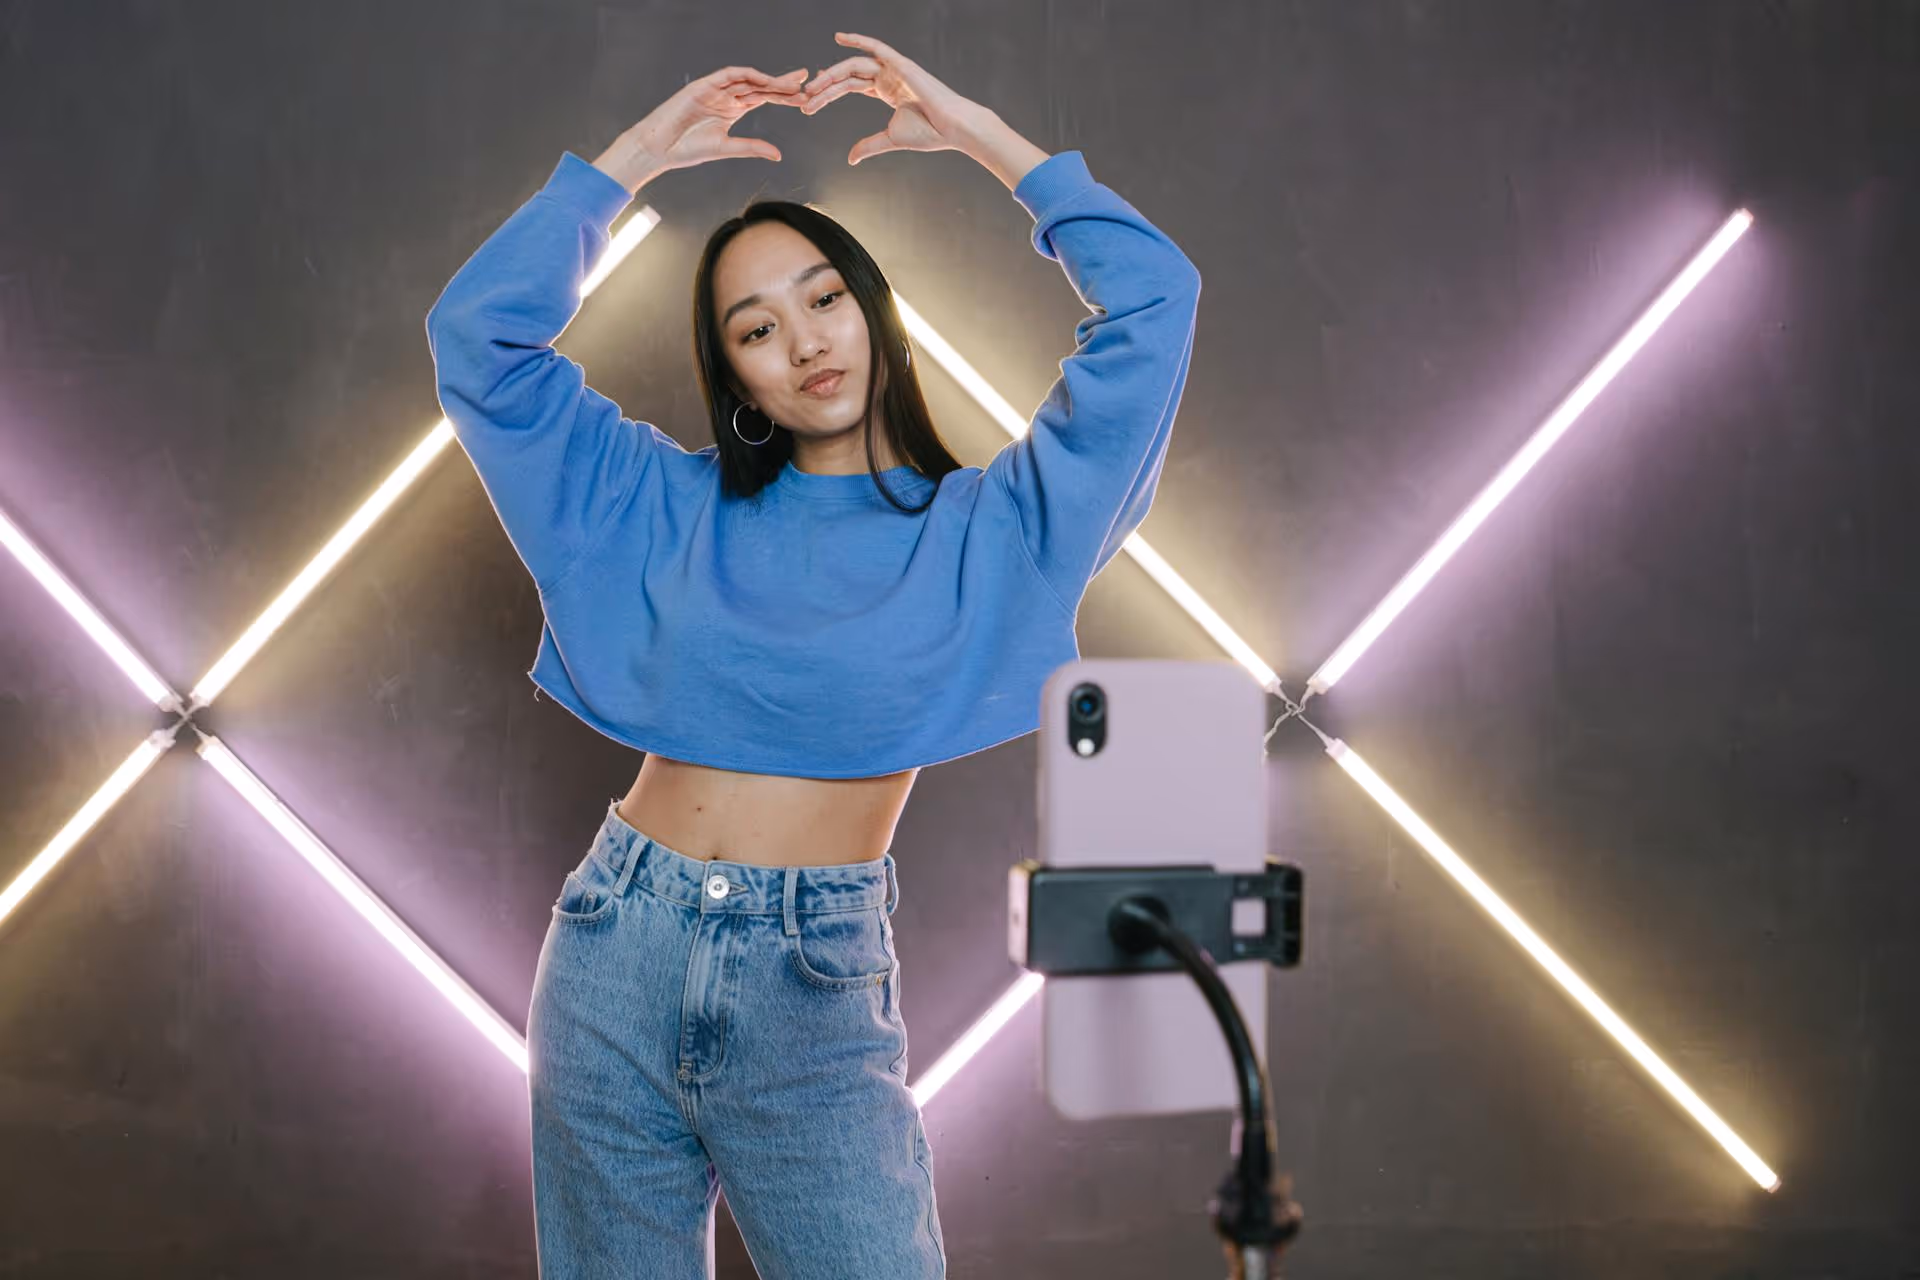
Nothing's more frustrating than spending time on the perfect shot only to have Instagram turn it into a blurry, pixelated mess. The good news is that you're not doing anything wrong, and it’s definitely fixable. This guide will walk you through exactly why this happens and give you actionable steps to keep your photos and videos looking tack-sharp every time you post.
The main reason your images lose quality on Instagram comes down to one word: compression. Instagram is a gigantic platform, hosting billions of photos. To keep the app running fast and to save on server costs, it automatically compresses every file you upload. If your image doesn't match its specific guidelines for size, dimensions, and file type, Instagram's compression algorithm works overtime and can aggressively degrade the quality of your image, resulting in that dreaded blurriness.
Your goal is to prepare your photos and videos in a way that minimizes the damage from this compression. Essentially, you want to hand Instagram an image that's as close to its final preferred format as possible, giving its algorithm less work to do. By taking control of the process, you can maintain the crispness and clarity of your original work.
Here are the proven methods to beat the algorithm and upload high-quality content, from pre-shoot checks to final upload settings.
This is the most impactful step you can take. When you upload an image with dimensions Instagram doesn't favor, it will crop and resize it for you, often with poor results. Instead of letting the app guess, resize your images to the platform’s preferred dimensions before you upload.
Keep the width of your photos at 1080 pixels. This is the sweet spot. The height will change depending on the orientation you choose.
Most photo editing software lets you crop to a specific aspect ratio or resize to exact pixel dimensions. In apps like Lightroom or Photoshop, you can use the crop tool to select a 4:5 ratio or set export dimensions to 1080px on the short edge. Free apps like Canva or Snapseed also have user-friendly cropping and resizing tools that let you input custom dimensions.
How you save your photo matters just as much as its dimensions. Instagram deals with different file types in different ways.
You’ve meticulously edited and exported a beautiful, sharp photo on your computer... then you text it to yourself, and it arrives on your phone looking blurry. What happened? Most messaging services - including iMessage, WhatsApp, and Facebook Messenger - automatically compress media files to send them faster. You need a transfer method that preserves the original file quality.
Whatever you do, avoid screenshotting your photos. A screenshot captures a lower-resolution version of your screen, not your full-quality image, and guarantees poor quality on Instagram.
Instagram has a hidden setting that can significantly improve your upload quality, but it's often turned off by default to save mobile data. It essentially tells the app: "I don't care about my data plan, upload the best version of this post." It's a quick fix that makes a real difference.
(Note: Older versions of the app might have this under "Account" -> "Cellular Data Use"). Turning this on ensures your posts are held to a higher standard during the upload process, both on Wi-Fi and cellular data.
This may sound obvious, but no amount of post-processing can save a photo that was blurry in the first place. You can’t add detail that wasn't captured initially. Simple camera habits can drastically improve the sharpness of your source files.
Since you know Instagram will soften your image slightly during compression, you can counteract that by applying a small amount of sharpening during your edit. Nearly every photo editing app has a sharpening tool or a “structure” or “clarity” slider.
The key here is moderation. Do this as the very last step in your editing workflow. Zoom in on the photo to 100% to check the effect. You're looking for a subtle boost in definition around the edges, not a harsh, grainy texture. Over-sharpening creates ugly digital artifacts and can make your image look even worse after compression. A little goes a long way.
Stopping blurry Instagram photos isn't a secret trick but a series of small, intentional steps. By preparing your images for Instagram's compression with the right dimensions, using lossless transfer methods, and enabling high-quality settings, you take back control and ensure your content hits the feed looking clean, sharp, and professional.
Once you’ve perfected your image workflow, publishing content reliably becomes the next job. When we built Postbase, we were tired of tools that struggled with modern media formats. Our platform was designed for today's social reality, supporting high-quality Reels, Stories, and videos without the random compression issues or connection headaches that cause problems elsewhere. We prioritize reliability, so you can schedule your perfectly prepped content and trust that it will go live exactly as you intended.
```
Spencer's spent a decade building products at companies like Buffer, UserTesting, and Bump Health. He's spent years in the weeds of social media management—scheduling posts, analyzing performance, coordinating teams. At Postbase, he's building tools to automate the busywork so you can focus on creating great content.

Enhance your email signature by adding social media icons. Discover step-by-step instructions to turn every email into a powerful marketing tool.
Record clear audio for Instagram Reels with this guide. Learn actionable steps to create professional-sounding audio, using just your phone or upgraded gear.
Check your Instagram profile interactions to see what your audience loves. Discover where to find these insights and use them to make smarter content decisions.
Requesting an Instagram username? Learn strategies from trademark claims to negotiation for securing your ideal handle. Get the steps to boost your brand today!
Attract your ideal audience on Instagram with our guide. Discover steps to define, find, and engage followers who buy and believe in your brand.
Activate Instagram Insights to boost your content strategy. Learn how to turn it on, what to analyze, and use data to grow your account effectively.
Wrestling with social media? It doesn’t have to be this hard. Plan your content, schedule posts, respond to comments, and analyze performance — all in one simple, easy-to-use tool.

