TikTok

How to DJ Live on TikTok

By Spencer Lanoue
October 31, 2025

Going live on TikTok is one of the quickest ways for a DJ to connect with a global fanbase, test new tracks, and build a real community right from their bedroom or studio. This guide breaks down everything you need to know, from the essential gear and software for a clean, professional stream to the tactics that will keep viewers locked in and coming back for more.

Why DJing on TikTok LIVE is a Game-Changer

Before getting into the technical setup, let's talk about why you should even bother. Unlike pre-recorded mixes, a live stream creates an immediate, unfiltered connection. The benefits are massive:

  • Direct Fan Engagement: Viewers can drop comments, request songs, and send virtual gifts in real-time. Acknowledging them by name, giving shout-outs, and reacting to the chat makes your audience feel like they're part of the show, not just watching it.
  • Powerful Algorithmic Reach: TikTok's algorithm loves LIVE content. When you go live, your stream doesn't just go to your followers, it gets pushed onto the For You Page, putting your skills in front of thousands of potential new fans who have never heard of you.
  • Authentic Brand Building: A live set is an opportunity to show off more than just your mixing skills. It reveals your personality, your taste in music, and your ability to read a crowd. This authenticity is what turns casual viewers into loyal followers.
  • Monetization Opportunities: As your account grows, you can monetize through TikTok’s suite of creator tools. Virtual gifts sent by viewers can be converted into real currency, turning your passion into a potential income stream.

Getting Your Gear Right: The Foundation of a Great Stream

Nothing kills a DJ stream faster than bad audio. Viewers will forgive a slightly blurry camera, but they will not tolerate distorted, fuzzy, or low-quality sound. Let's get your setup sounding crystal clear.

The Core Setup: What You Absolutely Need

Every setup starts with the basics you likely already have:

  • DJ Controller, CDJs, or Turntables: Whatever you use to mix.
  • Laptop with DJ Software: Serato, Rekordbox, Traktor, Virtual DJ, etc.
  • Your Phone: This will be your camera and broadcast device for the stream.
  • A Solid Internet Connection: Plug directly into your router with an ethernet cable if possible. A shaky Wi-Fi connection is the enemy of a smooth live stream.

Channeling Your Audio: From Your Decks to Your Phone

This is the most critical technical step, and it's where most new streamers get stuck. You cannot just use your phone's built-in microphone, it will sound terrible. You need to get a direct line-out from your controller or mixer into your phone. Here are the two best ways to do it.

Option 1: The Simple Cable Method (Good)

This is the most budget-friendly way to get started. It gets the job done, but it has some limitations, like converting your stereo audio into mono.

  1. Get the Right Cables: You'll need an RCA to 3.5mm cable and a 3.5mm TRS to TRRS adapter. The Rode SC4 is the go-to adapter for this and works reliably. The TRRS end has three black rings, which is what your phone's headphone jack (or adapter dongle) needs to recognize it as a microphone input.
  2. Connect Everything: Plug the RCA ends into the Master Output on your DJ controller. Connect the other end to the TRRS adapter, and then plug the adapter into your phone (or your phone's Lightning/USB-C adapter).
  3. Manage Your Levels: Make a test recording before going live. Check for distortion (clipping). If the audio is too loud and distorted, turn down the Master Output knob on your controller until it sounds clean.

Option 2: The USB Audio Interface Method (Best)

For pristine stereo sound and better control over your levels, investing in a small audio interface is the ultimate move. This is the setup most professional DJs use for their mobile streams.

  1. Choose Your Interface: Devices like the iRig Stream or Roland GO:MIXER Pro-X are made specifically for this purpose. They are compact, powered by your phone, and have simple controls. Alternatively, a standard studio interface like a Focusrite Scarlett 2i2 will also work perfectly.
  2. Connections are Key: Run cables (either RCA or 1/4-inch, depending on your gear) from your DJ controller’s Master or Booth Output into the inputs on the audio interface.
  3. Final Link to Your Phone: Use a USB cable to connect the audio interface to your phone. You'll likely need an official Apple Lightning to USB adapter (for iPhones) or a USB-C OTG ("On-The-Go") adapter (for Android) to make this work.
  4. Set Your Audio Levels: The interface gives you a physical gain knob to control the audio level going into your phone. Start with the gain low and slowly turn it up while monitoring a test recording. You want the level to be loud and clear, but never in the "red" zone, which indicates distortion.

Look the Part: Creating an Engaging Visual Experience

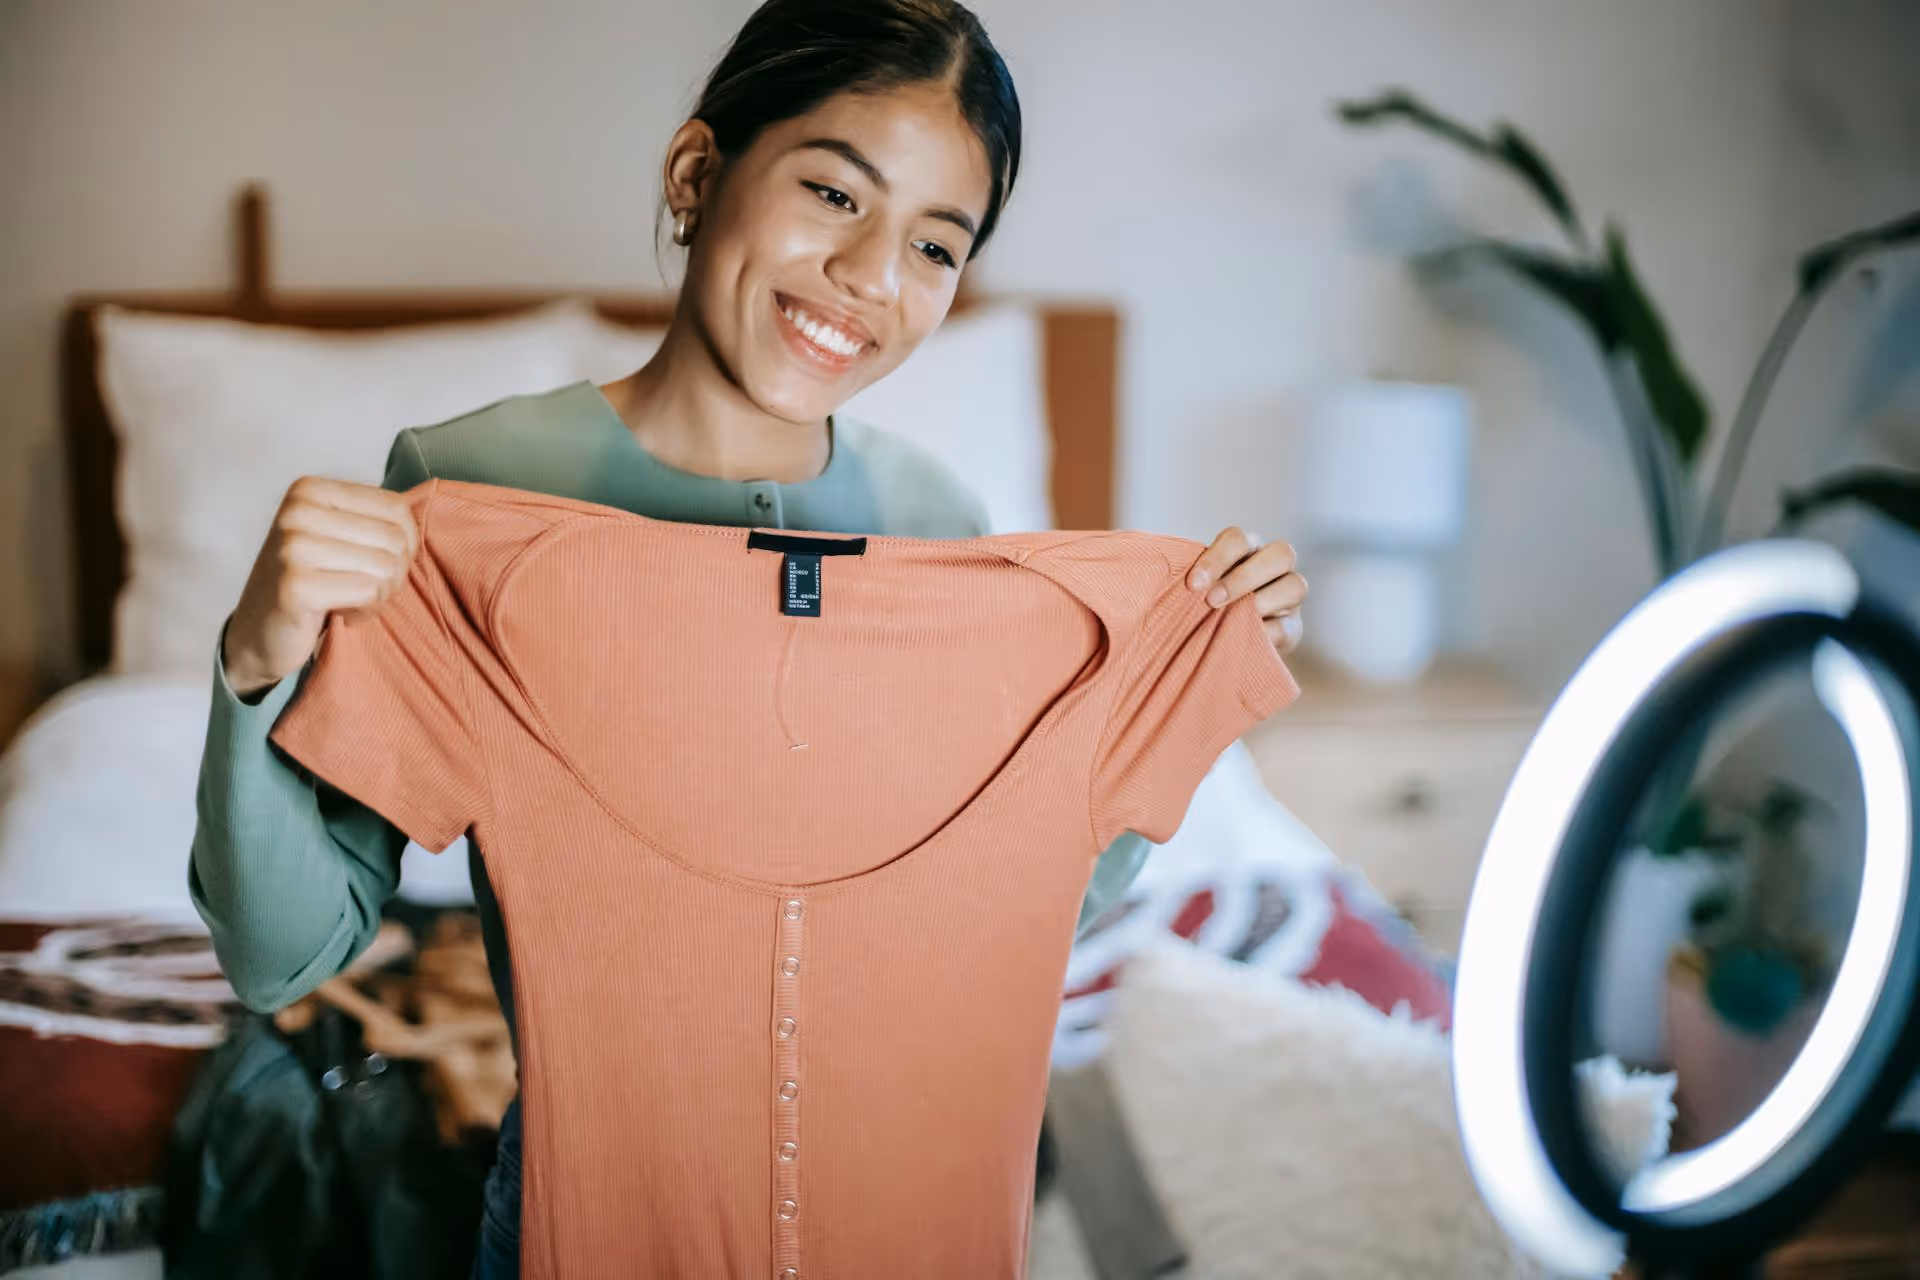
With your audio sorted, it's time to think about what your audience will see. A visually appealing stream makes people stick around longer.

Camera & Lighting

You don't need a Hollywood film crew, but a little effort goes a long way. Use your phone's back camera, as it's almost always higher quality than the selfie camera. Mount your phone on a sturdy tripod or stand to avoid shaky footage. A simple desk clamp or a full-sized tripod will work.

Lighting is just as important as audio. A dark, grainy stream looks unprofessional. Invest in a simple ring light to illuminate your face and setup. You can also use background lighting, like LED strips or colored smart bulbs, to create a mood and make your space look more dynamic.

Find Your Best Angle

Experiment with a few different camera positions to find what works for your space and style.

  • The Classic DJ Booth Shot: An over-the-shoulder angle that shows your hands on the faders and decks is extremely engaging for viewers who want to see how you mix.
  • The Front-On View: This angle is great for connecting with your audience, as they can see your face, your expressions, and your reactions to the music.
  • The Wide Shot: If you have a well-designed background, a wider shot can capture the entire vibe of your studio or room.

Now You're Live: How to Keep People Watching

Going live is only half the battle. Now you need to be a host and entertainer. Your goal is to stop people from endlessly scrolling through their For You Page.

Before You Go Live: Promote Your Set

Build anticipation for your stream. An hour before you go live, don't just hit the button and hope people show up.

  • Create Announcement Videos: Post short videos a day or two in advance telling people when you'll be live. "Going live tomorrow at 8 PM EST with a special house music set! Don't miss it."
  • Use TikTok's Tools: When scheduling a LIVE event in the app, TikTok will let your followers sign up for notifications. You can also use the countdown sticker in your Stories on TikTok and Instagram.
  • Cross-Promote Everywhere: Let your followers on other platforms (Instagram, X, Facebook) know you're going live on TikTok.

During the Stream: Be the Host

Engagement keeps the algorithm happy and your viewer count high.

  • Welcome Newcomers: As people join, welcome them. "What's up, London! Thanks for joining." It makes a huge difference.
  • Acknowledge the Chat: Keep an eye on the comments and respond to questions. Shout out usernames and thank viewers for the follow or for sharing the stream.
  • Interact with Gifts: When a viewer sends a virtual gift, give them a personalized thank you. This shows your appreciation and encourages others to participate.
  • Call to Action: Regularly prompt your audience to engage. Simple phrases work wonders: “Tap the screen if you’re feeling this track!” or “Follow me if you want to catch the next set!”

Staying out of Trouble: Copyright on TikTok

Copyright on live streams is a tricky subject. TikTok has deals with major music labels, but its automated system can still flag content and mute or even end your stream without warning.

While you can't eliminate the risk entirely, you can reduce it:

  • Play Remixes and Bootlegs: The algorithm is less likely to recognize unofficial remixes and edits than the original studio versions.
  • Keep It Moving: Don't play one song from start to finish. Mix quickly and keep transitions flowing. Streams are often flagged when one identifiable track plays uninterrupted for too long.
  • Mix Underground: Playing tracks from smaller indie labels or less-mainstream genres tends to attract less copyright attention than spinning the top 40 charts.

Disclaimer: This is not legal advice, but practical guidance based on the experience of many DJs on the platform. The risk of a takedown always exists.

Final Thoughts

DJing on TikTok LIVE is about more than just playing music, it's about building a connection. By dialing in your technical setup, creating an engaging visual experience, and actively interacting with your audience, you can turn your live streams from a simple broadcast into a must-see event that grows your fanbase one mix at a time.

Of course, promoting those live sets consistently across all your socials can feel like a full-time job in itself. After creating all the video announcements and graphics, we found that planning it all out visually made a huge difference. Using a tool like Postbase helped us see our entire promotional schedule on one calendar, lining up TikToks and Reels to build hype. It streamlined the whole process, giving us more time to focus on what matters most - planning the actual music for the stream.

Spencer's spent a decade building products at companies like Buffer, UserTesting, and Bump Health. He's spent years in the weeds of social media management—scheduling posts, analyzing performance, coordinating teams. At Postbase, he's building tools to automate the busywork so you can focus on creating great content.

Other posts you might like

How to Add Social Media Icons to an Email Signature

Enhance your email signature by adding social media icons. Discover step-by-step instructions to turn every email into a powerful marketing tool.

Read more

How to Add an Etsy Link to Pinterest

Learn how to add your Etsy link to Pinterest and drive traffic to your shop. Discover strategies to create converting pins and turn browsers into customers.

Read more

How to Grant Access to Facebook Business Manager

Grant access to your Facebook Business Manager securely. Follow our step-by-step guide to add users and assign permissions without sharing your password.

Read more

How to Record Audio for Instagram Reels

Record clear audio for Instagram Reels with this guide. Learn actionable steps to create professional-sounding audio, using just your phone or upgraded gear.

Read more

How to Add Translation in an Instagram Post

Add translations to Instagram posts and connect globally. Learn manual techniques and discover Instagram's automatic translation features in this guide.

Read more

How to Optimize Facebook for Business

Optimize your Facebook Business Page for growth and sales with strategic tweaks. Learn to engage your community, create captivating content, and refine strategies.

Read more

Stop wrestling with outdated social media tools

Wrestling with social media? It doesn’t have to be this hard. Plan your content, schedule posts, respond to comments, and analyze performance — all in one simple, easy-to-use tool.

Schedule your first post
The simplest way to manage your social media
Rating