

How to Add Social Media Icons to an Email Signature
Enhance your email signature by adding social media icons. Discover step-by-step instructions to turn every email into a powerful marketing tool.
Claiming your Etsy shop on Pinterest is one of the most effective ways to connect your products with a massive audience actively looking for things to buy. This quick verification process unlocks powerful analytics, enhances your Pins with live product information, and builds trust with potential customers. This guide will walk you through exactly why this matters and the simple steps to get it done.
When you "claim" your Etsy shop, you're officially telling Pinterest that you are the owner of that specific web property. It's like putting up a digital "Verified Owner" sign. Once verified, Pinterest gives you special perks because it trusts that the content originating from your Etsy shop link is authentically yours. This simple handshake between the two platforms allows them to share data, giving you more control over your brand and deeper insights into your audience.
Without claiming, any pin from your Etsy shop (whether pinned by you or a customer) is just another link. After claiming, every existing and future pin from your shop is stamped with your Pinterest profile picture and a follow button, creating a powerful branding and traffic-driving network effect across the platform.
If you're on the fence, here are the serious advantages you gain by taking ten minutes to complete this process. This isn't just a vanity checkmark, it's a strategic business move.
Before you claim your shop, your Pinterest Analytics are limited. You can see how your own Pins perform, but you have a massive blind spot: you can't see what everyone else is pinning from your Etsy shop. Once claimed, the curtain is lifted.
You'll be able to see:
This data is pure gold. If you discover that a product you rarely promote is a viral hit on Pinterest, you know exactly where to focus your marketing efforts.
This might be the single biggest benefit. Once your shop is claimed, Pinterest can enable Product Rich Pins for your listings. Rich Pins automatically sync information from your Etsy page directly to the Pin itself. For Etsy sellers, this means your Pins will display:
This transforms a simple image into a dynamic, direct-sales tool. Users know the price and availability before they even click, qualifying them as customers and dramatically increasing the likelihood of a purchase.
Trust is an enormous factor in online sales. A claimed account links every single Pin from your Etsy shop back to you. When a potential customer organically discovers one of your products pinned by someone else, they'll see your profile picture and a link to your Pinterest account right on that Pin. This direct attribution accomplishes two things:
Claiming your account also gives you a say in what's being shown. While you can't control everything, it opens up better access to editing your Rich Pin information and gives you a more direct line to Pinterest's tools for content creators and businesses. It solidifies your presence on the platform, moving you from a casual user to a recognized brand.
Ready to get started? The process is straightforward and only takes a few minutes. Just follow these steps carefully.
First, we need to grab a unique piece of code from Pinterest. This is your digital key.
<,meta name="p:domain_verify" content="a1b2c3d4e5f6..."/>,. Click on this line of code to copy it to your clipboard.Keep this Pinterest tab open! You'll need to come back to it in the final step.
Now, we'll paste that line of code into your Etsy settings. This is how you'll prove to Pinterest that you own the shop.
<,meta name...>, part, not just the content number.With the key now in place on your Etsy shop, it's time to tell Pinterest to go check the lock.
https://www.etsy.com/shop/YourShopName. Make sure to replace "YourShopName" with your actual shop name.After you click verify, Pinterest will check your Etsy shop for the meta tag. This process can sometimes be instant, but Pinterest states it can take up to 24 hours. Don't be discouraged if it doesn't happen right away. You'll receive an email from Pinterest once the verification is successful. You can also check back in your "Claimed accounts" settings - a small globe icon with a checkmark will appear next to your Etsy shop URL once it’s been approved.
Claiming your shop is the first step. Now you can leverage this connection to drive real growth. Here's how to make the most of it.
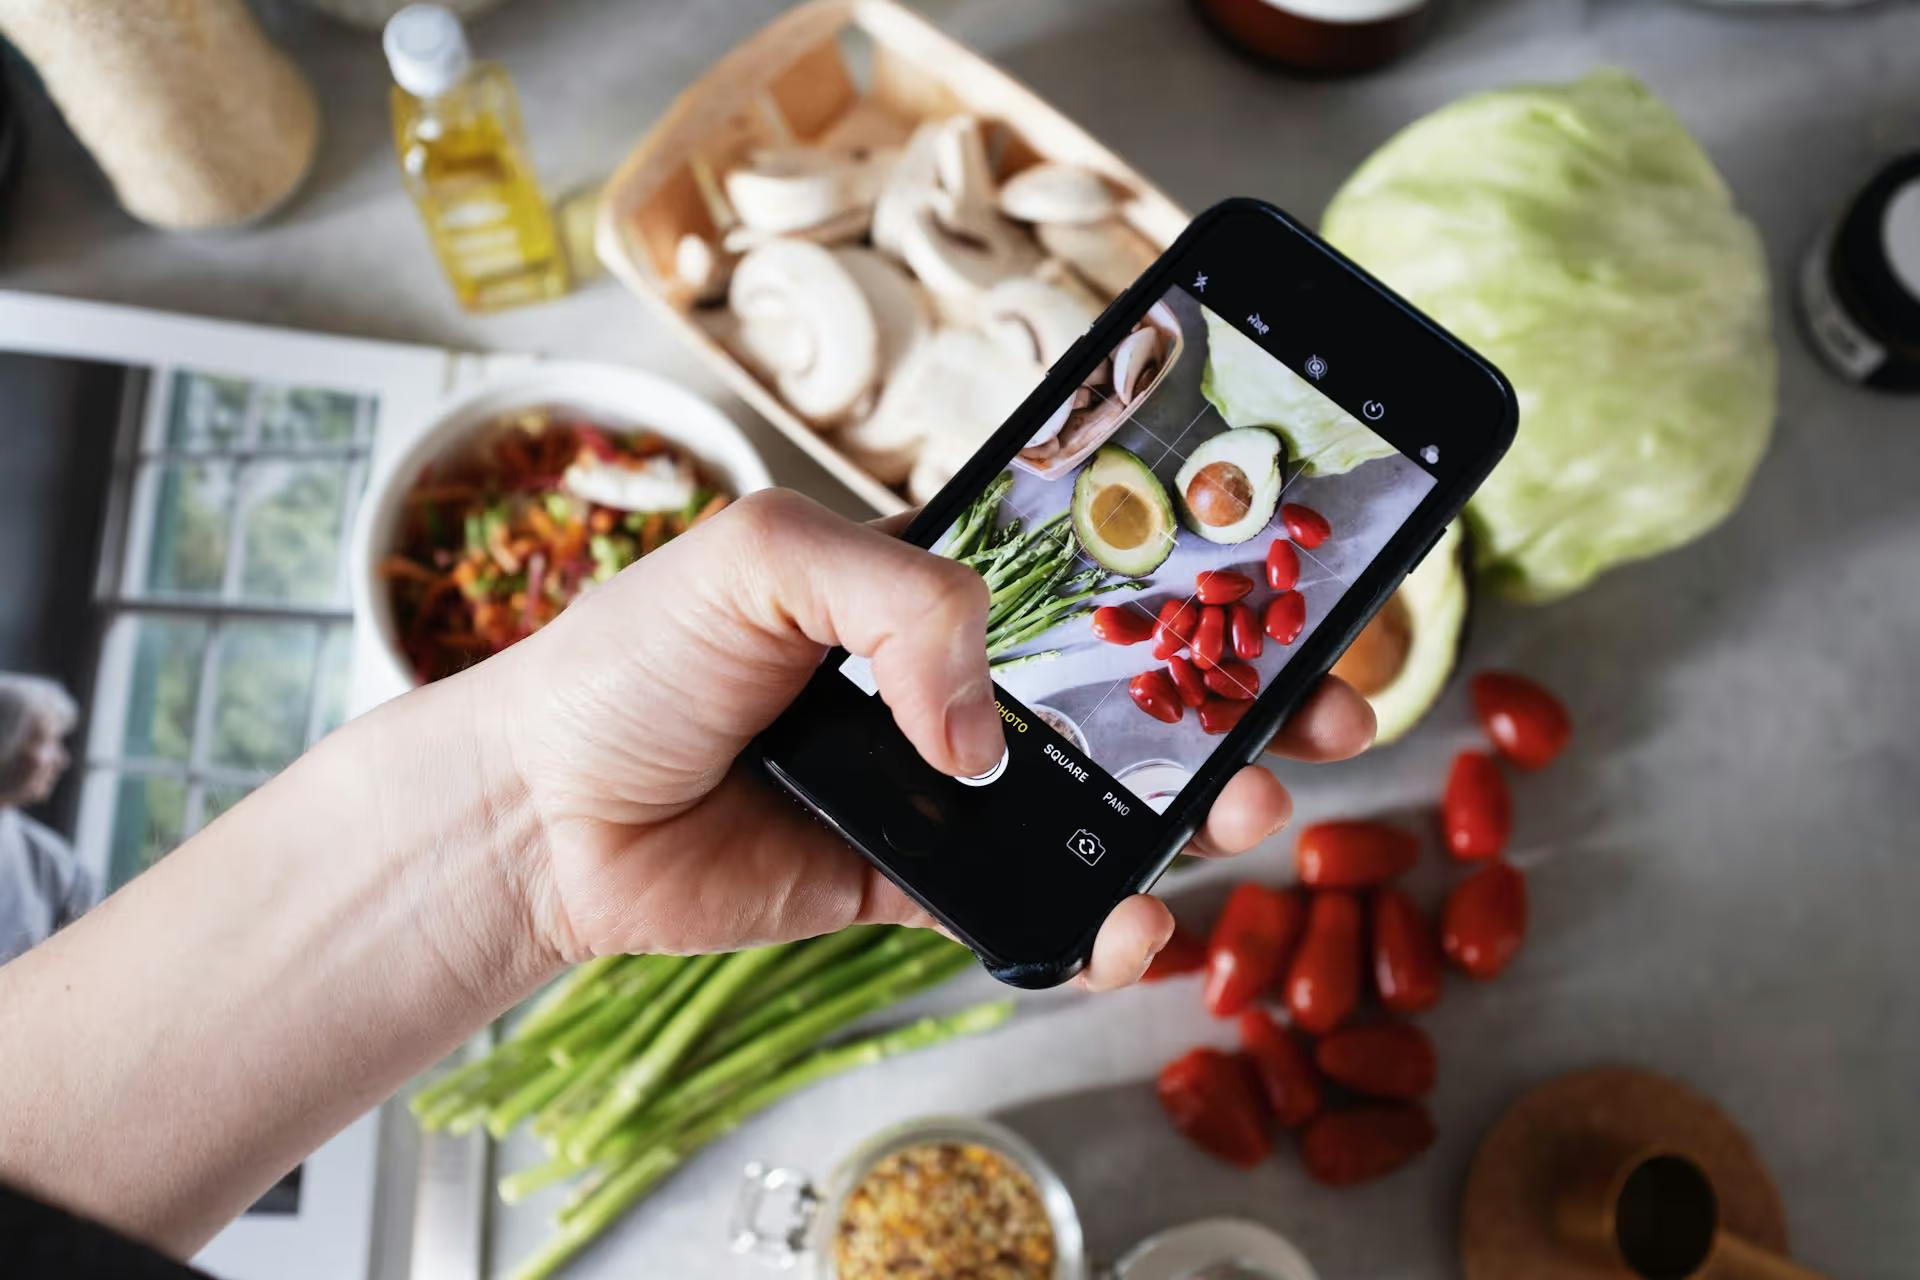
Pinterest isn't just a place to dump product photos. It's a visual search engine where people plan their futures - weddings, home renovations, vacations, and purchases. Your strategy should reflect this.
In a sea of beautiful images, your Pins need to stand out. Here are a few tips:
Taking a few moments to claim your Etsy shop on Pinterest is a high-impact task that brings immediate and long-term benefits. By enabling deep analytics, adding dynamic product details to your Pins, and boosting your brand's credibility, you turn Pinterest from a passive traffic source into an active and intelligent part of your marketing engine.
Once you’re successfully claimed, the real fun of building your presence begins, and having a consistent schedule for your awesome content is absolutely essential for growth. At Postbase, we designed our platform specifically to help creators and small businesses streamline this process. With our visual content calendar, you can plan your pins weeks in advance, see your entire strategy at a glance, and confidently schedule content across all your social channels. We built it to be a reliable partner that ensures your posts go live when you plan them, every time, so you can focus more on creating and less on the manual task of posting.
Spencer's spent a decade building products at companies like Buffer, UserTesting, and Bump Health. He's spent years in the weeds of social media management—scheduling posts, analyzing performance, coordinating teams. At Postbase, he's building tools to automate the busywork so you can focus on creating great content.

Enhance your email signature by adding social media icons. Discover step-by-step instructions to turn every email into a powerful marketing tool.
Record clear audio for Instagram Reels with this guide. Learn actionable steps to create professional-sounding audio, using just your phone or upgraded gear.
Check your Instagram profile interactions to see what your audience loves. Discover where to find these insights and use them to make smarter content decisions.
Requesting an Instagram username? Learn strategies from trademark claims to negotiation for securing your ideal handle. Get the steps to boost your brand today!
Attract your ideal audience on Instagram with our guide. Discover steps to define, find, and engage followers who buy and believe in your brand.
Activate Instagram Insights to boost your content strategy. Learn how to turn it on, what to analyze, and use data to grow your account effectively.
Wrestling with social media? It doesn’t have to be this hard. Plan your content, schedule posts, respond to comments, and analyze performance — all in one simple, easy-to-use tool.

