

How to Add Social Media Icons to an Email Signature
Enhance your email signature by adding social media icons. Discover step-by-step instructions to turn every email into a powerful marketing tool.
Uploading a 360 video to Facebook is your ticket to creating truly immersive and unforgettable experiences for your audience. Done right, these videos make viewers feel like they're right there with you, allowing them to look up, down, and all around at their own pace. This guide provides a straightforward path to uploading your 360 videos correctly, optimizing them for engagement, and avoiding the common pitfalls that leave videos looking flat and distorted.
Before we get into the technical steps, let's quickly cover why 360 videos are such a powerful tool for brands, creators, and marketers. Unlike a standard video that offers a single, fixed viewpoint, a 360 video captures a complete spherical scene. When viewed on a phone, your audience can physically move their device to look around. On a desktop, they can click and drag to explore the environment. This simple difference turns passive viewing into an active, interactive experience.
Why should this matter to you? Because interaction is the currency of social media. An immersive format naturally invites engagement in a way that static content can't. Here are a few ways brands are using them to connect with their audiences:
In a world of endless scrollable content, 360 video is an effective way to make people stop, look around, and spend more time with your brand. That increased "dwell time" signals to Facebook's algorithm that your content is valuable, potentially boosting its reach a lot further.
You can't just take a 360 video from your camera and throw it onto Facebook. If you do, it will probably look like a warped, strange-looking panoramic video that no one knows how to watch. The secret to making it work lies in one small but essential piece of data: metadata. This special tag tells Facebook, "Hey, this isn't a normal video - it's a 360-degree experience!"
Before adding metadata, make sure your video file is already in good shape. Facebook has recommendations for the best quality playback:
This sounds technical, but it's actually a quick, one-time step that you'll perform after you've edited your video and before you upload it. Most professional 360 cameras automatically include this metadata, but many consumer-grade cameras or editing software programs will strip it out. Double-checking and injecting it yourself guarantees that Facebook will recognize it. The easiest way to do this is with a free tool called the Spatial Media Metadata Injector.
Here's how to use it:
That's it. Your video is now officially prepped with the invisible instructions Facebook needs to display it correctly.
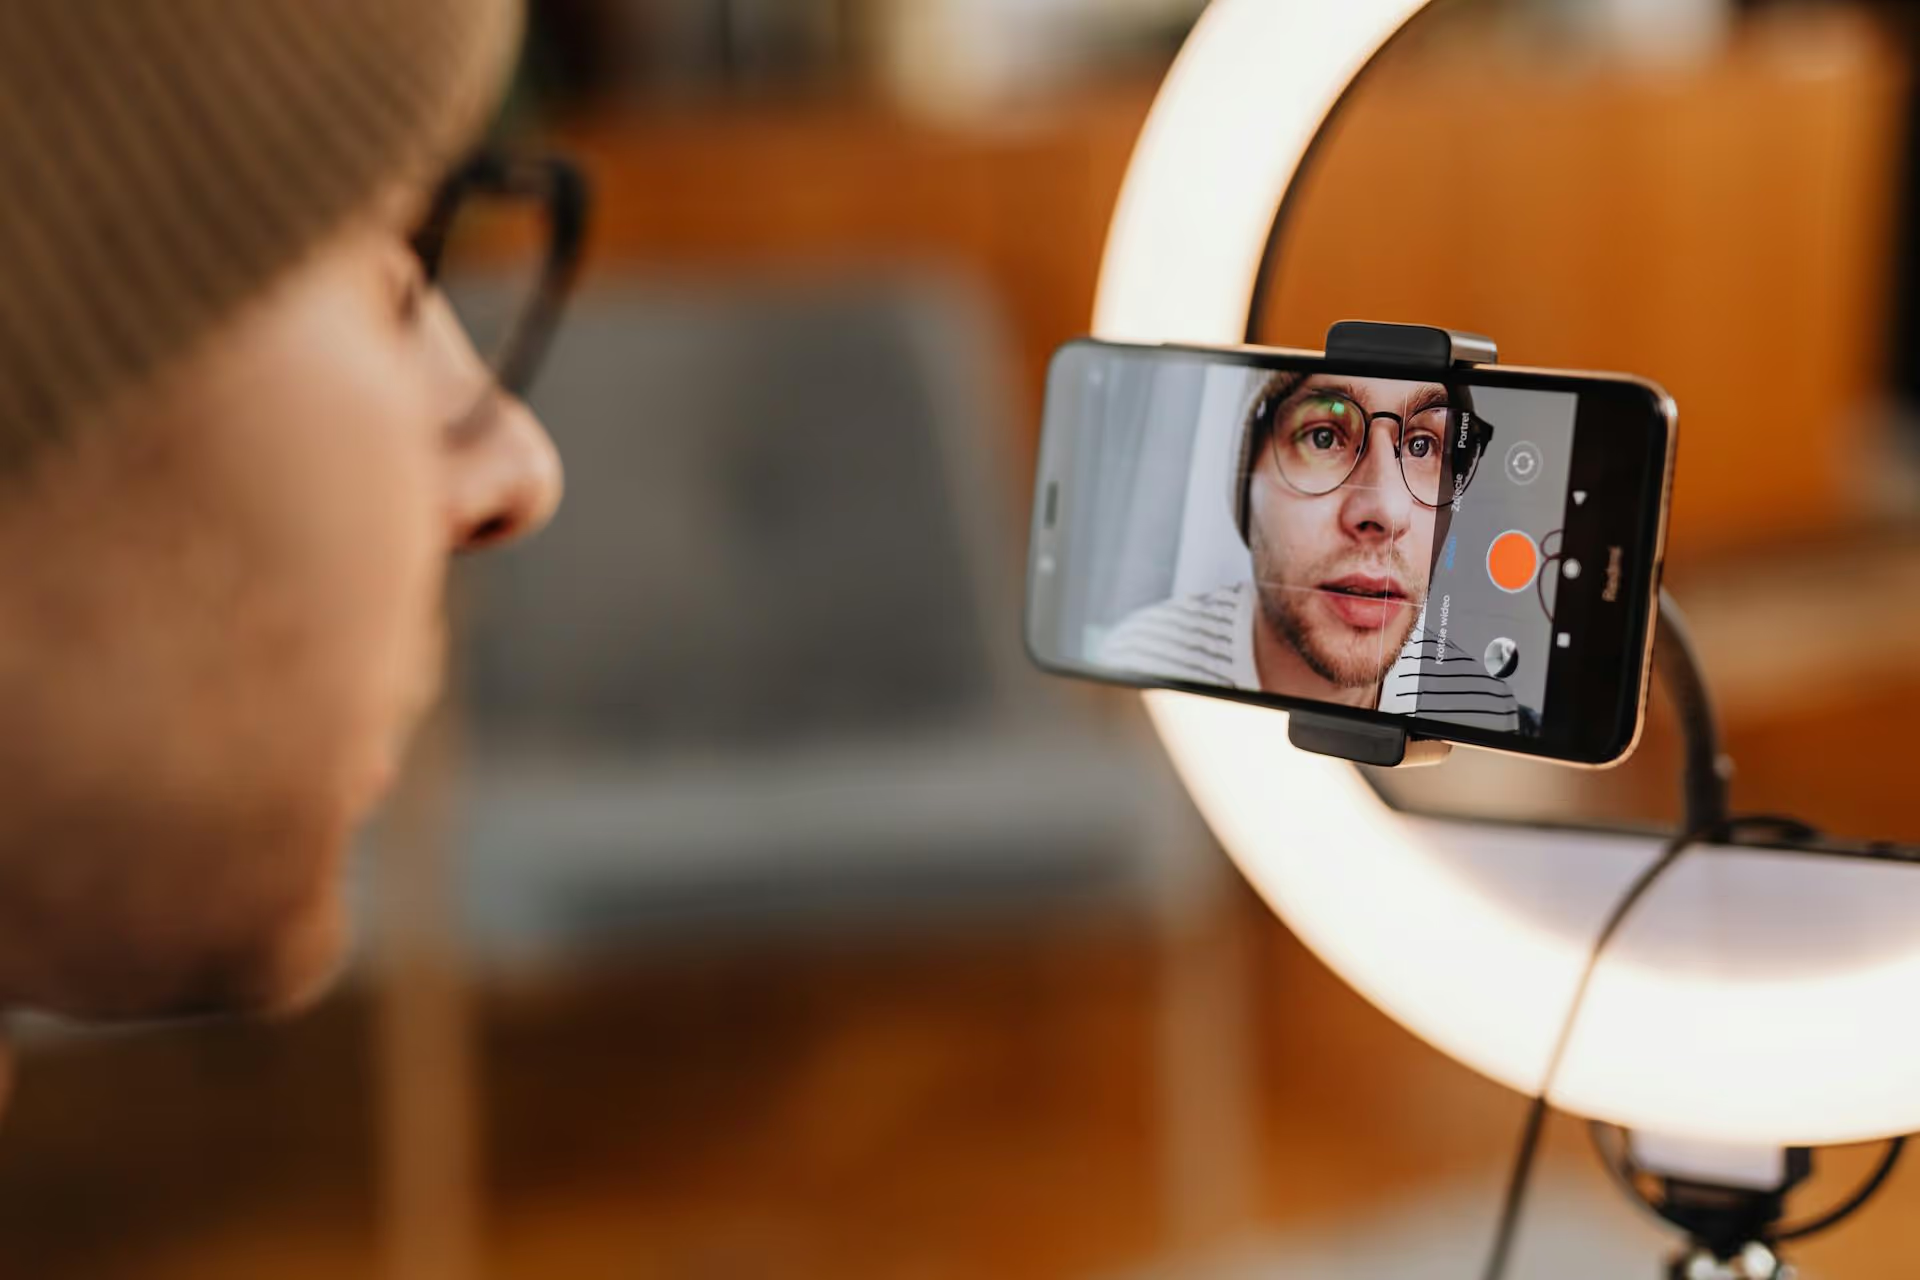
Now for the main event. For the best success and access to all the 360 controls, uploading from a desktop computer is highly recommended.
Go to where you want to post the video. The process is nearly identical whether it's your personal profile, a business page you manage, or a community group.
Inside the video options, you'll see a few tabs. Skip straight to the one labeled "360 Controls." This section is specifically for your immersive video and has two critical settings.
This is arguably the most important optimization you can perform for a 360 video. When someone sees your video in their feed, the Initial View determines what part of the 360-degree scene they see first. If you don't set this, it will default to the center of the panoramic frame, which might be boring or miss the main point of your video entirely.
Here you'll see radio buttons for your video's format. Facebook usually detects this correctly, but you can override it if needed. For most cameras and projects, you will simply confirm that Monoscopic (360) is selected. If you shot with a specialized 3D 360 camera, you would pick the corresponding 3D format.
Before you publish, take a moment to fill out the standard video details. Go back to the "Video Details" tab.
Once everything looks good, you can either click "Publish" or schedule it for a later time. After it's live, give it a quick check on both desktop and mobile to make sure the 360 experience is smooth and the initial view appears as you set it.
Mastering the upload process for 360 videos on Facebook boils down to two key steps: preparing your file with the correct metadata and using the "360 Controls" during the upload to set the right starting point. Getting those details right transforms your post from a confusing panoramic clip into a polished, immersive experience that captivates your audience and makes your brand stand out from the endless feed of traditional content.
Since so much of modern social media hinges on video, we built Postbase from the ground up to support the new wave of engaging formats like Reels, Shorts, and yes, even more advanced videos like 360 media. Our platform is engineered to let you schedule your entire content calendar - across all platforms - without wrestling with clunky legacy tools that treat video as an afterthought. You can plan ahead with our visual calendar, optimize content for each network, and trust that posts will publish reliably every time.
Spencer's spent a decade building products at companies like Buffer, UserTesting, and Bump Health. He's spent years in the weeds of social media management—scheduling posts, analyzing performance, coordinating teams. At Postbase, he's building tools to automate the busywork so you can focus on creating great content.

Enhance your email signature by adding social media icons. Discover step-by-step instructions to turn every email into a powerful marketing tool.
Record clear audio for Instagram Reels with this guide. Learn actionable steps to create professional-sounding audio, using just your phone or upgraded gear.
Check your Instagram profile interactions to see what your audience loves. Discover where to find these insights and use them to make smarter content decisions.
Requesting an Instagram username? Learn strategies from trademark claims to negotiation for securing your ideal handle. Get the steps to boost your brand today!
Attract your ideal audience on Instagram with our guide. Discover steps to define, find, and engage followers who buy and believe in your brand.
Activate Instagram Insights to boost your content strategy. Learn how to turn it on, what to analyze, and use data to grow your account effectively.
Wrestling with social media? It doesn’t have to be this hard. Plan your content, schedule posts, respond to comments, and analyze performance — all in one simple, easy-to-use tool.

