Facebook Tips & Strategies

How to Schedule Reels on Facebook

By Spencer Lanoue
October 31, 2025

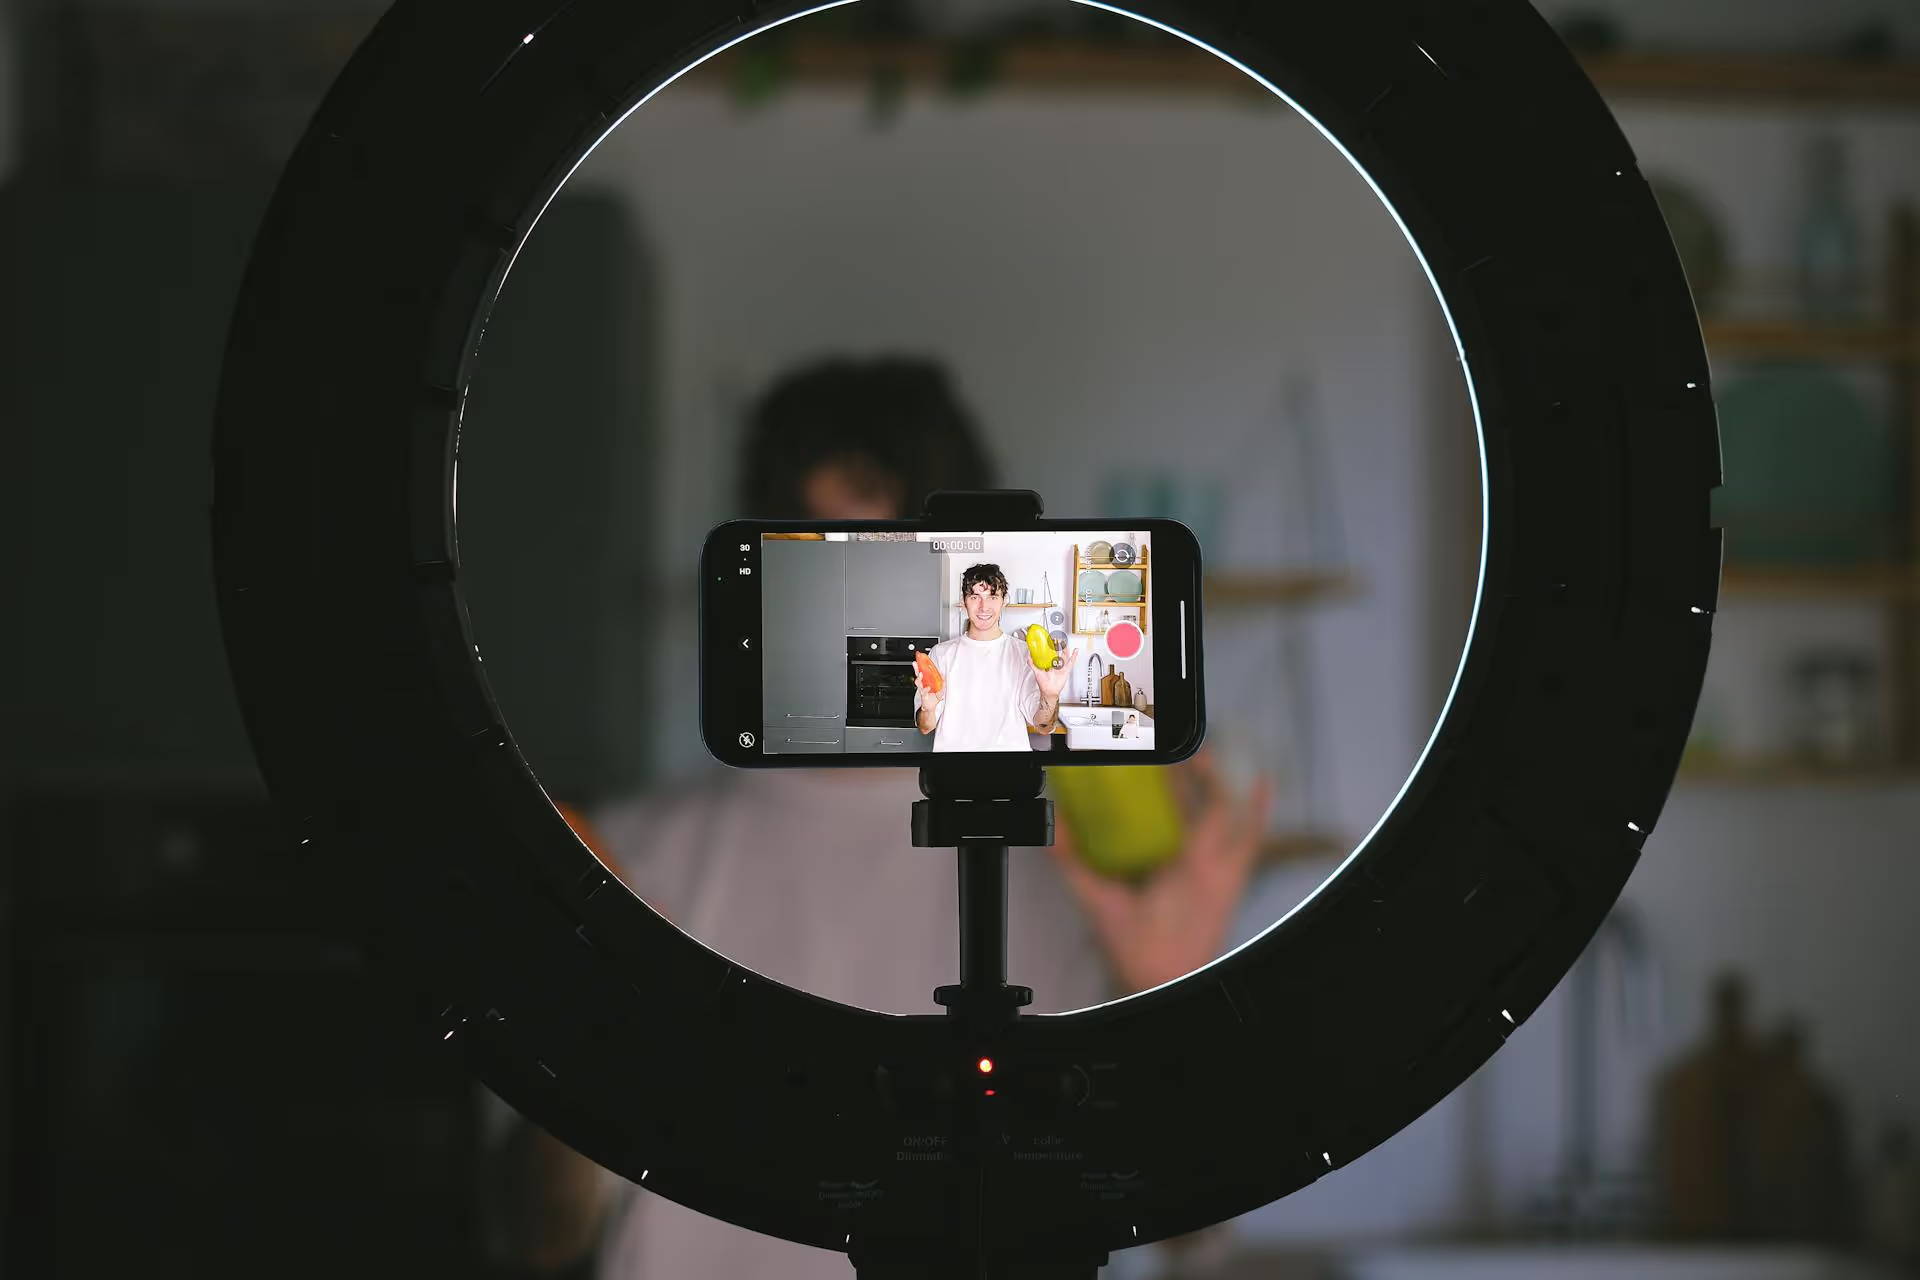
You've filmed and edited a fantastic Facebook Reel, and you're ready to share it - but hitting Publish right away isn't always the best strategy. To get the most eyes on your creation, you need to post it when your audience is scrolling. This guide will walk you through exactly how to schedule Reels on Facebook using Meta's own tools, giving you the power to post at the perfect time, every time. We'll cover the step-by-step process and share some pro tips to help you build a content calendar that works for you, not against you.

Why Bother Scheduling Facebook Reels?

Scheduling might seem like one extra step, but it's the secret behind a consistent and effective social media strategy. It's the difference between posting randomly when you have time and strategically delivering content when it will make the biggest impact. Here's why it's worth the small upfront effort.

  • Post at Peak Times: Your audience isn't online 24/7. Scheduling allows you to publish your Reels when your followers are most active and likely to engage - whether that's during their morning commute, their lunch break, or a late-night scrolling session. More initial engagement (likes, comments, shares) signals to the Facebook algorithm that your content is valuable, increasing its chances of being shown to a wider audience.
  • Maintain Consistency: Consistency is king on social media. Regularly posting high-quality content keeps your brand top-of-mind and gives your audience something to look forward to. Scheduling helps you avoid content droughts by creating a predictable posting rhythm, even on days when you're too busy to think about social media.
  • Batch Your Work and Save Time: The most efficient creators don't create one Reel at a time. They "batch" their work - filming several videos in one session, then editing them, and finally, scheduling them all out for the week or month. This workflow frees you from the daily pressure of creating content and lets you manage your channels in focused, productive blocks of time.
  • Stay Organized and Strategic: A schedule turns chaotic, reactive posting into a thought-out content plan. You can map out campaigns, align your posts with holidays or product launches, and see a bird's-eye view of your content calendar. This level of organization helps you tell a better story and build a more cohesive brand presence.

How to Schedule Facebook Reels (The Official Meta Way)

Facebook's primary tool for managing professional content is the Meta Business Suite. This is where you'll find the most reliable and feature-rich scheduling options. While Creator Studio is being phased out, the workflow is quite similar, but we'll focus on Business Suite, as it's the future of managing content on Facebook and Instagram.

Using Meta Business Suite on a Desktop

The desktop version of Meta Business Suite offers the most robust scheduling experience. It's ideal for batching content and managing your calendar from one central dashboard.

  1. Navigate to Meta Business Suite: Open your web browser and go to business.facebook.com. Make sure you are logged into the correct account associated with the Facebook Page you want to post to.
  2. Start Creating a Reel: From the main dashboard, look for the "Create reel" button. You can typically find it in the main content creation area or by clicking the "Create Post" button and then selecting the "Reel" tab.
  3. Upload Your Video: You can now drag and drop your video file or click "Add video" to upload it from your computer. The recommended format is a 9:16 vertical video. Once uploaded, you'll see a preview of your Reel.
  4. Edit and Polish Your Reel: While the in-app editor provides more creative options, the Business Suite editor still gives you some basic controls. You can trim the video to your desired length and choose audio from Facebook's sound library. Note: For Reels that rely heavily on trending audio or complex edits, it's best to create the final video outside of Business Suite and upload the finished product.
  5. Write Your Caption and Add Details: This is where you'll add your caption, hashtags, and any collaborator tags. If you want to post the same Reel to your Instagram account, you can select it here. You also have the option to enable remixes and choose whether to share the Reel to your Facebook Feed.
  6. Select "Schedule": On the right-hand side, instead of clicking the blue "Publish" button, look for the "Scheduling options" section. Click the bubble next to "Schedule."
  7. Choose a Date and Time: A calendar view will appear. Select the date and time you want your Reel to go live. Business Suite often suggests "Active times" based on your past follower activity - these are great starting points if you're not sure when to post.
  8. Click "Schedule": Double-check your settings, date, and time. Once everything looks good, click the "Schedule" button. That's it! Your Reel is now scheduled and will automatically be published at your chosen time.

After scheduling, you can view, edit, or reschedule your post from the "Planner" or "Content" tabs in the Business Suite menu. This content calendar view is extremely helpful for visualizing your entire schedule at a glance.

Can You Schedule a Reel Directly from the Facebook Mobile App?

This is a common point of confusion. As of now, for most users, scheduling native Facebook Reels directly from the Facebook mobile app's creation flow is not a standard feature. When you create a Reel in the app, your options are typically to publish it immediately, save it as a draft, or discard it.

The scheduling functionality is designed as a business and creator tool and is therefore housed within the Meta Business Suite platform, which does have a mobile app. So, while you can't schedule from the main Facebook app, you can schedule from the Business Suite mobile app, which offers a similar, though slightly more condensed, workflow as the desktop version.

Tips for Scheduling Reels Like a Pro

Now that you know the mechanics, let's talk strategy. Using the scheduling feature effectively is about more than just picking a time. It's about creating a system that makes your content work smarter, not harder.

Find Your Personal "Best Time" to Post

While general advice suggests posting during lunch breaks and after work hours, your specific audience is unique. To find your optimal posting times:

  • Check Your Insights: In Meta Business Suite, navigate to the "Insights" tab. Here, you'll find data on when your followers are most active online, both by day of the week and time of day. This is your most valuable data point.
  • Test and Measure: Don't just trust the data blindly. Run tests. For two weeks, schedule Reels to go live at different "peak" times and on different days. Track the initial performance of each one (e.g., views, likes, and comments within the first three hours). You might discover that your audience is surprisingly active at 10 PM on a Sunday.

Build a Batching Workflow

Consistency burns creators out. Batching is the antidote. Set aside time blocks to focus on specific tasks:

  • Ideation Block (1 Hour): Brainstorm a month's worth of Reel ideas. Don't judge them, just get them down on paper. Look at trending sounds, common questions you get, and content that has performed well for you in the past.
  • Filming Block (2-3 Hours): Dedicate an afternoon to filming all of your Reels for the upcoming weeks. Change your outfit for each one if you need to, but get all the filming done in one go.
  • Scheduling Block (1-2 Hours): Sit down at your computer with all your edited videos. Upload them to Meta Business Suite, write all the captions, find your hashtags, and schedule them all out. Now your social media is running on autopilot while you work on other things.

Don't Treat Captions and Hashtags as an Afterthought

Since you're scheduling ahead, you have time to be more thoughtful with your copy. A great Reel can fall flat if the caption doesn't support it.

  • Start with a Strong Hook: The first line of your caption is the most important. Make it compelling enough to stop someone from scrolling away. Ask a question, state a bold opinion, or create an information gap that makes them want to read more.
  • Include a Clear Call to Action (CTA): A great Reel with 1,000 likes is nice, but a great Reel with 50 saved posts and 10 website clicks is even better. End your caption with a specific direction. Ask followers to "Save this for later," "Comment your own tip below," or "Click the link in my bio to learn more."

Beware of the Pitfalls of Native Schedulers

Meta Business Suite is a powerful and free tool, but it's not without its quirks. Staying aware of them can save you some headaches. First, the interface, packed with a decade's worth of features, can sometimes feel overwhelming and clunky to navigate if all you want to do is schedule a few videos. Second, you are obviously limited to Facebook and Instagram. If you're also posting your vertical videos on TikTok, YouTube Shorts, or LinkedIn, you're still bouncing between different apps and websites, which defeats some of the efficiency goals. Finally, like any complex software, it can sometimes have glitches where a scheduled post mysteriously fails to publish, leaving a gap in your content calendar if you're not carefully monitoring it.

Final Thoughts

Scheduling your Facebook Reels is a strategic move that pays off in consistency, audience engagement, and your own time management. By using a tool like Meta Business Suite and combining it with a smart batching workflow, you build a powerful content machine that keeps your brand present and growing even when you're focused on other areas of your business.

We built Postbase because we were tired of wrestling with clunky interfaces and wanting to manage all our short-form video content in one place. Since our platform was designed for video first, scheduling a Reel to Facebook, Instagram, TikTok, and YouTube Shorts all at once is ridiculously simple. It lets you see your entire video strategy on a single, clean calendar and trust that posts will go live exactly when planned, freeing us up to get back to what we do best: creating great content.

Spencer's spent a decade building products at companies like Buffer, UserTesting, and Bump Health. He's spent years in the weeds of social media management—scheduling posts, analyzing performance, coordinating teams. At Postbase, he's building tools to automate the busywork so you can focus on creating great content.

Other posts you might like

How to Add Social Media Icons to an Email Signature

Enhance your email signature by adding social media icons. Discover step-by-step instructions to turn every email into a powerful marketing tool.

Read more

How to Add an Etsy Link to Pinterest

Learn how to add your Etsy link to Pinterest and drive traffic to your shop. Discover strategies to create converting pins and turn browsers into customers.

Read more

How to Grant Access to Facebook Business Manager

Grant access to your Facebook Business Manager securely. Follow our step-by-step guide to add users and assign permissions without sharing your password.

Read more

How to Record Audio for Instagram Reels

Record clear audio for Instagram Reels with this guide. Learn actionable steps to create professional-sounding audio, using just your phone or upgraded gear.

Read more

How to Add Translation in an Instagram Post

Add translations to Instagram posts and connect globally. Learn manual techniques and discover Instagram's automatic translation features in this guide.

Read more

How to Optimize Facebook for Business

Optimize your Facebook Business Page for growth and sales with strategic tweaks. Learn to engage your community, create captivating content, and refine strategies.

Read more

Stop wrestling with outdated social media tools

Wrestling with social media? It doesn’t have to be this hard. Plan your content, schedule posts, respond to comments, and analyze performance — all in one simple, easy-to-use tool.

Schedule your first post
The simplest way to manage your social media
Rating