Instagram Tips & Strategies

How to Put a Live Photo on an Instagram Story

By Spencer Lanoue
October 31, 2025

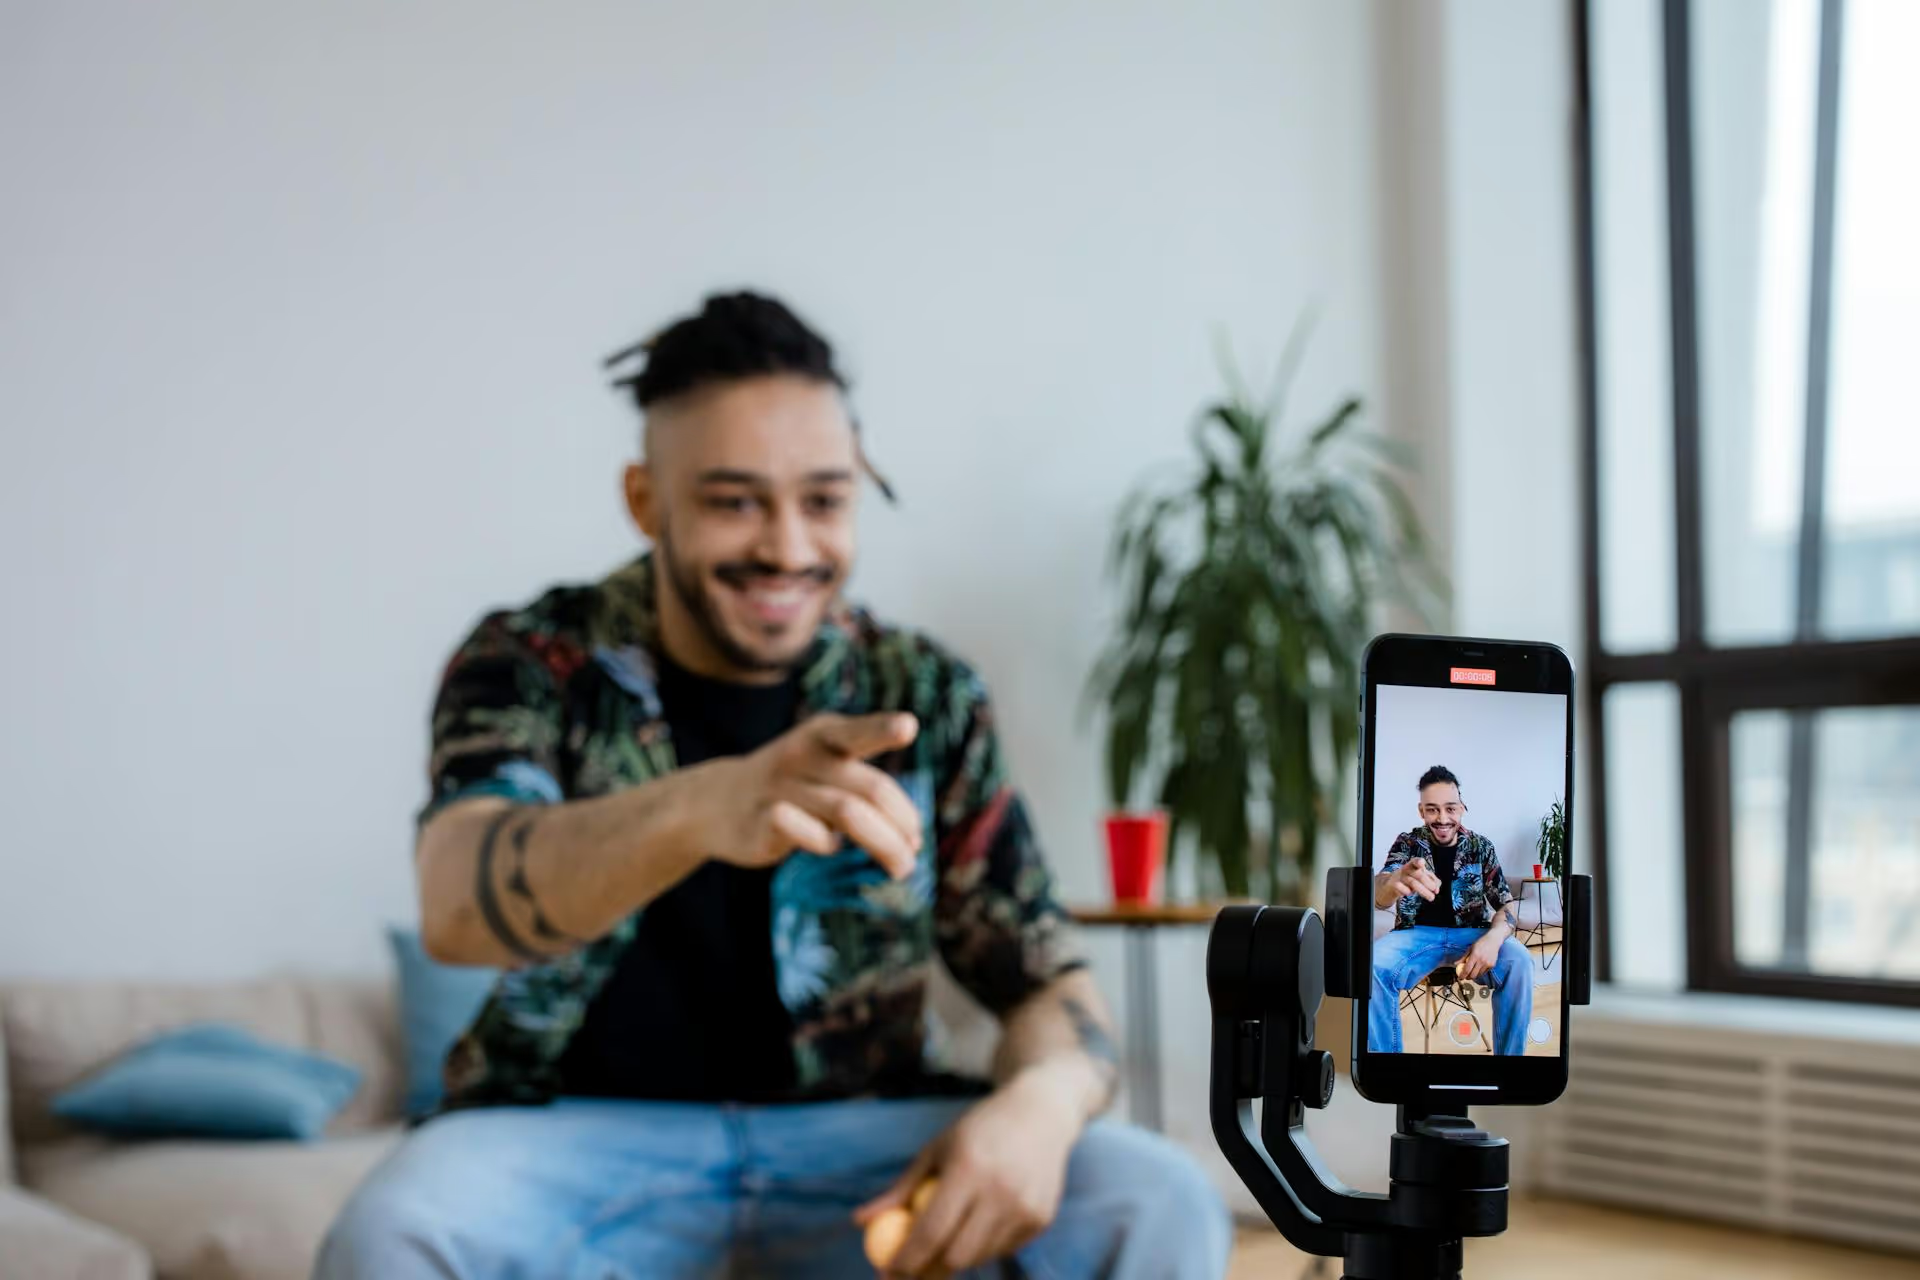
Ever tried to share a Live Photo to your Instagram Story, only to watch it appear as a boring, static image? You're not alone. The subtle motion and sound that make Live Photos feel so special get lost in translation when you try to upload them directly. This guide breaks down exactly how to get that animation back, showing you how to turn your Live Photos into eye-catching Stories that grab your audience's attention.

So, Why Won't Your Live Photo Show Motion Anymore?

You’re not doing anything wrong. The core of the issue is a simple technical mismatch: Instagram Stories don’t natively recognize the format Apple uses for Live Photos. A Live Photo isn't a simple image, it's a combination of a high-resolution photo and a small video file (a .MOV) that captures the 1.5 seconds before and after the shutter clicks. When you upload it to your Story, Instagram's system only sees the main photo file and ignores the video component entirely, leaving you with a lifeless still.

It’s a frustrating experience, especially when you’ve captured a perfect glimmer of movement - a friend’s laugh, a wave crashing, or a candle flickering - that adds so much character. The good news is that bypassing this limitation is straightforward. You just need to convert the Live Photo into a format Instagram understands, like a Boomerang or a short video, and there are a few excellent ways to do it quickly.

The Easiest Method: Creating a Boomerang Inside Instagram Stories

The fastest and most common way to get your Live Photo animating on your Story is to use a feature built right into the Instagram app. It turns the motion of your Live Photo into a looping Boomerang. It takes just a few seconds and requires no extra apps or steps outside of your normal Story-posting process.

Step-by-Step Instructions:

  1. Open Instagram and Head to the Story Camera: Launch the Instagram app and swipe right from your feed to open the Story creation screen. Alternatively, you can tap the plus icon (+) at the bottom of the screen and select "Story" from the menu.
  2. Access Your Photo Library: Swipe up from the bottom of the screen or tap the small square icon in the bottom-left corner. This will open your phone’s camera roll, showcasing recent photos and videos.
  3. Find Your Live Photo: Scroll through your library to find the Live Photo you want to post. You can identify Live Photos by the small concentric circles icon (it looks like a bullseye) in the top right corner of the thumbnail. Some versions of iOS also label certain folders for "Live Photos."
  4. Select the Photo: Tap on the Live Photo you want to use. At this point, it will appear on your Story canvas as a normal, static image. Don’t panic - this is where the transformation happens.
  5. Activate the Boomerang Effect: Now for the key step. With the photo on your screen, simply press and hold your finger anywhere on the image. After a brief moment, you will see the word "BOOMERANG" flash on the screen, and your static image will come to life, looping back and forth. You’ve now successfully converted the live portion of the photo into a classic Boomerang.
  6. Customize and Publish: From here, you’re free to edit your Story as usual. Add text, stickers, GIFs, music, or polls. You have all the standard creative tools at your disposal. Once you're happy with the results, tap "Your Story" to post it for your followers to see.

This press-and-hold method is fantastic for its speed and convenience. It’s perfect for those spontaneous, in-the-moment Story updates where you don’t want to get bogged down with extra steps. However, it gives you a classic Boomerang loop, which might not be exactly the vibe you are going for every single time.

For More Creative Control: Convert Your Live Photo Before Posting

What if you don't want the back-and-forth effect of a Boomerang? Maybe you want the Live Photo to play through once and stop, or perhaps you want a smoother, continuous loop. In these cases, your best bet is to convert the Live Photo into a video file before you even open Instagram. This gives you far more creative freedom and allows you to use effects beyond the standard Boomerang.

Method 1: Using Your iPhone's Built-in Photos App

Apple knows people love Live Photos, so they’ve built some excellent editing tools directly into the iOS Photos app. You can turn any Live Photo into a standard video with just a few taps, no third-party apps needed.

How to Save a Live Photo as a Video:

  1. Open the Photos App & Find Your Photo: Navigate to the Live Photo you want to share.
  2. Tap the "Share" Icon: Look for the square icon with an arrow pointing up, located in the bottom-left corner of your screen, and tap it.
  3. Select "Save as Video": Scroll down through the sharing options. You'll see an option called "Save as Video." Tap this.
  4. A New Video is Created: A new, regular video file containing the original motion of your Live Photo will be saved to your camera roll. It will appear as the most recent item in your library.
  5. Upload to Your Instagram Story: Now, go back to Instagram, open the Story camera, and swipe up. Your newly created video will be right there, ready to be selected and posted like any other video clip. This gives you the original, uninterrupted motion content of the photo instead of an artificial loop or bounce.

Method 2: Using the "Live" Effects in the Photos App

Your Photos app also has a few more tricks up its sleeve. You can create different looping styles without relying on the Boomerang feature in Instagram.

  • Access the Effects Menu: Open your Live Photo and look for the word "LIVE" with a small dropdown arrow next to it at the top-left of the image. Tap it.
  • Choose Your Effect: You'll see several options:
    • Loop: This turns the Live Photo into a seamless, endlessly looping video, much like a GIF. It plays through and then fluidly starts again from the beginning, creating the appearance of a perpetually moving waterfall or another seamless action.
    • Bounce: This is Apple's version of a Boomerang. It plays the clip forward and then reverses it, creating a fun, back-and-forth motion. Many users prefer this effect's smooth playback compared to the one generated within Instagram.
    • Long Exposure: This professional-looking effect blurs moving elements while keeping stationary objects sharp. It’s perfect for creating dramatic visuals with things like waterfalls, streaming car lights, or fireworks, making them look artistic and compelling.
  • Saving the Effect: Once you select an effect like Loop or Bounce, it automatically saves. When you return to Instagram and choose this photo for your Story, it will upload as a short video with your chosen effect already applied - no pressing or holding required.

Why Live Photo Stories Are Great for Your Brand

Going through the effort of animating your Live Photos does more than just add a gimmick to your Stories, it’s a powerful tool for visual storytelling that can bring your brand personality to life. In a feed filled with static imagery, a little eye-catching motion works wonders for audience engagement.

  • Showcase Authentic Moments: Live Photos often capture candid, unfiltered moments. The sigh before a smile, the wobble before a steady pose, or the wiggle of a puppy's ears - all these subtle bits of motion add humanity and authenticity to what could otherwise be a stiff, sterile image. Sharing these gives followers a genuine peek behind the scenes.
  • Create Dynamic Product Visuals: Static product shots can feel dull. Use a Live Photo to show the subtle sheen of fabric as it moves, the fizz of a newly poured drink, or the sparkle from a piece of jewelry. These micro-details make items feel more tangible and grab attention in a way that static images can't match, which is perfect for today's short attention spans.
  • Boost Visual Interest and Stop the Scroll: Movement catches the eye. In a sea of still photos, an animated Story is far more likely to make someone pause their swiping. This simple trick can be the difference between your content being seen or being overlooked, significantly boosting engagement with very little effort.
  • Low-Effort Video Content: Producing high-quality video can be time-consuming and expensive. A Live Photo, however, can be converted into a shareable, dynamic clip in seconds. These bite-sized videos are perfect for breaking up the monotony of static content and showing dynamic moments without requiring extensive planning or editing.

Final Thoughts

Turning a Live Photo into an engaging Instagram Story elevates your content beyond static imagery, transforming subtle moments into eye-catching animations. Whether you use Instagram's quick Boomerang feature for simplicity or your iPhone's camera roll tools for more tailored effects like "Loop" or "Bounce," you now have everything you need to bring your photos to life.

As you get comfortable creating more dynamic, modern content like animated Stories and Reels, keeping everything organized and scheduled can become a real challenge. We realized that many social media tools were built for an older era of static posts, not the fast-paced world of short-form video. That’s why at Postbase, we designed a simple, visual calendar that lets you plan and schedule your Stories, Reels, and TikToks in one place. It helps you see your entire content strategy at a glance, so you can spend your time creatively, not just managing logistics.

Spencer's spent a decade building products at companies like Buffer, UserTesting, and Bump Health. He's spent years in the weeds of social media management—scheduling posts, analyzing performance, coordinating teams. At Postbase, he's building tools to automate the busywork so you can focus on creating great content.

Other posts you might like

How to Add Social Media Icons to an Email Signature

Enhance your email signature by adding social media icons. Discover step-by-step instructions to turn every email into a powerful marketing tool.

Read more

How to Add an Etsy Link to Pinterest

Learn how to add your Etsy link to Pinterest and drive traffic to your shop. Discover strategies to create converting pins and turn browsers into customers.

Read more

How to Grant Access to Facebook Business Manager

Grant access to your Facebook Business Manager securely. Follow our step-by-step guide to add users and assign permissions without sharing your password.

Read more

How to Record Audio for Instagram Reels

Record clear audio for Instagram Reels with this guide. Learn actionable steps to create professional-sounding audio, using just your phone or upgraded gear.

Read more

How to Add Translation in an Instagram Post

Add translations to Instagram posts and connect globally. Learn manual techniques and discover Instagram's automatic translation features in this guide.

Read more

How to Optimize Facebook for Business

Optimize your Facebook Business Page for growth and sales with strategic tweaks. Learn to engage your community, create captivating content, and refine strategies.

Read more

Stop wrestling with outdated social media tools

Wrestling with social media? It doesn’t have to be this hard. Plan your content, schedule posts, respond to comments, and analyze performance — all in one simple, easy-to-use tool.

Schedule your first post
The simplest way to manage your social media
Rating