

How to Add Social Media Icons to an Email Signature
Enhance your email signature by adding social media icons. Discover step-by-step instructions to turn every email into a powerful marketing tool.
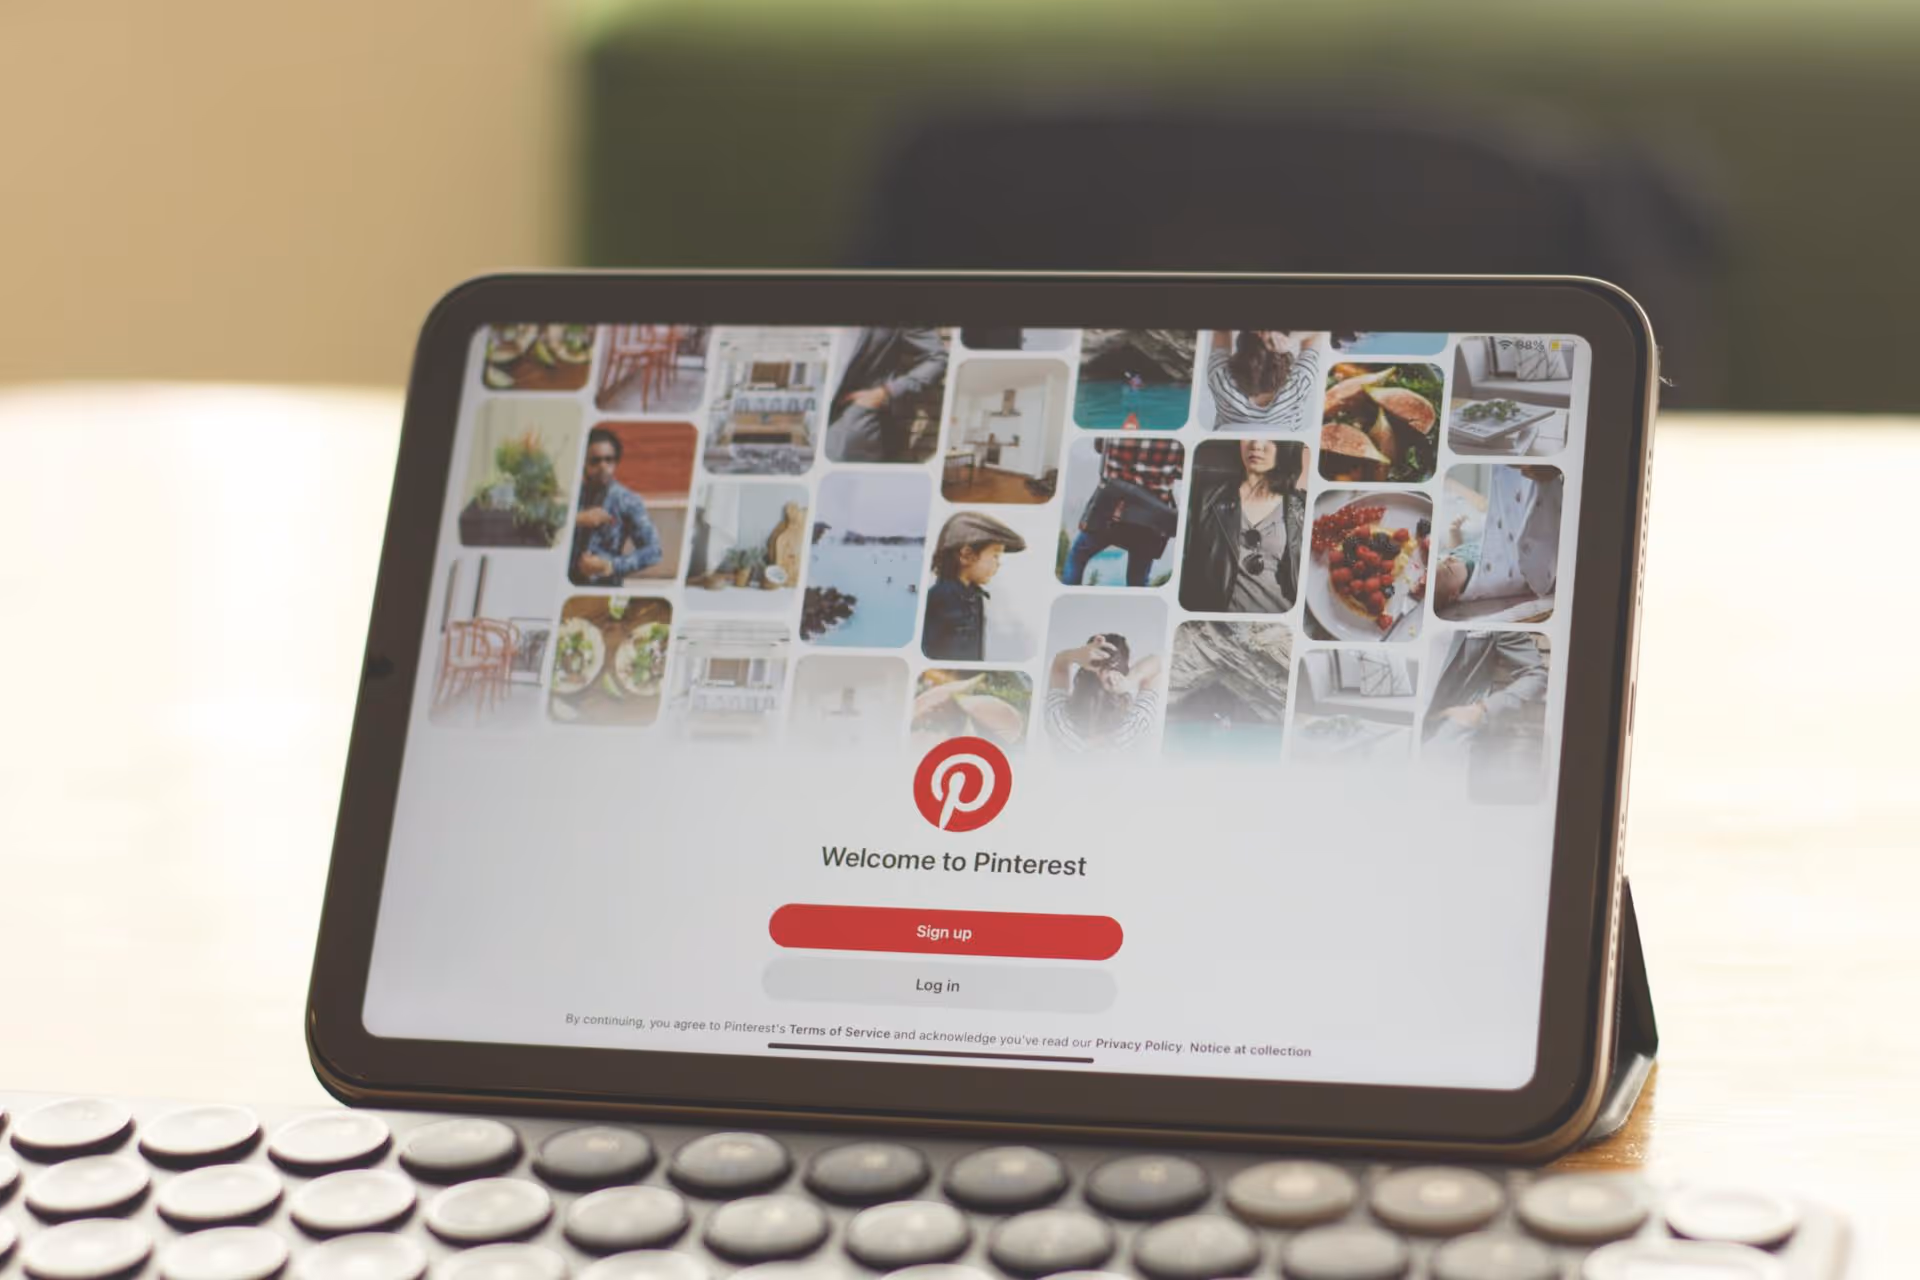
Publishing on Pinterest is one of the most effective ways to drive clicks, traffic, and sales directly from your content. Far more than just a social media site, it’s a visual search engine where your audience is actively looking for ideas and solutions. This guide provides a complete, step-by-step path to publishing on Pinterest, starting with the fundamentals and moving toward a strategy that builds long-term results.
Before we get into the “how,” it helps to understand the “why.” Unlike platforms that prioritize immediate, chronological content (like X or Instagram Stories), Pinterest functions as a massive visual discovery engine. Users come here not just to scroll, but to search, plan, and purchase. They're looking for dinner recipes, home decor inspiration, travel destinations, and product recommendations. Their intent is to discover and act, which makes them an incredibly valuable audience for any brand or creator.
The biggest difference is the lifespan of your content. A tweet is gone in minutes, an Instagram post lasts a day, but a well-optimized Pin can continue to drive traffic for months, or even years, after you publish it. Think of each Pin not as a fleeting social post, but as a small, evergreen asset working around the clock to bring people to your website, blog, or store.
To get the most out of the platform, you need to lay the proper groundwork. This involves a few one-time setup steps that unlock powerful features and give you credibility.
If you’re still using a personal account, the first thing you should do is switch to a Business Account. It costs nothing and gives you access to essential tools that personal accounts don't have, including:
You can either convert your existing personal account or create a brand new business account from scratch.
Claiming your website is the next step. This officially links your Pinterest account to your website, proving that you're the owner. Doing so gives you a few key benefits. First, you'll unlock analytics for Pins that other people create from your website. Second, your profile picture will appear next to any Pin saved from your site, which adds a powerful layer of branding and authority. The process usually involves adding a small piece of code (a meta tag) to your website’s header or uploading an HTML file.
Your Pinterest profile is prime real estate for SEO. Think like your target audience: what terms would they be searching for? Sprinkle these keywords into:
Before you publish, it's good to know what separates a Pin that gets ignored from one that gets thousands of clicks. A successful Pin is a combination of compelling visuals, smart text, and a clear destination.
Pinterest is a visual platform, so your images and videos have to stand out. Always use a vertical aspect ratio, as it takes up more space on the mobile feed. The ideal size is 2:3, or 1000 x 1500 pixels.
There are three main types of Pins you can create:
The text accompanying your Pin is your chance to tell Pinterest’s algorithm what your content is about. This is where your SEO homework pays off.
For Standard Pins and Video Pins, the destination link is the entire point. This is where you send users to learn more, buy a product, or read your blog post. Double-check that the link works and leads to a page that directly relates to the Pin. A mismatch between the Pin and the landing page is a quick way to lose trust.
Ready to go? Here’s the exact process for publishing a Pin on a desktop computer.
Just publishing one Pin won't change your business. Success on Pinterest comes from a consistent, thoughtful approach.
Pinterest rewards accounts that are consistently active. This doesn't mean you need to post dozens of times a day. For most creators and businesses, starting with 1-3 new, original Pins per day is a fantastic and sustainable goal. The key is to show up regularly.
In the past, repinning other people’s content was a popular strategy. Today, Pinterest’s algorithm heavily favors fresh content. A “fresh Pin” is defined as a new image/video and text combination that has never been uploaded to Pinterest before. It can, however, link to a URL you’ve already used. This is powerful. It means you can take a single blog post and create 5, 10, or even 20 unique Pin graphics for it over time, continuing to promote that same piece of content with fresh creative.
Finding keywords on Pinterest is simple. Start typing a term related to your niche into the search bar. Pay attention to the autocomplete suggestions that pop up - those are popular search terms. After you search, look for the colored keyword bubbles that appear just below the search bar. These are related terms that users are actively searching for. Collect these keywords and use them everywhere: in your Pin titles and descriptions, your board titles and descriptions, and even as text on your Pin graphics.
Mastering how to publish on Pinterest is about blending excellent visuals with smart, search-friendly text. By focusing on vertical graphics, keyword-rich descriptions, and consistently creating fresh Pins for your content, you can transform Pinterest from a simple mood board into one of the most powerful and sustainable traffic drivers for your business.
Once you develop a feel for creating Pins, consistency becomes the biggest challenge. This is something we focused on heavily when building Postbase. Being able to plan your Pinterest Pins in the same visual calendar as your other social media content makes it so much easier to stay on track. We designed our scheduling tools to be incredibly reliable, so you can set your Pins and trust they’ll go live exactly when planned, freeing you up to focus on creating content that connects.
```
Spencer's spent a decade building products at companies like Buffer, UserTesting, and Bump Health. He's spent years in the weeds of social media management—scheduling posts, analyzing performance, coordinating teams. At Postbase, he's building tools to automate the busywork so you can focus on creating great content.

Enhance your email signature by adding social media icons. Discover step-by-step instructions to turn every email into a powerful marketing tool.
Record clear audio for Instagram Reels with this guide. Learn actionable steps to create professional-sounding audio, using just your phone or upgraded gear.
Check your Instagram profile interactions to see what your audience loves. Discover where to find these insights and use them to make smarter content decisions.
Requesting an Instagram username? Learn strategies from trademark claims to negotiation for securing your ideal handle. Get the steps to boost your brand today!
Attract your ideal audience on Instagram with our guide. Discover steps to define, find, and engage followers who buy and believe in your brand.
Activate Instagram Insights to boost your content strategy. Learn how to turn it on, what to analyze, and use data to grow your account effectively.
Wrestling with social media? It doesn’t have to be this hard. Plan your content, schedule posts, respond to comments, and analyze performance — all in one simple, easy-to-use tool.

