

How to Add Social Media Icons to an Email Signature
Enhance your email signature by adding social media icons. Discover step-by-step instructions to turn every email into a powerful marketing tool.
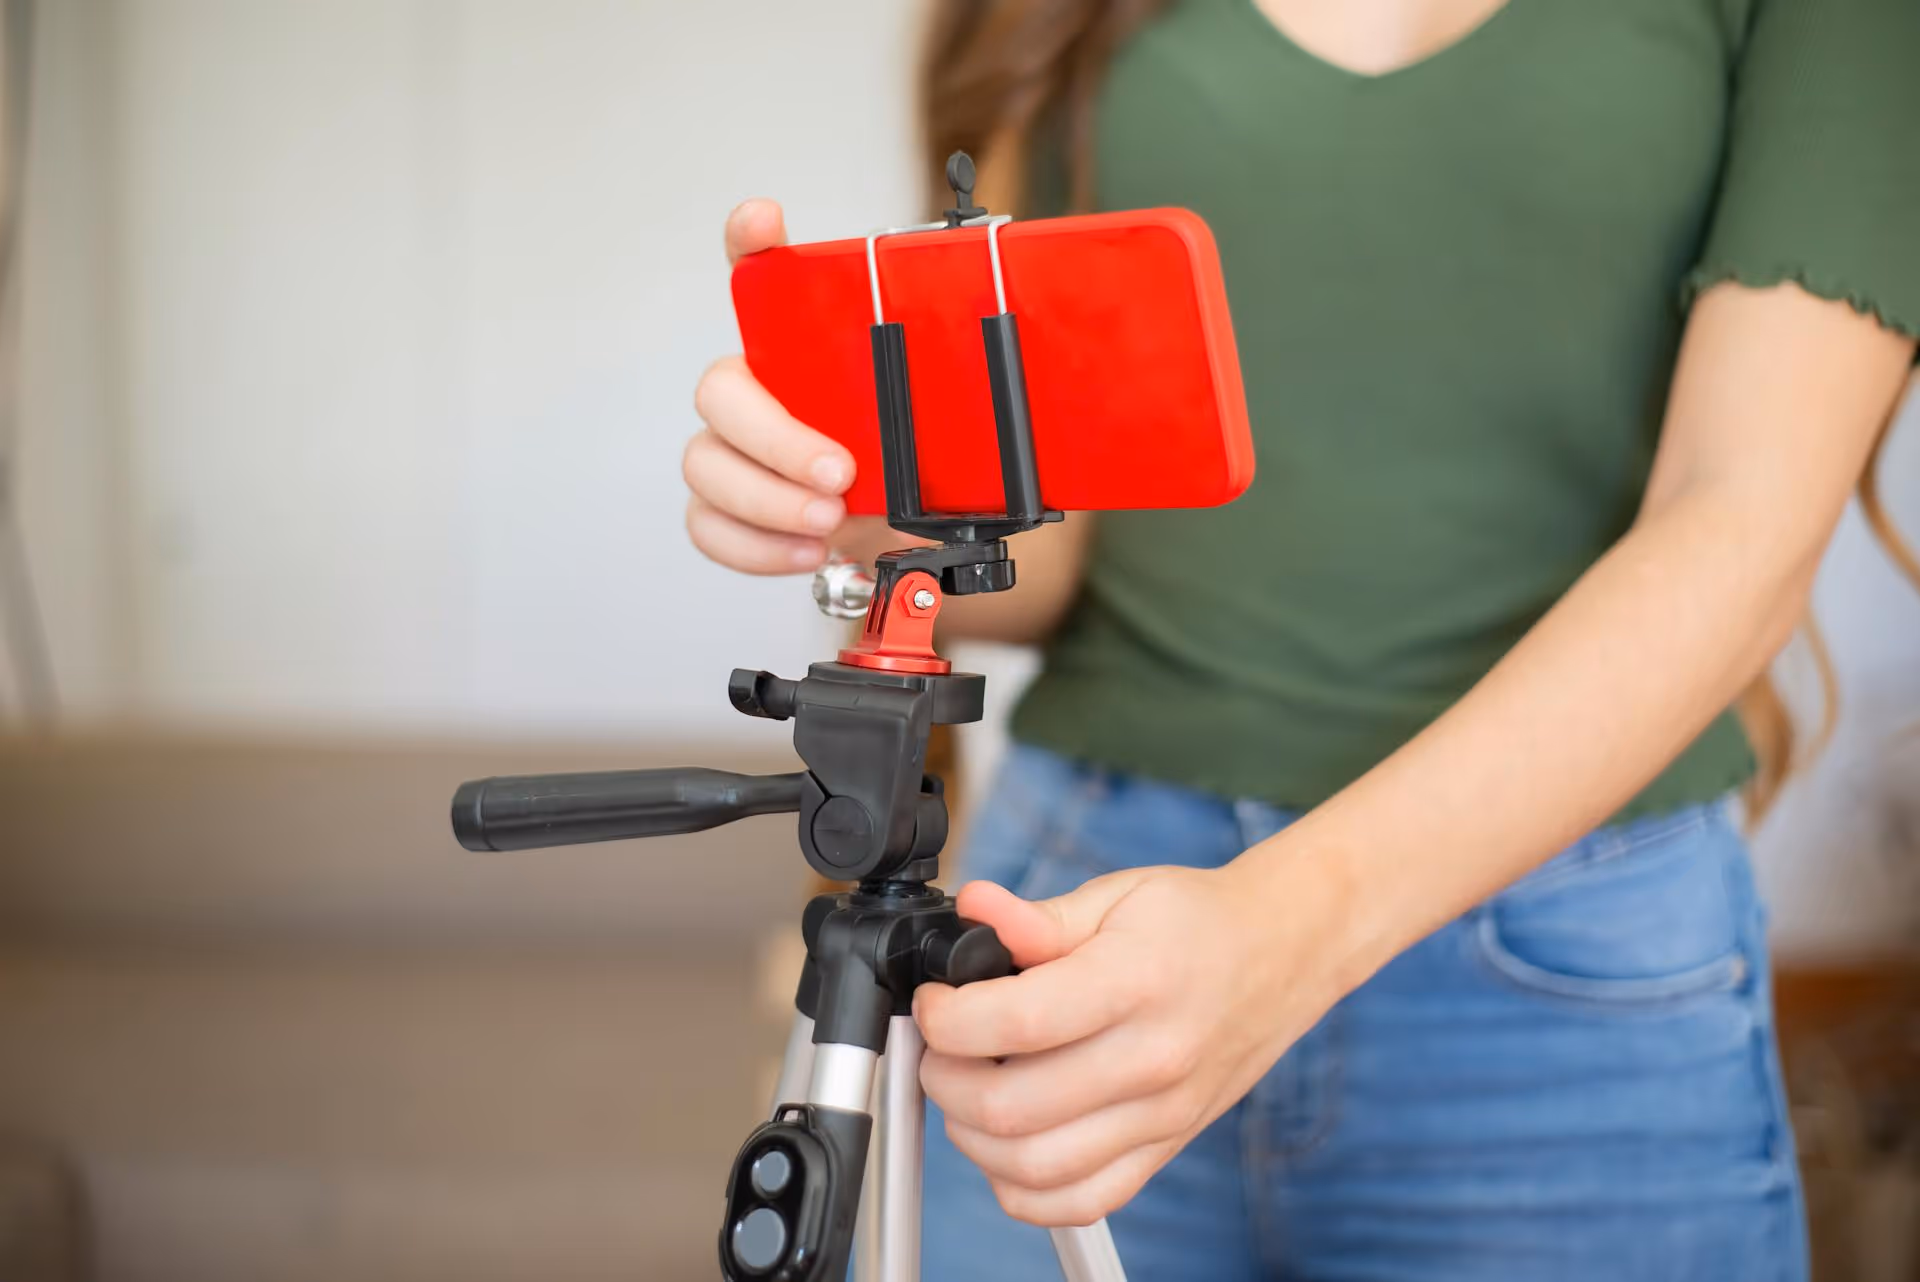
Ready to give your best TikTok videos a serious boost right from your computer? While tapping the Promote button on your phone is quick and easy, managing your campaigns from a desktop gives you far more creative control, better targeting options, and much clearer analytics. This guide will walk you through the entire process, step-by-step, using TikTok Ads Manager to turn your best organic content into a powerful growth engine.
On the surface, the ‘Promote’ feature baked into the TikTok app seems incredibly easy. A few taps, a small budget, and your video is out there getting more views. But ease often comes at the cost of control. The desktop experience, powered by the professional-grade TikTok Ads Manager, unlocks a level of precision that simply isn’t possible on mobile.
Here’s what you gain by making the switch:
Before you can promote content from your desktop, you need to get access to the proper tools. This involves a few simple setup steps to connect your TikTok profile to the platform's advertising backend.
Promoting content through the Ads Manager requires a TikTok for Business account. If you're still on a personal account, making the switch is free and only takes a minute. It also unlocks built-in analytics, a link in your bio, and other helpful features.
To do this in the app:
This is your new command center. Open up your web browser on your desktop and go to ads.tiktok.com. Here, you’ll create an Ads Manager account. You can sign up using your existing TikTok account to keep things linked, which makes the process much smoother.
TikTok will ask for a few details about your business and require you to add a payment method. This is standard for any advertising platform. Once you’ve filled out the required information and added a credit card, you'll be taken to the main Ads Manager dashboard and you’re ready to get started.
Welcome to the dashboard! It might look a little intimidating at first, but the process is straightforward once you understand the basic structure: A Campaign holds your main objective, an Ad Group holds your targeting and budget, and the Ad holds your video creative.
First things first, click the big "Create" button. TikTok will ask you to choose a campaign objective. This is the most important decision you'll make, as it tells the algorithm what result you want to optimize for. Don't just pick one at random, align it with your actual business goal.
Common objectives for promoting an existing video include:
Select your objective, give your campaign a name (e.g., "August 2024 - Viral Croissant Video Promotion"), and click "Continue."
In the Ad Group section, you’ll define who you want to reach and where you want to reach them.
You can choose "Automatic Placements" to let TikTok decide where to show your ad (which can include partner apps), or "Select Placements" to stick just to TikTok. For beginners, Automatic Placements is usually the best choice, as it allows the algorithm to find the most efficient results for you.
This is where the magic happens. Here you can layer on different targeting options to build a portrait of your ideal customer.
Example: Imagine you’re promoting a local bakery's video about its new cronuts. You could target users aged 25-45 within a 10-mile radius of your shop who have recently engaged with videos tagged #foodie, #dessert, or #bakery.
Next, you’ll tell TikTok how much you want to spend and for how long.
Finally, the creative part! Instead of uploading a new video, you’re going to select the post you want to promote directly from your profile.
Once you’ve done that, double-check all your settings and hit "Submit." Your promotion will go into a short review process and then go live!
Hitting "submit" is just the beginning - the real work involves monitoring your performance and learning from what the data tells you.
In the Ads Manager dashboard, keep an eye on a few key metrics:
Don't be afraid to experiment. The best marketers are always testing.
Using TikTok’s Ads Manager on desktop transforms the simple 'Promote' button into a sophisticated advertising tool, giving you detailed control over who you reach and how you spend your budget. It’s the best way to get serious about amplifying your top-performing TikTok content and driving measurable results for your brand.
As you start seeing what kind of content performs well with a paid boost, you'll naturally want to apply those learnings to your organic strategy. Watching those campaign metrics alongside your organic post planning can get complicated with multiple spreadsheets and tabs. At Postbase, we wanted to streamline this exact workflow. I personally use it to plan our entire video calendar across TikTok, Reels, and Shorts in one clean, visual space, which helps me apply what I learn from my ads directly to my ongoing organic content schedule. It’s a great way to keep your entire strategy aligned without feeling overwhelmed.
Spencer's spent a decade building products at companies like Buffer, UserTesting, and Bump Health. He's spent years in the weeds of social media management—scheduling posts, analyzing performance, coordinating teams. At Postbase, he's building tools to automate the busywork so you can focus on creating great content.

Enhance your email signature by adding social media icons. Discover step-by-step instructions to turn every email into a powerful marketing tool.
Record clear audio for Instagram Reels with this guide. Learn actionable steps to create professional-sounding audio, using just your phone or upgraded gear.
Check your Instagram profile interactions to see what your audience loves. Discover where to find these insights and use them to make smarter content decisions.
Requesting an Instagram username? Learn strategies from trademark claims to negotiation for securing your ideal handle. Get the steps to boost your brand today!
Attract your ideal audience on Instagram with our guide. Discover steps to define, find, and engage followers who buy and believe in your brand.
Activate Instagram Insights to boost your content strategy. Learn how to turn it on, what to analyze, and use data to grow your account effectively.
Wrestling with social media? It doesn’t have to be this hard. Plan your content, schedule posts, respond to comments, and analyze performance — all in one simple, easy-to-use tool.

