

How to Add Social Media Icons to an Email Signature
Enhance your email signature by adding social media icons. Discover step-by-step instructions to turn every email into a powerful marketing tool.
Placing two photos side-by-side on Facebook is a simple way to make your content more dynamic, tell a better story, or showcase a comparison. This guide will show you a few different ways to do it, from letting Facebook handle it automatically to taking full control with easy-to-use design tools. We’ll cover the direct approach, the custom collage method, and why this format is so effective for building your brand.
The simplest way to get a side-by-side effect is to upload multiple photos directly to Facebook and let its algorithm arrange them for you. Facebook automatically creates a multi-photo layout or a "collage" whenever you upload two or more pictures in a single post. While you don’t get precise control, it's fast, easy, and often looks great on its own.
Here’s how Facebook’s layout generator typically works:
This method is perfect when you aren't particular about the exact arrangement and just want a quick, clean way to share multiple images.
The Limitation: The biggest drawback here is the lack of control. Facebook makes the final decision on the layout, and sometimes it doesn't align with your vision, especially if you have images with different aspect ratios. If you need a guaranteed side-by-side look, the next method is for you.
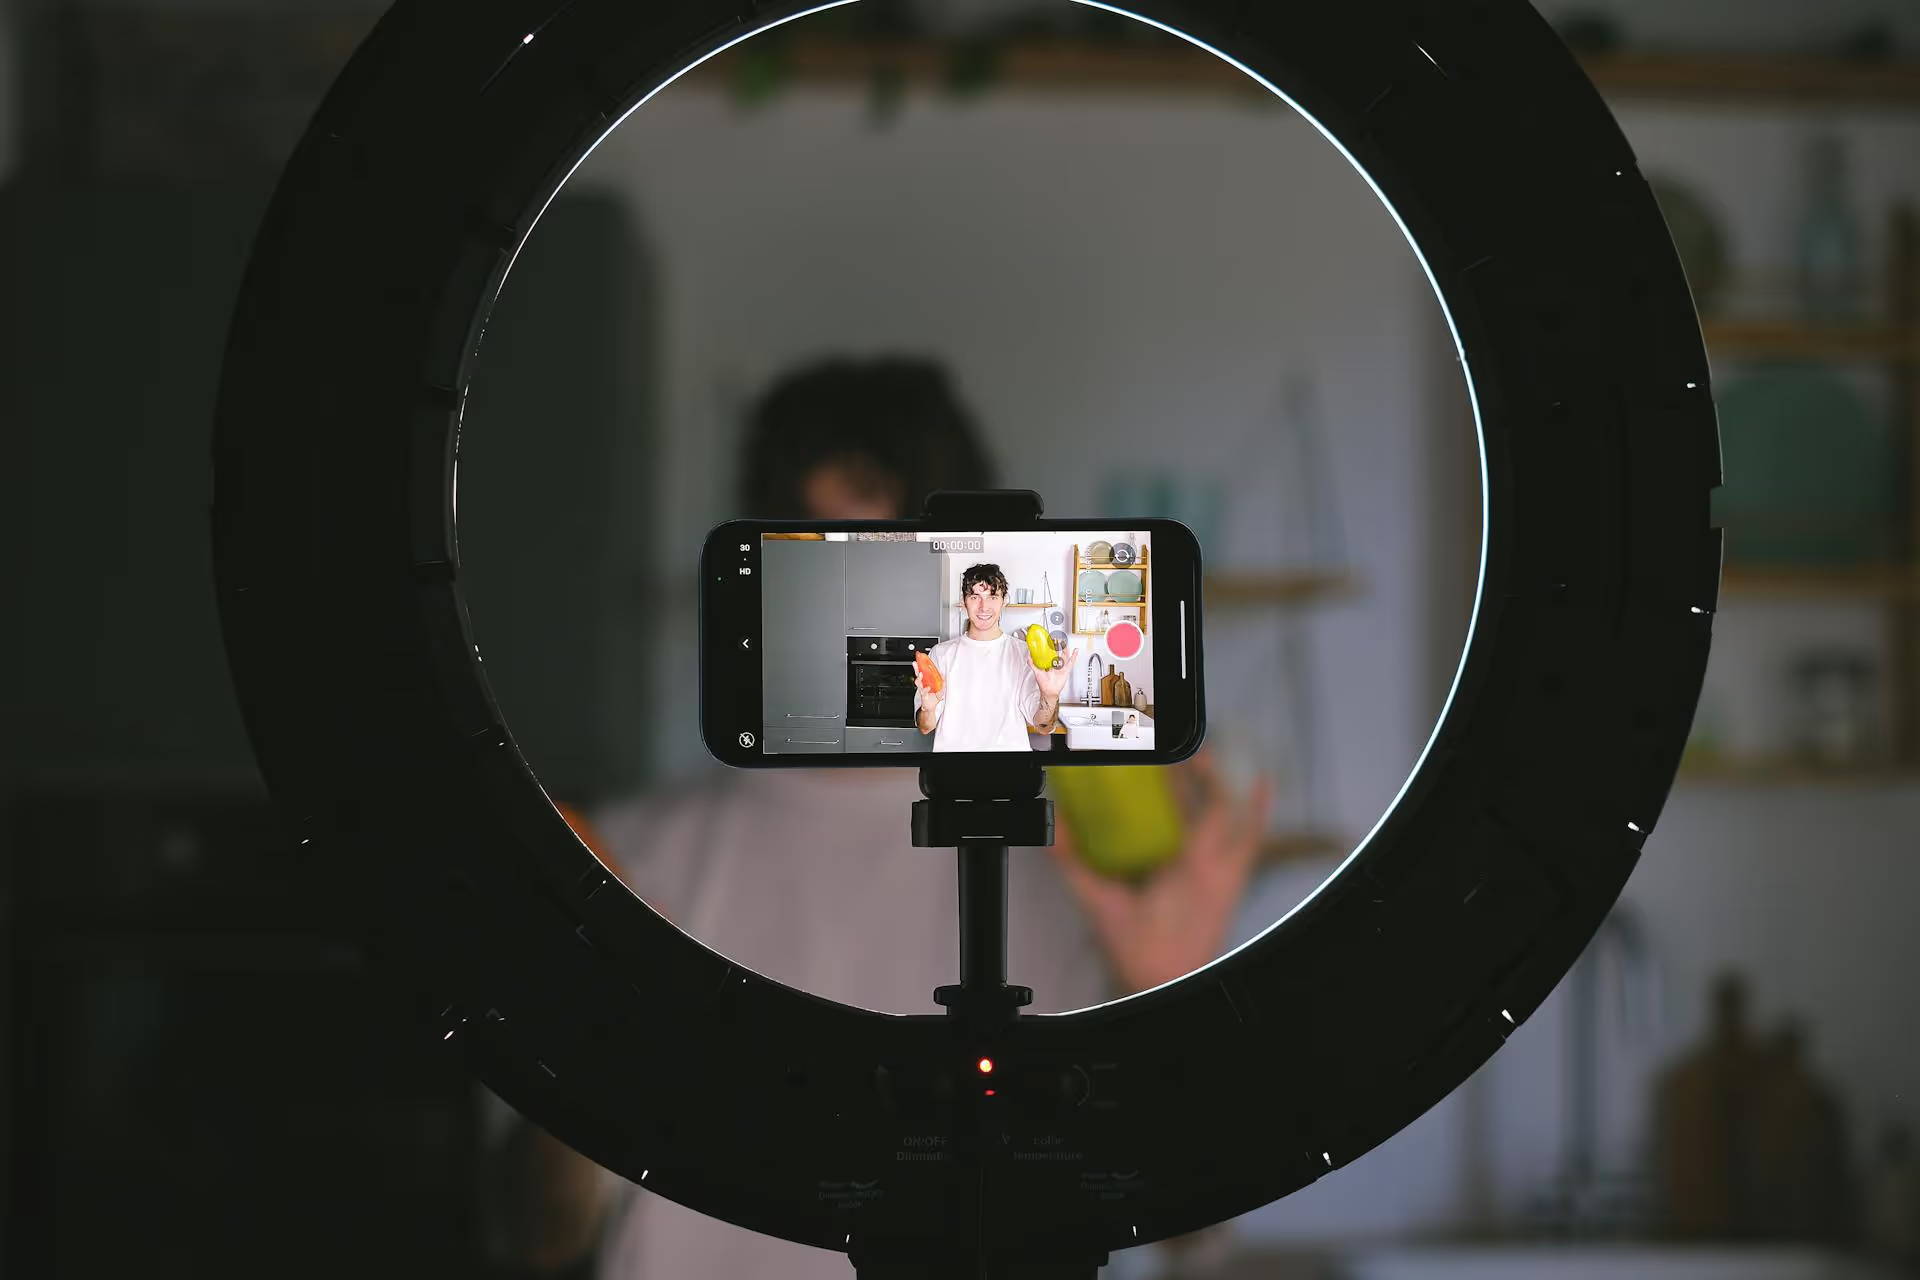
For those who need perfect placement every time, the most reliable method is to combine your photos into a single image before you upload it to Facebook. By using a free graphic design tool or collage app, you create one final JPG or PNG file that contains both of your images arranged exactly how you want them. This gives you complete creative freedom over size, spacing, borders, backgrounds, and more.
Canva is a powerful and user-friendly online design tool that is perfect for this task. It has a free version with thousands of templates and tools.
Go to Canva.com and click “Create a design.” You can choose a pre-sized template like "Facebook Post" (940 x 788 pixels is a common size) or click “Custom size” to enter your own dimensions. For a simple side-by-side image, a landscape dimension like 1200 x 630 pixels works well for the Facebook feed.
Once you have a blank canvas, look at the menu on the left side of the screen. Click on Elements. In the search bar, type "grids" and hit enter. You will see visual representations of different layouts. Scroll until you find the one that shows two spaces side-by-side. Click on it, and it will snap to fill your entire canvas.
Next, click on Uploads in the left-hand menu. Click the "Upload files" button and select the two photos you want to use from your computer. Once they appear in your uploads gallery, simply drag each photo into one of the empty frames in the grid you just added. Canva will automatically crop and fit the image to the frame.
You can fine-tune your design:
Once you’re happy with your creation, click the Share button in the top-right corner, then click Download. Choose JPG or PNG as the file type (PNG is usually better for images with sharp lines or text) and click the purple “Download” button. You now have a single, perfectly formatted image file ready to be uploaded to Facebook just like any other single photo.
A side-by-side format is more than just a creative choice, it’s a powerful marketing tool. Here are a few ways to use these posts to spark conversation and showcase your brand:
This is the classic use case and for good reason - it’s incredibly effective. It provides a clear, immediate visual of the value you offer. This works for countless industries:
People love sharing their opinions. Frame a post as a choice and ask your audience to weigh in. A fashion brand could post a T-shirt in two different colors and ask, "Which one are you wearing this weekend? Left or Right?" This simple tactic invites comments and boosts your post's visibility.
For e-commerce businesses, a side-by-side collage is perfect for showing options. Display a product in different colors, sizes, or styles in a single, clean image. You can also use one side for a shot of the product and the other to highlight a key feature with a close-up or a graphic overlay.
Use two photos to communicate a process or narrative. A bakery could show a photo of the raw ingredients next to a photo of the finished, delicious cake. An artist could show a pencil sketch next to the final painted piece. This adds depth to your content and brings your audience into your world.
Creating compelling side-by-side photo posts on Facebook is a straightforward skill that adds a professional and engaging touch to your social media presence. Whether you let Facebook automatically generate a collage for a quick update or use a tool like Canva to craft the perfect comparison shot, this format helps you tell stronger visual stories. Master this simple technique, and you'll find it becomes a go-to tool in your content creation kit.
Once you’ve perfected creating these eye-catching images, planning when and where they go live is the next step for a polished content strategy. Through years of managing social media, we know that having great content is only half the battle, consistency is what builds momentum. That's why we built Postbase. Our visual calendar lets you plan, schedule, and see all your beautifully designed posts across all platforms in one uncluttered view, making sure your hard work goes live exactly when it’s supposed to, every time.
```
Spencer's spent a decade building products at companies like Buffer, UserTesting, and Bump Health. He's spent years in the weeds of social media management—scheduling posts, analyzing performance, coordinating teams. At Postbase, he's building tools to automate the busywork so you can focus on creating great content.

Enhance your email signature by adding social media icons. Discover step-by-step instructions to turn every email into a powerful marketing tool.
Record clear audio for Instagram Reels with this guide. Learn actionable steps to create professional-sounding audio, using just your phone or upgraded gear.
Check your Instagram profile interactions to see what your audience loves. Discover where to find these insights and use them to make smarter content decisions.
Requesting an Instagram username? Learn strategies from trademark claims to negotiation for securing your ideal handle. Get the steps to boost your brand today!
Attract your ideal audience on Instagram with our guide. Discover steps to define, find, and engage followers who buy and believe in your brand.
Activate Instagram Insights to boost your content strategy. Learn how to turn it on, what to analyze, and use data to grow your account effectively.
Wrestling with social media? It doesn’t have to be this hard. Plan your content, schedule posts, respond to comments, and analyze performance — all in one simple, easy-to-use tool.

