Pinterest Tips & Strategies

How to Merge Pinterest Accounts

By Spencer Lanoue
October 31, 2025

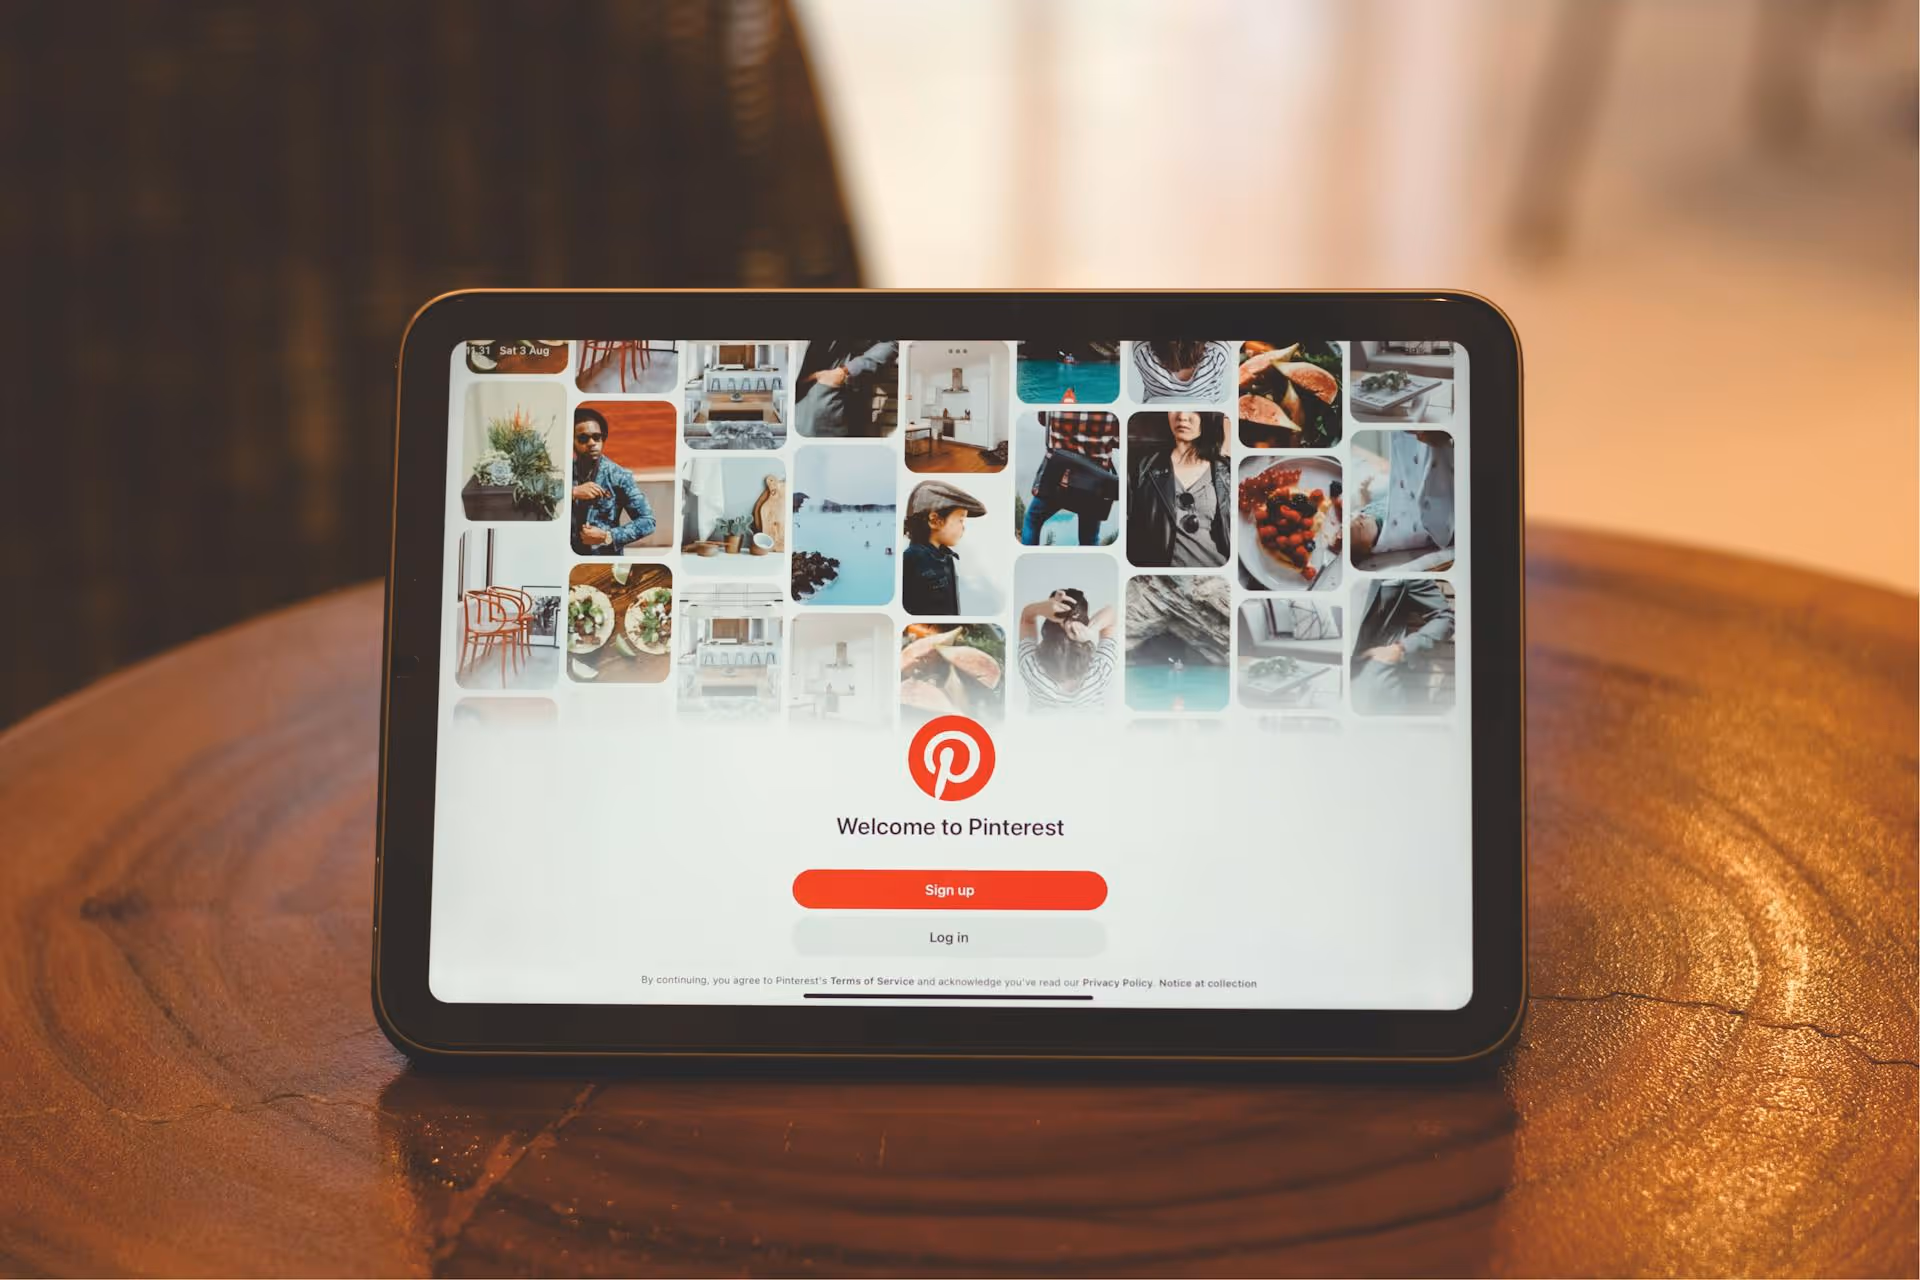
Juggling more than one Pinterest account and wishing you could just combine them? You're not alone. While Pinterest doesn't offer a simple, one-click merge button, there is a clear, step-by-step process you can follow to consolidate everything into a single, powerful profile. This guide is your complete walkthrough to combining your accounts, tidying up your Pinterest presence, and building a stronger brand on the platform.

Why You Should Consolidate Your Pinterest Presence

Before jumping into the “how,” it’s worth understanding the “why.” Combining your Pinterest accounts isn’t just about cleaning up - it’s a strategic move that pays off. If you’re managing a personal profile that slowly turned into a business page, an old account you abandoned, and a new one for your brand, a merge can make a huge difference.

  • Simplified Management: This is the most obvious benefit. Managing one account is far easier than juggling two or more. It means one login, one content strategy, and one set of analytics to track. You get to spend less time hopping between profiles and more time creating great content.
  • Stronger, Clearer Brand Identity: Having multiple accounts can confuse your audience. Are you a brand or a person? Which account is the "official" one? Consolidating your presence into a single, well-defined Business account creates a cohesive brand image. Followers know exactly who you are and what to expect from your content.
  • Concentrated Analytics and Insights: When your data is split across multiple accounts, you're only getting a partial picture of your performance. By merging everything, all your impressions, outbound clicks, saves, and follower growth metrics live in one dashboard. This gives you a much clearer, more accurate understanding of what’s working and what isn't.
  • Faster Follower Growth: Building an audience takes time and effort. When you divide that effort between two accounts, you’re slowing down your own growth. Focusing all your energy - and directing all your potential followers - to one profile helps you build a larger, more engaged audience more effectively. It creates a snowball effect that a fragmented presence just can't match.

Think of it like tending a garden. You'll get far better results by watering one well-tended plot than by scattering a few drops of water across several different patches.

Getting Started: A Pre-Merge Checklist

A little prep work now will save you a lot of headaches later. Before you start moving a single pin, take 15 minutes to run through this checklist to make sure your merge process is smooth and organized.

1. Choose Your Primary Account

This is the most important decision. You need to decide which account you will keep and build upon. The other account(s) will be deleted after the transfer is complete. Consider these factors:

  • Follower Count and Engagement: Generally, you’ll want to keep the account with the most followers and the highest engagement levels.
  • Username: Does one account have the perfect username for your brand? If so, that might be the deciding factor.
  • Account Type: If one is already a Business account, it often makes sense to choose that one to save you a step.
  • Content Quality: Perhaps one account has higher-quality pins or better-organized boards.

Once you’ve made your choice, designate it as your "Primary Account" and the other as the "Secondary Account." All future steps will refer to them this way.

2. Convert to a Business Account (If Needed)

If your chosen primary account is currently a personal one, you should convert it to a Pinterest Business account. It's free and unlocks essential marketing features:

  • Pinterest Analytics: Access in-depth data on your pin performance and audience demographics.
  • Rich Pins: Automatically sync extra information from your website to your pins.
  • Website Claiming: Verifying your website boosts your content's visibility and gives you access to more analytics.
  • Pinterest Ads: The ability to create paid campaigns to promote your pins.

To convert, simply go to your settings and select "Convert to a business account." Pinterest will guide you through the quick process.

3. Audit the Secondary Account’s Content

You probably don't need to move every single pin from your old account. Log into your secondary account and do a quick audit. Ask yourself:

  • Which boards are aligned with my current brand?
  • Are there pins that are outdated or poor quality that can be left behind?
  • Are there old group boards that are no longer relevant to me?

This simple review helps you focus on moving only the valuable content, keeping your newly merged account clean and strategic from day one.

How to Manually Merge Your Pinterest Accounts: The Complete Walkthrough

Alright, you've done your prep work. Now it's time to actually move your content. Since Pinterest doesn't have a direct "transfer" function, we'll use a smart workaround involving group boards. Follow these steps carefully.

Step 1: Invite Your Secondary Account as a Collaborator

The secret to moving pins efficiently is turning your secondary account into a temporary collaborator on your primary account's boards. This allows you to move pins in bulk instead of re-pinning them one by one.

  1. Log in to your Primary Account.
  2. Open a board where you want to move some of your old pins. If you don't have a destination board yet, create it now.
  3. Click the "plus" icon (+) or the collaborators icon (looks like several profile pictures) at the top of the board.
  4. In the "Invite" field, search for the username of your Secondary Account and send an invitation.
  5. Repeat this for every board you plan to move pins to. For organization, you can even create a temporary, secret board named "Pins from Old Account" on your primary profile and invite your secondary account to that.

Step 2: Accept the Invitations and Move Your Pins

Now, you’ll switch over to your secondary account to accept the collaboration invites and transfer the content.

  1. Log out of your primary account and log in to your Secondary Account.
  2. Check your notifications (the bell icon) and accept the board invitations from your primary account.
  3. Navigate to a board on your secondary account that contains pins you want to move.
  4. At the top of the board, click the “Organize” button.
  5. Click to select all the pins you want to move. You can drag your mouse to select pins in bulk or click “Select All” to grab everything on the board.
  6. At the top of the screen, a menu will appear. Click “Move.”
  7. A window will pop up showing all your boards, including the shared boards you just joined from your primary account. Select the destination board.
  8. Pinterest will move the selected pins to the new board. The best part? The pins keep their original descriptions, links, and credit to the original pinner. You aren't "stealing" content, you are simply re-organizing where it's saved.
  9. Repeat this process for all the boards and pins you want to transfer.

Step 3: Encourage Your Followers to Move

This is the trickiest part. Unfortunately, you can't transfer your followers automatically. You have to let them know you've moved and encourage them to follow your primary account.

  • Update Your Old Profile: Change the profile name of your secondary account to something like "Jane Doe (Moved to @NewJaneDoe)" and update the bio with a clear message: "I've moved! Please follow me at my new account: [Link to Primary Account]." This is the first thing people will see.
  • Create an Announcement Pin: Design a simple graphic that announces the move. Pin it to all of your most popular boards on the secondary account. In the description, link directly to your new profile.
  • Leverage Other Platforms: If you have an email list, an Instagram account, or a Facebook page, announce the move there as well. Let your entire audience know where to find you on Pinterest.
  • Wait Before Deleting: Don't delete the secondary account immediately. Leave it active for at least a few weeks - or even a month - to give your followers ample time to see the announcement and make the switch.

Step 4: Say Goodbye to the Old Account

Once you are completely certain that all your valuable pins have been moved and your followers have had enough time to find your new profile, it’s time for the final step.

  1. Log in to your Secondary Account one last time.
  2. Go to Settings > Account Management.
  3. Scroll to the bottom and click on “Delete your account.”
  4. Follow the on-screen prompts to confirm. Remember, this action is permanent and cannot be undone.

And that’s it! You've successfully consolidated your Pinterest accounts.

Your Accounts are Merged. Now What?

The hard part is over, but your work isn't quite done. Now that you have a single, unified account, here's how to make the most of it and set yourself up for long-term success.

  • Tidy Up Your Boards: Go through your primary account and make sure everything is organized. Rename any temporary boards, move pins to their permanent homes, add clear board descriptions, and archive anything that's no longer relevant.
  • Refresh Your Profile: Take a fresh look at your primary account's bio, profile picture, and header image. Does everything reflect your brand clearly and professionally? Is your claimed website up-to-date?
  • Build a Consistent Content Strategy: With one account to focus on, you can now build a truly effective content calendar. Pinner's success is driven by consistency - publishing fresh, valuable content on a regular schedule. Plan your pins, Idea Pins, and video content in advance.

Final Thoughts

Merging your Pinterest account requires a few manual steps, but the result is a more professional, manageable, and powerful presence. By systematically moving your content and guiding your followers to one primary profile, you create a focused hub for your brand that is easier to grow and track over time.

Once you have your newly merged account, the key to growth is consistency, and that's often the biggest challenge. This is why we built Postbase. Instead of manually posting every day, you can use our visual calendar to plan and schedule all of your Pinterest content - including video pins - weeks in advance. It helps you stay consistent without the daily grind, so you can focus on creating great ideas while trusting your strategy is running on autopilot.

Spencer's spent a decade building products at companies like Buffer, UserTesting, and Bump Health. He's spent years in the weeds of social media management—scheduling posts, analyzing performance, coordinating teams. At Postbase, he's building tools to automate the busywork so you can focus on creating great content.

Other posts you might like

How to Add Social Media Icons to an Email Signature

Enhance your email signature by adding social media icons. Discover step-by-step instructions to turn every email into a powerful marketing tool.

Read more

How to Add an Etsy Link to Pinterest

Learn how to add your Etsy link to Pinterest and drive traffic to your shop. Discover strategies to create converting pins and turn browsers into customers.

Read more

How to Grant Access to Facebook Business Manager

Grant access to your Facebook Business Manager securely. Follow our step-by-step guide to add users and assign permissions without sharing your password.

Read more

How to Record Audio for Instagram Reels

Record clear audio for Instagram Reels with this guide. Learn actionable steps to create professional-sounding audio, using just your phone or upgraded gear.

Read more

How to Add Translation in an Instagram Post

Add translations to Instagram posts and connect globally. Learn manual techniques and discover Instagram's automatic translation features in this guide.

Read more

How to Optimize Facebook for Business

Optimize your Facebook Business Page for growth and sales with strategic tweaks. Learn to engage your community, create captivating content, and refine strategies.

Read more

Stop wrestling with outdated social media tools

Wrestling with social media? It doesn’t have to be this hard. Plan your content, schedule posts, respond to comments, and analyze performance — all in one simple, easy-to-use tool.

Schedule your first post
The simplest way to manage your social media
Rating