

How to Add Social Media Icons to an Email Signature
Enhance your email signature by adding social media icons. Discover step-by-step instructions to turn every email into a powerful marketing tool.
Collaborative Pinterest boards are a fantastic way to brainstorm projects, plan events, or build a community around a shared interest. Instead of just being your personal inspiration hub, a group board allows multiple people to add Pins, turning it into a truly interactive space. This guide will walk you through creating and managing a collaborative board, from the initial setup to a few pro tips for making it a success.
In simple terms, a collaborative board - often called a group board - is a Pinterest board that you can invite other people to Pin to. As the board creator, you set it up and manage who gets to join. Once someone accepts your invitation, they can add their own Pins, just like they would to one of their own boards. This makes them perfect for any situation where you need to gather ideas and inspiration from more than one person.
Think of it as a shared virtual corkboard. You can use it to:
Setting up a new group board from scratch is straightforward. Just follow these steps, and you’ll be sharing ideas in minutes.
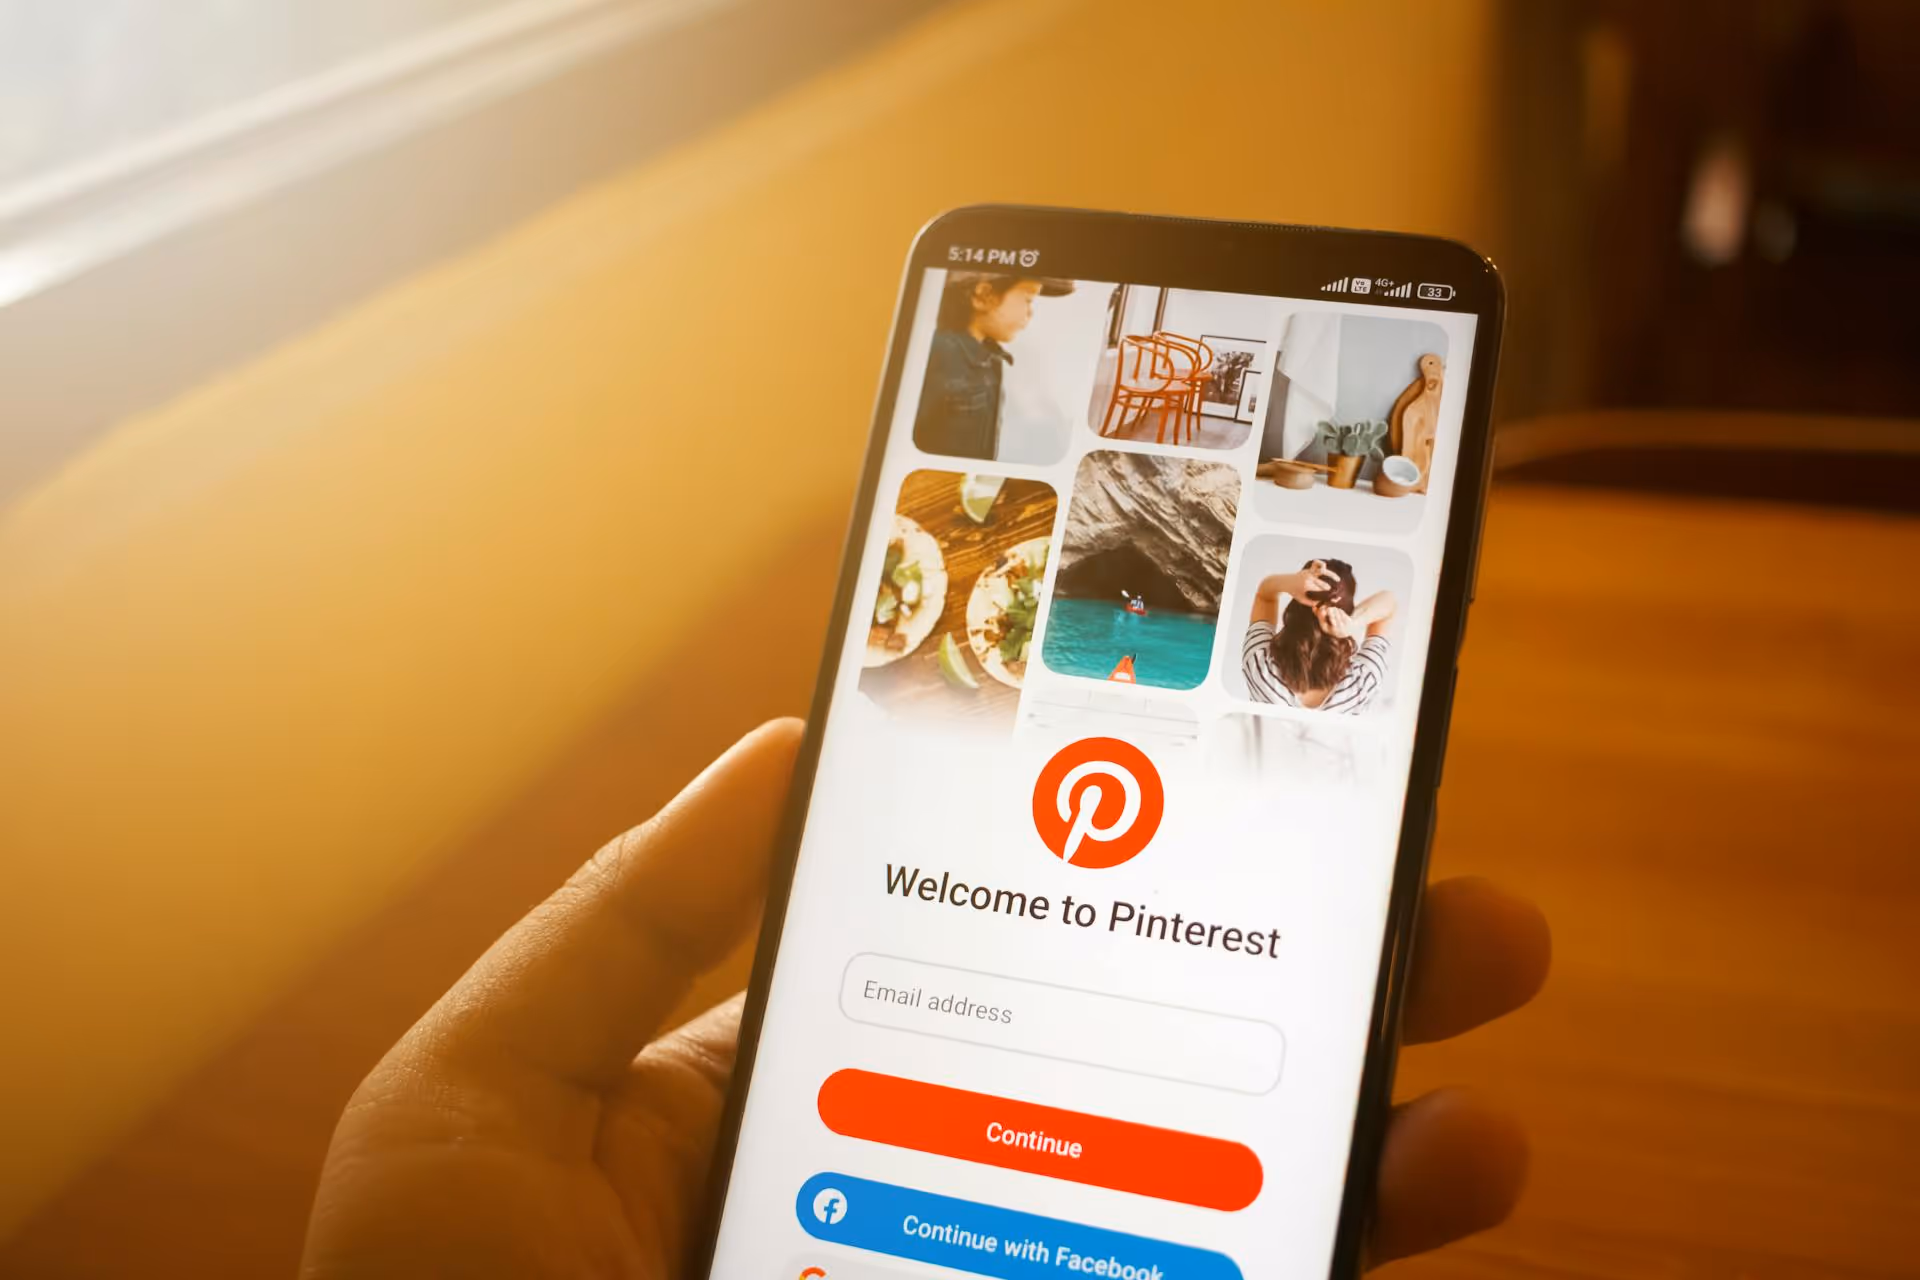
First, log in to your Pinterest account. From your profile page or the home feed, find the plus sign (+) icon, usually located at the very right of your navigation options. Click on it and select "Board" from the dropdown menu.
A window will pop up asking you to name your board. Give it a clear, descriptive name that tells everyone what it's about. For example, "Q3 Marketing Campaign Ideas" is much better than just "Ideas."
After you’ve created the board, Pinterest will take you to your new, empty board. At the top, you'll see a button with person icons and a plus sign, or a button labeled "Share." Click on that.
This will open the collaboration menu. In the search box, you can type the names, usernames, or email addresses of the people you want to invite. As you type, Pinterest will suggest profiles. Select the ones you want, and an invitation will be sent to them. They will receive a notification and an email to join your board. If you'd rather send a direct link, you can click the "Copy Link" button and share it with your intended collaborators via text, email, or a direct message. For more details on this process, learn how to add a collaborator on Pinterest.
Once you send the invitations, your job is done for now. The people you invited will need to accept the invitation to start pinning. After they accept, their profile picture will appear alongside yours at the top of the board, and they’ll be able to add, move, and organize Pins.
Maybe you already have a board filled with great ideas and you’ve decided you want to bring others into the mix. You can easily convert any of your existing boards into a collaborative one.
That's it! Your personal inspiration board is now a shared creative space.
Creating the board is the easy part. The real benefit comes from managing it well so that it's a helpful and active resource instead of a chaotic collection of random Pins. Here are a few tips to keep your board organized and effective. For broader tips on keeping your content streamlined, learn how to organize social media content effectively.
Don't assume everyone knows the purpose of the board. Is it for serious business planning or casual fun? Are there types of content you don't want on the board? To prevent confusion, the very first Pin on your board should be a text image or a detailed description outlining the rules or the goal.
For example, a marketing team's board guidelines could include:
If your board covers a broad topic, it can get messy fast. Use Pinterest's "Sections" feature to create sub-topics within the board. For a "Wedding Planning" board, you could have sections for "Venues," "Dresses," "Flower Arrangements," and "Cake Ideas."
To add a section, go to your board and click the "Organize" button. Then you can select a group of Pins and prompt Pinterest to create a new section for them, or add new sections from scratch. This helps everyone find what they’re looking for and encourages more organized pinning.
As the board owner, you have control. You can remove collaborators or make them an admin, giving them the same privileges as you. A more important setting to consider is the option that says, “Allow other collaborators to invite people.”
Remember, you don’t have to make your collaborative board public. If you’re working on a top-secret product launch or planning a surprise party, you can make the board “secret.” Only you and the collaborators you invite will be able to see it. It won’t show up on your profile or in search results.
You can do this when you first create the board by toggling the "Keep this board secret" option, or you can edit an existing board to make it secret.
Now that you know the mechanics, what can you actually do with these group boards? The possibilities are endless, but here are a few ideas to get you started.
Collaborative boards are a simple but very effective feature on Pinterest. They encourage interaction, organize ideas visually, and can be a powerful tool for teamwork and community building, both personally and professionally.
Planning visual content for platforms like Pinterest is just one piece of a complete brand strategy. To ensure all your efforts across different platforms are coordinated, consider learning how to create a social media content calendar. During our time as social media marketers, we built Postbase around a visual content calendar to make this process seamless, giving you a top-down view of everything you've scheduled and letting you make drag-and-drop adjustments with ease.
Making a collaborative Pinterest board is a simple, direct process that can unlock new ways to work with teammates, plan with friends, and engage a wider community. The real power isn't just in creating the board, but in structuring it for success with clear guidelines and smart organization.
Spencer's spent a decade building products at companies like Buffer, UserTesting, and Bump Health. He's spent years in the weeds of social media management—scheduling posts, analyzing performance, coordinating teams. At Postbase, he's building tools to automate the busywork so you can focus on creating great content.

Enhance your email signature by adding social media icons. Discover step-by-step instructions to turn every email into a powerful marketing tool.
Record clear audio for Instagram Reels with this guide. Learn actionable steps to create professional-sounding audio, using just your phone or upgraded gear.
Check your Instagram profile interactions to see what your audience loves. Discover where to find these insights and use them to make smarter content decisions.
Requesting an Instagram username? Learn strategies from trademark claims to negotiation for securing your ideal handle. Get the steps to boost your brand today!
Attract your ideal audience on Instagram with our guide. Discover steps to define, find, and engage followers who buy and believe in your brand.
Activate Instagram Insights to boost your content strategy. Learn how to turn it on, what to analyze, and use data to grow your account effectively.
Wrestling with social media? It doesn’t have to be this hard. Plan your content, schedule posts, respond to comments, and analyze performance — all in one simple, easy-to-use tool.

