Going live on Instagram directly from your MacBook can supercharge your content, but there's a catch - Instagram doesn't offer a native Go Live button for desktop. This guide cuts through the confusion, showing you exactly how to use third-party tools to stream professionally from your Mac. We’ll cover everything from the simplest browser-based options to a full step-by-step setup using professional streaming software.
Why Go Live from Your MacBook in the First Place?
While tapping "Live" on your phone is easy, streaming from a MacBook unlocks a new level of quality and professionalism. It's the secret behind creators who look and sound a step above the rest. Here's what you gain:
- Superior Quality: Use a high-quality external webcam (or even a DSLR) and a dedicated microphone for crystal-clear video and audio that your phone’s built-in hardware can't match.
- Screen Sharing: Perfect for tutorials, presentations, live workshops, or product demos. You can show your audience exactly what's on your screen.
- Professional Overlays and Graphics: Add your logo, branded frames, lower thirds with your name and title, or call-to-action banners directly into your stream.
- Multi-Camera Setups: With a bit more setup, you can switch between different camera angles, creating a dynamic, television-style broadcast.
- A Stable Connection: An ethernet-connected MacBook is far more reliable than Wi-Fi on a phone, reducing the risk of a dropped or laggy stream.
In short, moving your live session to a MacBook is about taking control of your brand's image and delivering a richer experience for your audience.
The Two Main Ways to Go Live on Instagram from a Mac
Since Instagram doesn't give you a direct route, you'll need a go-between. There are two primary approaches, each with its own pros and cons:
- Browser-Based Streaming Studios: Tools like StreamYard and Restream are the most user-friendly options. They run entirely in your web browser, are easy to set up, and often handle the tricky technical parts for you. They’re a great starting point but usually come with subscription costs and might have branding on free plans.
- Professional Streaming Software (OBS): Using Open Broadcaster Software (OBS) gives you complete creative control, is entirely free, and is the industry standard for professional streamers. The learning curve is a bit steeper, but the payoff is total freedom over how your stream looks and feels.
We'll focus on the professional method using OBS because it’s the most powerful and scalable solution, giving you a skill that translates to streaming on any platform.
The Pro Method: A Step-by-Step Guide to Going Live with OBS Studio
This is where the magic happens. OBS Studio is a free, open-source broadcasting powerhouse. Pairing it with a service that generates an Instagram stream key lets you produce a high-quality vertical live stream directly from your Mac. Don't worry, we'll walk through every step.
What You'll Need For This Setup
- Your MacBook: Any recent model will work fine for a basic stream.
- A Solid Internet Connection: Your upload speed is what counts. Plug an ethernet cable in if you can for maximum stability.
- OBS Studio: The free software that will act as your control room.
- A Third-Party 'Stream Key' Service: Instagram doesn't provide stream keys publicly, so you need a tool to get one. Restream is a popular and reliable choice that makes connecting to Instagram simple. They have a limited free tier which often works for this purpose.
Step 1: Download and Set Up OBS Studio
First, let’s get the software. OBS is safe, respected, and used by millions of creators.
- Go to the official OBS Studio website: obsproject.com. The site will automatically detect you're on a Mac.
- Click the download button for macOS.
- Once downloaded, open the
.dmg file and drag the OBS icon into your Applications folder. - The first time you open OBS, macOS might ask for permission to access your microphone and camera. Be sure to grant this access. You may also be prompted with an auto-configuration wizard - you can either run through it or just close it for now, as we’ll configure the settings manually for a vertical stream.
Step 2: Get Your Instagram Stream Key and Server URL
This is the most critical piece of the puzzle. The stream key is like a unique password that allows OBS to send your video feed to your specific Instagram account. Services like Restream generate this for you.
- Sign up for an account at a service like Restream.
- Inside your dashboard, look for an option to "Add Channel" or "Add Destination."
- Choose Instagram from the list. It may prompt you to connect your Instagram account via Facebook, so follow the on-screen instructions.
- Once connected, it will provide you with an RTMP URL and a Stream Key. The RTMP URL is the server address, and the stream key directs it to you. Keep this page open, you'll need to copy and paste both into OBS in the next step.
Note: This stream key is private! Do not share it with anyone.
Step 3: Configure OBS for Vertical Instagram Streaming
By default, OBS is set up for a horizontal, 16:9 stream (like for YouTube or Twitch). We need to change it to a vertical 9:16 format for Instagram.
- In OBS, go to the menu bar at the top and click OBS >,, Settings (or click the 'Settings' button on the bottom right).
- Select the Video tab on the left.
- Change the Base (Canvas) Resolution to
1080x1920. This creates your vertical workspace. - Change the Output (Scaled) Resolution to match it:
1080x1920. If your internet connection struggles, you can lower this to 720x1280 for a more stable stream. - Click Apply, but don't close the settings window yet.
Now, let's connect OBS to Instagram using the key you just got.
- Select the Stream tab on the left.
- From the Service dropdown menu, choose Custom...
- Go back to your browser tab with Restream. Copy the Server (RTMP URL) and paste it into the "Server" field in OBS.
- Next, copy the Stream Key from Restream and paste it into the "Stream Key" field in OBS.
- Click Apply and then OK. Your OBS is now configured and ready to stream to your Instagram account!
Step 4: Add Your Camera and Microphone to the Scene
Now you have a big, black vertical rectangle. Let's add you to the picture.
- In the main OBS window, find the box labeled Sources (usually bottom-left). Click the + button.
- Select Video Capture Device.
- Give it a name like "MacBook Camera" and click OK.
- From the "Device" dropdown menu, choose your camera (e.g., "FaceTime HD Camera" for the built-in one, or your external webcam if you have one plugged in).
- You'll see a preview. Click OK. Your camera will now appear on the canvas. It will probably be sideways and too small.
- Click on the camera source in the preview window to select it. You can drag the corners to resize it and click-and-drag to reposition it until it fills the vertical canvas nicely.
Next, let's add your audio.
- Click the + button under Sources again.
- Select Audio Input Capture.
- Give it a name like "External Mic" and click OK.
- Choose your microphone from the "Device" dropdown.
- Click OK. Check the Audio Mixer panel in OBS. As you speak, you should see the meter for your new audio source light up. Make sure it stays in the green and yellow zones, and avoids hitting the red.
Step 5: Going Live and Ending the Stream
This is it! Time to start the show. The process involves two clicks: one to start streaming from OBS to your service, and another in the service itself to actually push it to Instagram Live.
- In OBS, click the Start Streaming button on the bottom right. The button will change to "Stop Streaming," and you’ll see some data at the bottom indicating a healthy stream. You are now sending your feed from your Mac, but you are not *publicly live* on Instagram yet.
- Switch over to your browser with Restream open. You should see a preview of your feed from OBS. There will be a "Go Live" or similar button. Click it.
- You are now LIVE on Instagram!
While streaming, keep your phone handy to see comments and viewer reactions in real-time, as these won't appear in OBS.
To end your broadcast:
- First, end the broadcast in your Restream browser window.
- Then, go back to OBS and click Stop Streaming.
Doing it in this order ensures a clean end to your live session.
Quick Tips for a More Polished Live Stream
Now that you know the technical steps, here's how to elevate your broadcast from good to great.
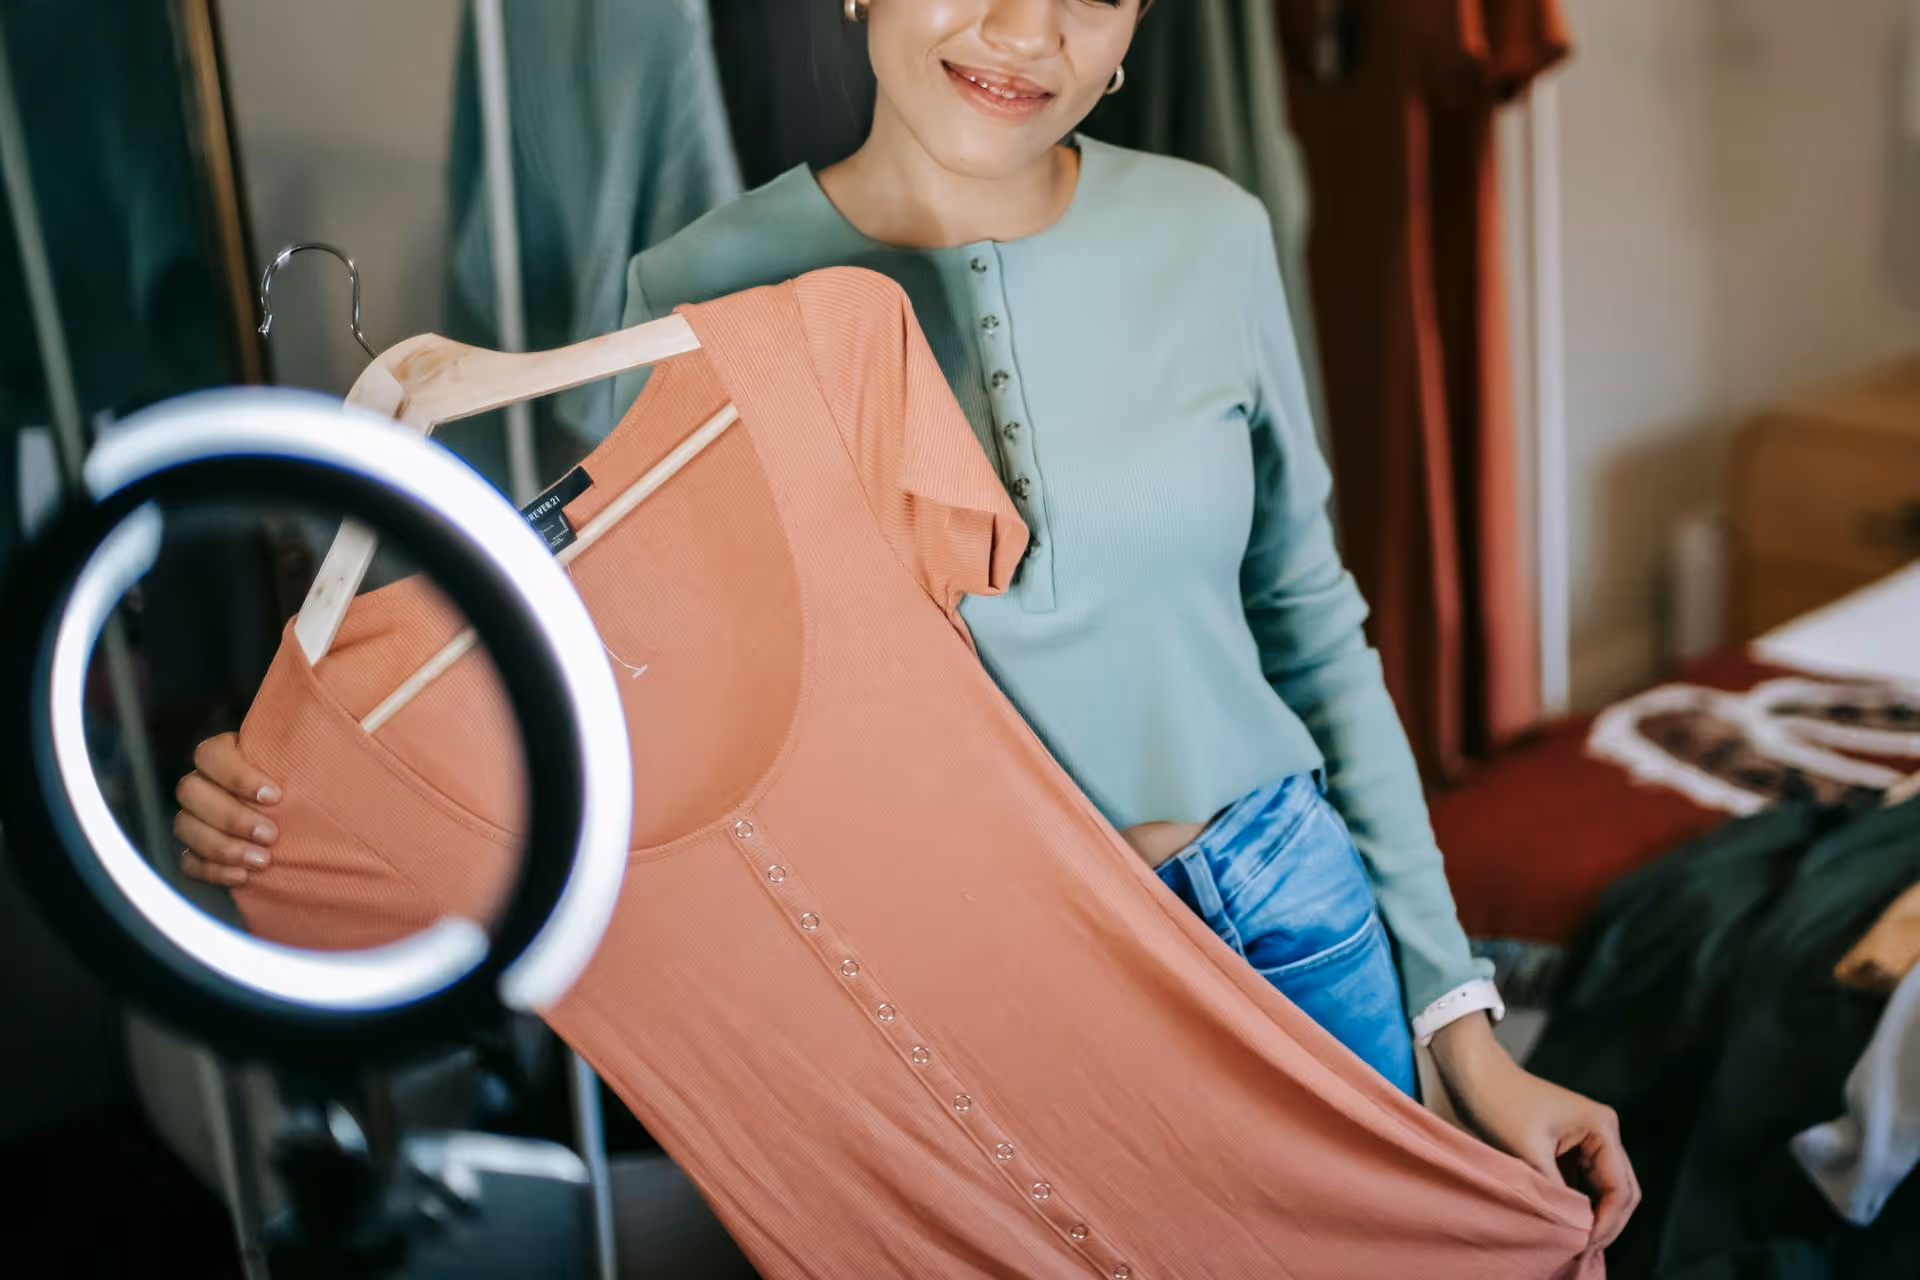
- Look at Your Lighting: The single biggest factor in video quality is lighting. Position a light source (like a ring light or even a lamp) in front of you. Avoid sitting with a bright window behind you.
- Clear Audio is Non-Negotiable: People will forgive mediocre video, but they won't stick around for bad audio. An external USB microphone is one of the best investments you can make for your content.
- Plan Your Content: Know what you're going to talk about. Have a beginning, a middle, and an end. Even a simple bullet-point outline on a sticky note can keep you on track.
- Add Some Simple Branding: Experiment with adding more sources in OBS. Use the + button to add an Image source for your logo or a Text source to display your website URL at the bottom of the screen.
- Do a Test Run: Before your first big public stream, consider doing a private test. You can often set your stream visibility on third-party platforms to private just for a technical rehearsal.
Final Thoughts
Going live on Instagram from your MacBook may require external software, but tools like OBS give you professional-level control over your content that's just not possible on a phone. By following these steps, you can create higher-quality, more engaging live sessions that help your brand stand out.
After you wrap up a high-quality live stream, managing the rest of your social media shouldn't be a struggle. We’ve experienced firsthand the frustration of using clunky, outdated management tools that make simple tasks feel like a chore. That’s why we built Postbase, a social media management platform designed for the content you're creating today - like short-form video. It helps you schedule, engage, analyze, and plan everything in one clean, reliable space that actually works.
Spencer's spent a decade building products at companies like Buffer, UserTesting, and Bump Health. He's spent years in the weeds of social media management—scheduling posts, analyzing performance, coordinating teams. At Postbase, he's building tools to automate the busywork so you can focus on creating great content.