

How to Add Social Media Icons to an Email Signature
Enhance your email signature by adding social media icons. Discover step-by-step instructions to turn every email into a powerful marketing tool.
Recording a TikTok video without holding your phone is easier than it sounds, and it's the secret to creating smoother, more dynamic content. This guide will walk you through every method available for hands-free recording right inside the app, from the powerful built-in timer to other clever techniques that give you the freedom to move, dance, and create. You'll learn exactly how to set up your shots so you can focus on being the star, not the camera operator.
Ditching the handheld approach isn't just about comfort - it's a strategic move to level up your content. When your phone is stable, your videos instantly look more polished and professional. Holding your phone, especially your front-facing camera, often leads to shaky footage that can be distracting for viewers. Locking your phone in place, on the other hand, puts all the focus on you and your performance.
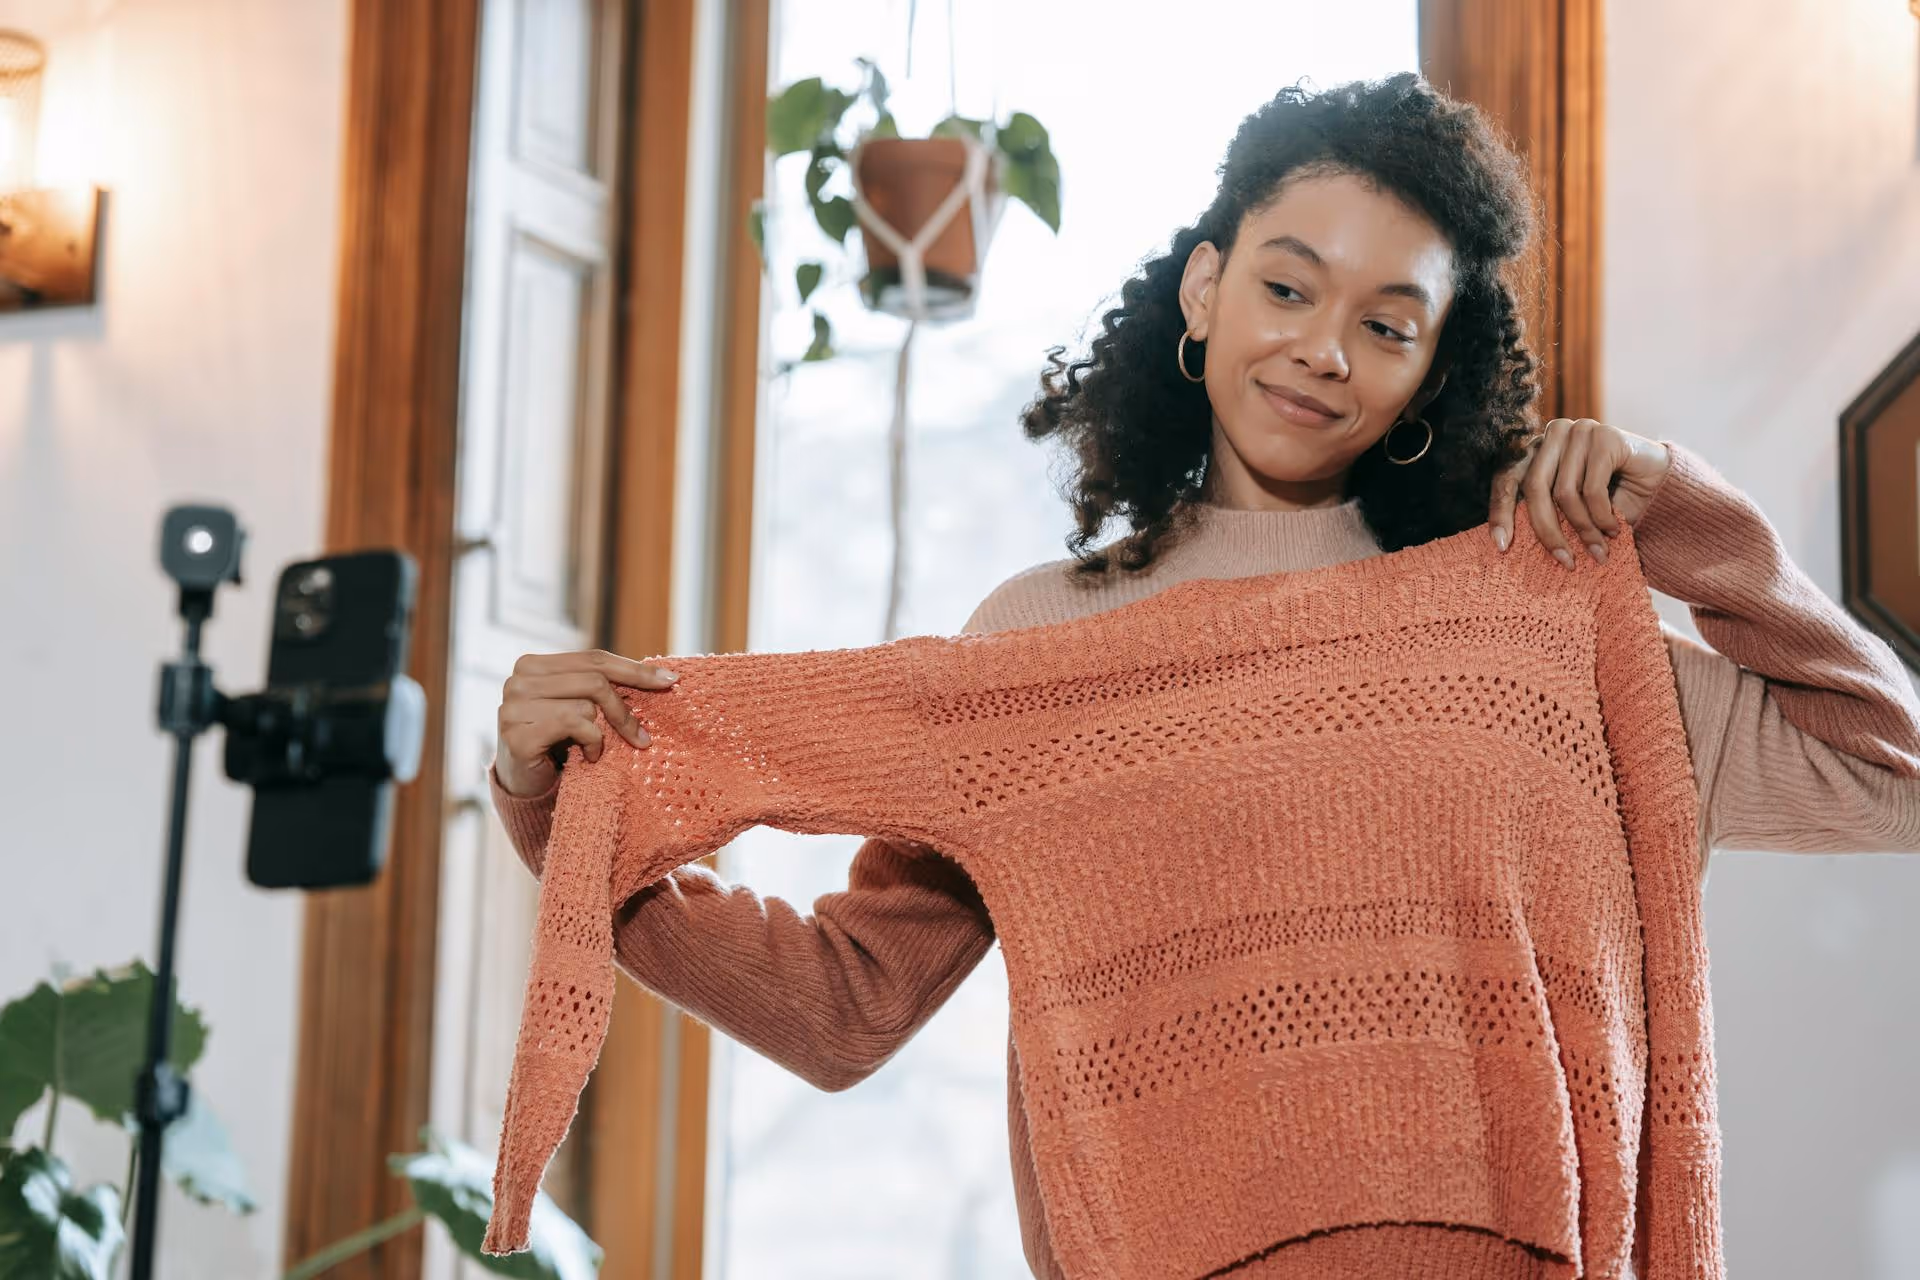
More importantly, going hands-free gives you creative freedom. You can step back from the camera to show off a full outfit change in a transition video, perform an intricate dance without worrying about keeping the phone framed, or use both hands for a cooking tutorial or product unboxing. It allows you to utilize your space and create a more engaging, three-dimensional scene for your audience, making your content stand out on the For You page.
The simplest and most reliable way to record hands-free is with TikTok's built-in countdown timer. This feature lets you set a delay before recording begins, giving you just enough time to prop up your phone, get into position, and hit your mark. It also lets you control exactly how long each clip should be recorded.
Memorize these steps, and you'll never have to sprint back to your phone again. It’s a simple process that unlocks a ton of creative potential.
Transition mavens, listen up. The real power of the timer is using it to "stack" multiple clips together. After you record your first hands-free segment and it stops, just tap the timer icon again. You can change your outfit, your location, or your props, and then set another countdown and recording duration for the next clip. Repeat this process as many times as you need to build a complex, seamless video - all without touching the record button during filming.
Some users on certain devices have access to another incredible hands-free feature: Gesture Control. Instead of relying on a timer, this feature allows you to start and stop recording simply by making a hand gesture toward the camera. It’s perfect for situations where you aren’t sure how much setup time you'll need, like reacting to another video or engaging in an unscripted monologue where a rigid countdown can feel restrictive.
If your version of the app supports it, getting started is straightforward. You will typically find it alongside or within the Timer menu.
This feature is ideal for workout videos where you need to start and stop between sets, art tutorials where you pause to explain a technique, or any time-based challenge where you don't know the exact endpoint in advance.
If the in-app tools aren’t quite cutting it, you can take matters into your own hands by using your phone’s built-in accessibility features. Both iPhone and Android have powerful voice command tools that can be configured to "tap" the record button on your screen for you. It takes a few minutes to set up but delivers one of the coolest hands-free results.
The Android equivalent is often called Voice Access, though some manufacturers have different names. You can activate it through your phone's accessibility settings.
While software tricks are great, the right gear provides a stable foundation for cleaner, better-looking videos. Forget carefully balancing your phone against a water bottle - a small investment in basic gear can dramatically improve your filming setup.
A tripod is the number one piece of equipment for any serious creator. It keeps your phone steady, allows you to adjust the height precisely, and guarantees you get the perfect angle every time. You don't need an expensive one to start, even simple desk tripods or flexible "gorilla" tripods that can wrap around poles or branches will work wonders. Many even come with a ring light attached, which solves your lighting and stability needs in one package.
If you're often creating content outside of your home, portable solutions are key. A car mount, suction cup mount that sticks to windows or mirrors, or even a PopSocket with a compatible mounting accessory can turn almost any surface into a temporary tripod. These are great for spontaneous filming ideas when you're on the move.
For the ultimate distance control, a small Bluetooth shutter remote is a fantastic tool. These tiny clickers pair with your phone and let you start and stop recording from dozens of feet away. It's the perfect solution when you're too far for a hand gesture or shouting a voice command isn't practical. You can hide the tiny remote in your hand, so no one will ever know how you started the camera.
From TikTok's simple native timer to more advanced voice commands, you now have a full toolkit for recording incredible hands-free videos. Mastering these techniques will remove creative limits, improve your content quality, and free you up to put on your best performance every time.
Once you’ve shot and assembled all that amazing hands-free content, keeping your posting schedule consistent across platforms is the next big challenge. As creators who’ve lived the chaos of managing calendars in spreadsheets, we built Postbase to solve this exact problem. Our platform was designed from the ground up to let you visually plan and schedule your TikToks, Reels, and Shorts in one clean calendar, giving you a bird’s-eye view of your strategy. This helps you stay consistent, so you can spend less time managing and more time creating.
Spencer's spent a decade building products at companies like Buffer, UserTesting, and Bump Health. He's spent years in the weeds of social media management—scheduling posts, analyzing performance, coordinating teams. At Postbase, he's building tools to automate the busywork so you can focus on creating great content.

Enhance your email signature by adding social media icons. Discover step-by-step instructions to turn every email into a powerful marketing tool.
Record clear audio for Instagram Reels with this guide. Learn actionable steps to create professional-sounding audio, using just your phone or upgraded gear.
Check your Instagram profile interactions to see what your audience loves. Discover where to find these insights and use them to make smarter content decisions.
Requesting an Instagram username? Learn strategies from trademark claims to negotiation for securing your ideal handle. Get the steps to boost your brand today!
Attract your ideal audience on Instagram with our guide. Discover steps to define, find, and engage followers who buy and believe in your brand.
Activate Instagram Insights to boost your content strategy. Learn how to turn it on, what to analyze, and use data to grow your account effectively.
Wrestling with social media? It doesn’t have to be this hard. Plan your content, schedule posts, respond to comments, and analyze performance — all in one simple, easy-to-use tool.

