

How to Add Social Media Icons to an Email Signature
Enhance your email signature by adding social media icons. Discover step-by-step instructions to turn every email into a powerful marketing tool.
Nothing's more frustrating than spending hours shooting and editing the perfect video, only to see it turn into a blurry, pixelated mess the second you upload it to TikTok. You’re not alone in this - it’s a common issue that plagues creators and brands alike. This guide breaks down exactly why your videos might be losing quality and provides a clear checklist of actionable fixes you can apply at every stage, from shooting to publishing, to get that crisp, clean look you're after.
Often, the problem with video quality starts long before you even open the TikTok app. The settings and conditions when you record your video form the foundation of its final quality. If you start with a blurry or poorly shot source file, no amount of tweaking in TikTok will magically fix it. Here’s what to look out for.
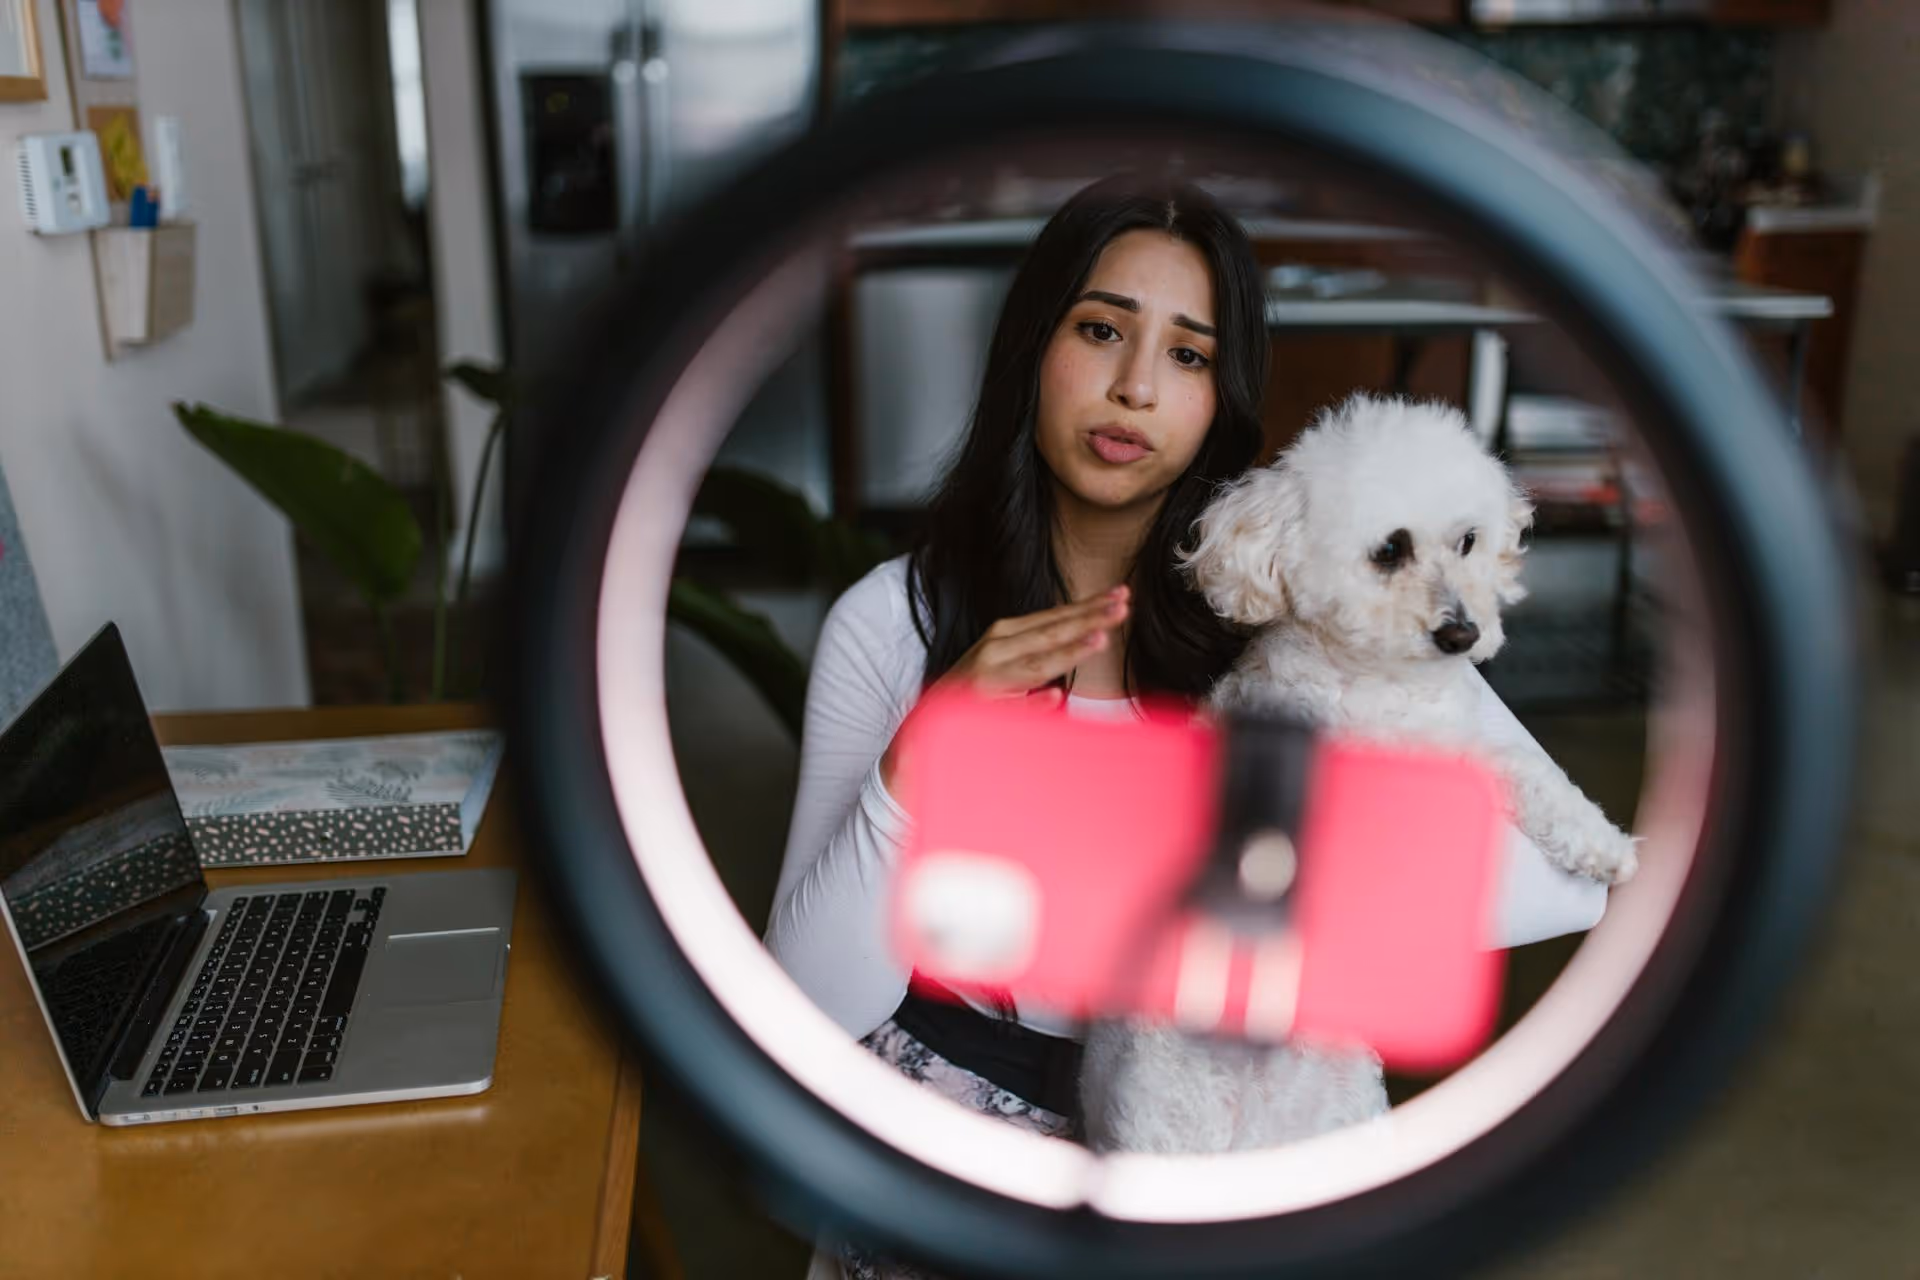
Modern phone cameras are incredible, but not all cameras on your device are created equal. The front-facing or "selfie" camera is almost always a step down in quality compared to the main rear camera system. The sensors on the back are larger, more advanced, and capable of capturing more light and detail, which translates directly to a sharper, cleaner image.
While using the selfie camera is convenient for framing yourself, it frequently results in softer, grainier footage, especially in less-than-perfect lighting. Whenever possible, flip your phone around and use the main camera. It might take a bit of practice to frame your shot without seeing the screen, but the jump in video quality is significant.
Action Step: Film a short test clip with your front camera, and then another with your back camera in the same lighting. Compare them side-by-side. The difference will make it clear why the back camera is the winning choice for high-quality content.
Your phone’s camera has default settings that might not be optimized for the best possible quality. Digging into your settings for just a minute can pay huge dividends.
Poor lighting is the silent killer of video quality. When your camera sensor doesn’t have enough light to work with, it has to compensate by digitally increasing the brightness (an effect called a higher ISO). This process introduces "noise," which looks like visible grain or fuzziness in the darker areas of your video. That graininess only gets worse after TikTok applies its own compression.
You don't need a professional studio setup to get good lighting. The best light is often free: natural daylight. Try filming facing a window so the light evenly illuminates your face. If you’re filming at night or indoors, a simple and affordable ring light can provide consistent, flattering light that eliminates shadows and helps your camera capture a clean, noise-free image.
Action Step: Avoid filming with a bright light source (like a window or lamp) behind you. This is called backlighting and will turn you into a dark silhouette, forcing your camera to introduce even more digital noise as it tries to brighten you up.
This sounds almost too simple to be a real tip, but it's one of the most common and easily fixed problems. Your phone pulls duty all day, getting stuffed into pockets and bags, and picking up fingerprints and smudges along the way. A thin layer of oil or dust on your camera lens acts like a soft-focus filter, making everything look hazy and blurry.
Get into the habit of wiping your phone’s camera lens with a soft, microfiber cloth (the kind used for eyeglasses is perfect) right before you hit record. Don't use your shirt - it can leave behind tiny scratches or lint. That quick wipe can literally be the difference between a soft-looking video and a sharp, professional one.
Once you’ve got a high-quality video file, the next hurdle is the TikTok app itself. There are a couple of settings hidden within the app that can make or break your video quality. Let’s make sure they’re set up correctly.
This is easily the single most important setting to enable within TikTok. Shockingly, it’s often turned off by default, and the app doesn’t always advertise its existence. This setting tells TikTok to process a higher-resolution version of your video, reducing the amount of compression it applies.
Here’s how to find it:
You’ll need to double-check this setting every single time you post a video, as the app has a tendency to reset it occasionally. Making this part of your pre-post checklist is a must.
TikTok has a "Data Saver" feature designed to reduce your phone’s cellular data usage while you're scrolling or uploading. While that’s helpful if you have a limited data plan, it’s terrible for video quality. When enabled, it forces your video uploads to be heavily compressed into much smaller files, ruining their quality in the process.
How to turn it off:
Turning this feature off is a one-time fix. Once it’s off, it should stay off unless you manually turn it back on.
Sometimes, the blurriness is introduced in the stage between shooting and uploading to TikTok - during file transfers or a final edit. It's surprisingly easy to accidentally strip your video of its quality.
Have you ever shot a video on one phone and sent it to someone else’s (or your own) computer via WhatsApp, Facebook Messenger, iMessage, or Android Messages? If so, you have sent a heavily compressed, low-quality version of your file.
These apps automatically shrink video (and photo) files to send them faster and save server space. This process destroys detail and leaves you with a much smaller, blurrier video than the one you started with.
Safe ways to transfer files without loss of quality include:
If you edit your videos outside of TikTok using an app like CapCut or Premiere Pro, your export settings are everything. Exporting with the wrong settings can undo all your hard work recording a good source clip.
Your go-to export settings for TikTok should be:
Getting your export settings right ensures that the file you're giving to TikTok is in the best possible shape for its compression algorithm to handle.
Finally, the unsung villain of video quality can be your very own internet connection. If you're uploading on a spotty Wi-Fi or weak cellular area, TikTok's app may struggle to receive the large high-quality file.
When this happens, the upload may time out or the server might automatically downscale the quality of your video to ensure it successfully gets through. The result is a blurrier version than what you intended to upload on the feed.
The fix is simple. Whenever possible, always upload your TikToks when you’re on a highly reliable Wi-Fi connection. It will give you the fastest upload speed and greatly reduce the chances of the app forcing a change in the quality of your video.
Fixing blurry TikToks comes down to a process of elimination centered on preserving quality at every step. By starting with a well-shot video using your back camera, checking critical in-app settings like "Upload HD" and disabling Data Saver, moving your files correctly, and uploading over a strong internet connection, you can dramatically improve the clarity of your content. Adopting these habits will remove the guesswork and help your videos look professional and sharp every time.
We know juggling all these details for Reels, Shorts, and TikToks is a huge part of being a creator or marketer today. That's why we built Postbase with a video-first approach, prioritizing reliable scheduling and a seamless workflow that protects your video quality across all platforms. Because the last thing you should have to worry about is whether your carefully crafted video will upload as the crisp HD it was meant to be.
```
Spencer's spent a decade building products at companies like Buffer, UserTesting, and Bump Health. He's spent years in the weeds of social media management—scheduling posts, analyzing performance, coordinating teams. At Postbase, he's building tools to automate the busywork so you can focus on creating great content.

Enhance your email signature by adding social media icons. Discover step-by-step instructions to turn every email into a powerful marketing tool.
Record clear audio for Instagram Reels with this guide. Learn actionable steps to create professional-sounding audio, using just your phone or upgraded gear.
Check your Instagram profile interactions to see what your audience loves. Discover where to find these insights and use them to make smarter content decisions.
Requesting an Instagram username? Learn strategies from trademark claims to negotiation for securing your ideal handle. Get the steps to boost your brand today!
Attract your ideal audience on Instagram with our guide. Discover steps to define, find, and engage followers who buy and believe in your brand.
Activate Instagram Insights to boost your content strategy. Learn how to turn it on, what to analyze, and use data to grow your account effectively.
Wrestling with social media? It doesn’t have to be this hard. Plan your content, schedule posts, respond to comments, and analyze performance — all in one simple, easy-to-use tool.

