

How to Add Social Media Icons to an Email Signature
Enhance your email signature by adding social media icons. Discover step-by-step instructions to turn every email into a powerful marketing tool.
That single link in your Instagram bio is one of the most powerful tools you have for turning followers into customers or dedicated fans. But if it just points to your standard website homepage, you're missing a massive opportunity. This guide will show you exactly how to create a dedicated landing page for your Instagram profile - a focused, mobile-first hub designed to guide your visitors and get results.
Unlike a traditional landing page you might build for a Google Ads campaign, you can’t build a custom page inside the Instagram app itself. Instead, an "Instagram landing page" refers to the specific, mobile-optimized web page you send people to from your bio link. It’s the first destination they reach after leaving the app, and its job is to give them a clear, simple path to what they’re looking for.
Too many brands just drop their main homepage URL in their bio and call it a day. This is a big mistake. Your homepage was likely designed for desktop users who are browsing with a lot of time and patience. It’s often packed with different menus, multiple calls-to-action, large images that load slowly on mobile, and tons of text.
Instagram users are different. They are:
An effective Instagram landing page meets them where they are. It’s not a full website, it's a bridge. It loads instantly and gives your audience a curated list of your most important links, making it effortless for them to shop your latest product, read your new blog post, or sign up for your newsletter without getting lost.
The most popular method for creating an Instagram landing page is using a third-party “link in bio” service. These tools generate a simple, mobile-friendly page that acts as a menu for all your important links.
You’ve probably seen these before from brands and creators - think of common tools like Linktree, Later, Bio.fm, or Carrd. They all operate on a similar principle: you get one short URL to put in your bio, and when a user clicks it, they see a beautiful list of buttons that go to different destinations.
While every platform is slightly different, the setup process is almost always the same:
For businesses and creators who want total control over branding, design, and analytics, the best option is to build a dedicated landing page directly on your own website. This route takes a bit more effort upfront but offers significant long-term benefits.
Essentially, you’ll create a new, simplified page on your existing website (e.g., using WordPress, Squarespace, Shopify, or Wix) that is not included in your main navigation menu. Its URL might look something like yourwebsite.com/hello or yourwebsite.com/instagram.
Whether you use a third-party tool or build your own page, the strategy behind a successful landing page remains the same. Here’s how to make sure yours actually works.
The link at the very top of your page gets the most attention, so make it count. What is the single most important action you want someone to take right now? Is it shopping a new collection? Registering for a free workshop? Joining your email list? Put that primary call-to-action (CTA) first. You can even make the button a different color or give it a subtle animation to make it pop.
This is all about creating a seamless transition from Instagram to your landing page. Use the same profile picture, brand colors, and general vibe. If the user feels like they’ve clicked away to a completely unrelated website, they might lose trust and bounce.
Don’t make people guess what will happen when they click. Instead of vague labels, use strong verbs that describe the outcome.
This is perhaps the most common mistake. Giving a visitor 20 links to choose from creates decision paralysis. More often than not, an overwhelmed user will choose nothing. Stick to 3-5 essential links representing your most important goals. Quality over quantity is the rule here.
Not every follower is ready to buy from you today. Your links should offer value to people at different levels of interest:
This approach gives everyone a valuable next step, no matter where they are on their journey with your brand.
Once your landing page is live, you need to actively drive traffic to it. Your work on Instagram should constantly point people toward this valuable resource.
Creating a dedicated Instagram landing page is a simple but incredibly effective strategy for professionalizing your profile and driving meaningful action. It transforms your single link from a missed opportunity into a powerful hub that serves your audience and grows your business, all by providing clarity and direction.
That said, a perfect landing page won't do much without a steady stream of engaging content making people want to click it in the first place. At Postbase, we built our platform to make that content strategy effortless and reliable. Our visual calendar helps you plan and schedule the Reels, videos, and Stories that grab attention, ensuring your message gets out consistently. By handling the complexities of posting across platforms, we free you up to focus on creating content that drives results through that all-important link in your bio.
Spencer's spent a decade building products at companies like Buffer, UserTesting, and Bump Health. He's spent years in the weeds of social media management—scheduling posts, analyzing performance, coordinating teams. At Postbase, he's building tools to automate the busywork so you can focus on creating great content.

Enhance your email signature by adding social media icons. Discover step-by-step instructions to turn every email into a powerful marketing tool.
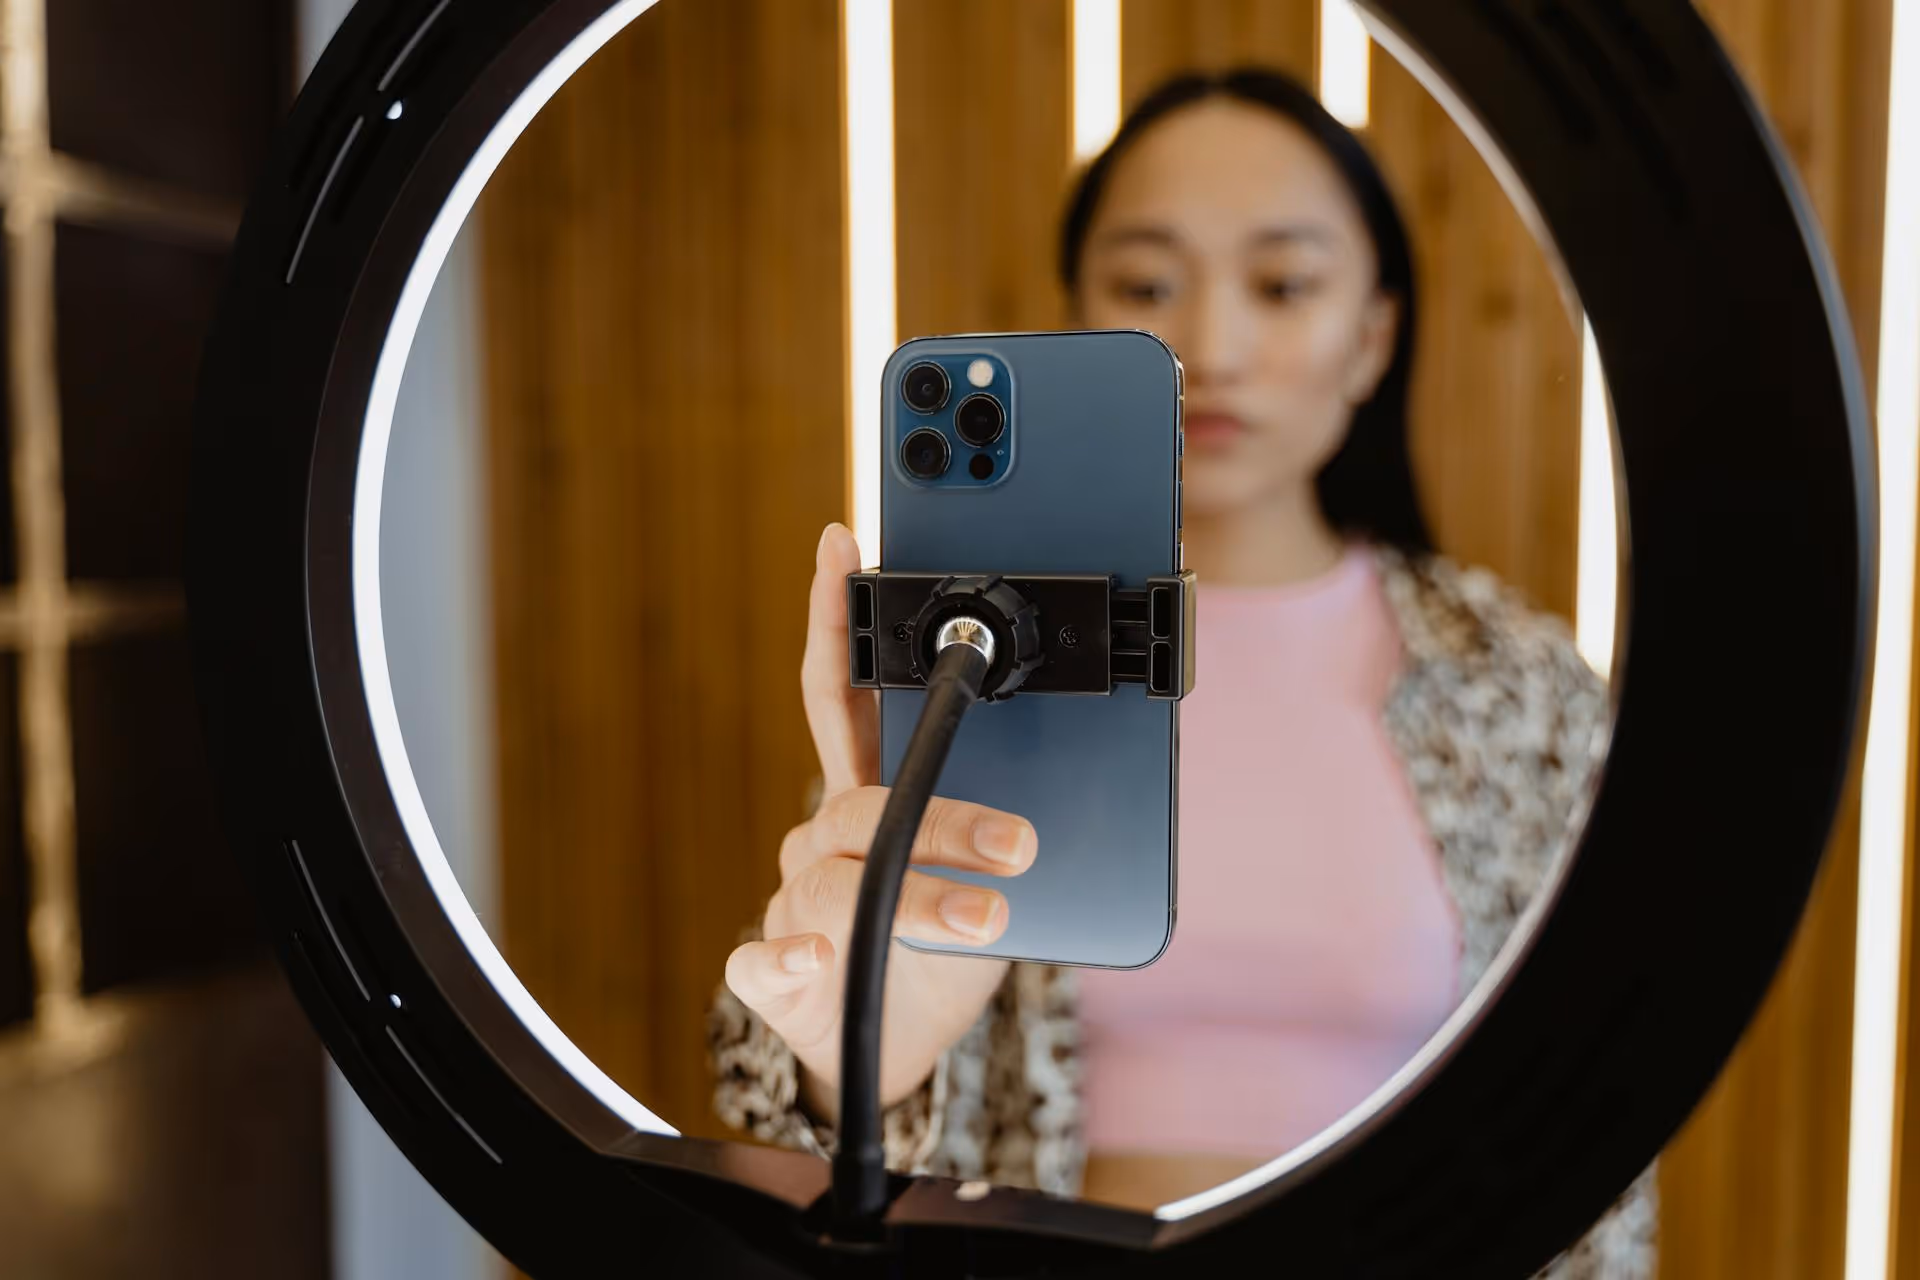
Record clear audio for Instagram Reels with this guide. Learn actionable steps to create professional-sounding audio, using just your phone or upgraded gear.
Check your Instagram profile interactions to see what your audience loves. Discover where to find these insights and use them to make smarter content decisions.
Requesting an Instagram username? Learn strategies from trademark claims to negotiation for securing your ideal handle. Get the steps to boost your brand today!
Attract your ideal audience on Instagram with our guide. Discover steps to define, find, and engage followers who buy and believe in your brand.
Activate Instagram Insights to boost your content strategy. Learn how to turn it on, what to analyze, and use data to grow your account effectively.
Wrestling with social media? It doesn’t have to be this hard. Plan your content, schedule posts, respond to comments, and analyze performance — all in one simple, easy-to-use tool.

