

How to Add Social Media Icons to an Email Signature
Enhance your email signature by adding social media icons. Discover step-by-step instructions to turn every email into a powerful marketing tool.
Using a trending song in your Instagram Reels can be the difference between a few hundred views and going viral, but what if you're the artist behind the music? Getting your own creations onto the platform and making sure you're getting credit is a whole different ballgame. This guide breaks down exactly what it means to claim your music on Instagram, walking you through the steps to get your songs into the official music library and how to manage your copyrights like a pro.
First, let's clear up a common misconception. Unlike YouTube's Content ID system, where you can often "claim" a specific video using your audio, Instagram works differently. "Claiming" music on Instagram isn’t about flagging individual posts by users, it’s a proactive process that involves two main goals:
Essentially, the best strategy isn't to chase down every single use of your song manually. It's to set up a system where your music is available for fans to use legally, and you have tools in place to monitor everything automatically.
The single most important step to getting your music on Instagram is partnering with a digital music distributor. You cannot upload music directly to Instagram's library yourself. These distribution services act as the official middlemen who format your music and its data correctly and deliver it to hundreds of digital stores and social platforms, including Spotify, Apple Music, TikTok, and of course, Facebook and Instagram.
Your distributor is your partner in this process, so choosing the right one matters. While there are many options, most artists find success with one of the big three. Each has a slightly different business model:
When you're comparing services, make sure they specifically list delivery to "Facebook &, Instagram" as part of their package. They all should, but it's always good practice to double-check. Consider their fee structure, royalty payout process, and customer support reputation before making a choice.
Once you’ve signed up with a distributor, it's time to get your assets ready for upload. Platforms have strict quality standards, so "good enough" won't cut it. Follow these guidelines for a smooth submission process:
With your files ready, the next step is straightforward. You'll log in to your distributor’s dashboard, start a new release, and upload your audio file and cover art. Then, you'll fill in all the metadata. The most important part of this step is the distribution selection page.
You’ll see a long list of checkboxes for different stores and platforms. Make sure a box labeled "Facebook &, Instagram" or "Meta" is checked. This single action is what tells your distributor to send your song to Instagram’s music library.
After you submit, your release goes into a review queue. This process can take anywhere from a few days to a few weeks, depending on the distributor and how busy they are. Be patient!
Once your distributor notifies you that your music has been delivered, it's time for the fun part. Open Instagram, create a new Story or Reel, and tap the music sticker. In the search bar, type your artist name or the song title. If everything went right, your track should appear, ready to be used - cover art and all!
When you select the song, you'll be able to scrub through it to select a 15-second clip (for Stories) or longer clips (for Reels) to feature in your content. Millions of other users can now do the same.
"Okay, my music is in the library for people to use properly… but what about when someone just screen-records the audio and uses it without the sticker? Or uploads it to a video on their own?"
This is where rights management comes in. You have two main routes for tackling unauthorized use.
If you find a specific video that is infringing on your copyright - for example, a commercial business using your entire song as a soundtrack to a video advertisement without permission - you can report it directly. This is a manual process but effective for clear-cut violations.
You will need to provide details about your original work to prove ownership. This method is best for high-priority takedowns, but it's not a scalable solution for monitoring all of Instagram.
For more comprehensive protection, look into the "Content ID" or "Rights Management" services offered by your distributor. Many of them offer this as an add-on, allowing you to submit your music to Meta's Rights Manager system. This powerful tool functions much like YouTube's Content ID:
Your options may include tracking the usage, blocking the video, or in some cases with Facebook videos featuring in-stream ads, even monetizing it. This is the professional, automated way to protect and "claim" your music at scale, giving you bird's-eye-view analytics on where and how your music is being shared.
Getting your music into the library is just the first step. The next is to encourage people to use it. Here are a few ways to get the ball rolling.
Supercharging your reach as an artist on Instagram isn't about chasing down infringements, but rather about setting up a proper system of distribution and protection. By partnering with a digital distributor, you can officially place your songs into the hands of millions of creators, and with Rights Manager tools, you're able to protect your work and see where it travels.
Once your music is on an app, the next piece of this puzzle is promoting it consistently so people hear it. Planning Reels to showcase your music, scheduling posts about your song, and responding to every new fan comment is a full-time job. With our own strategies, we plan and schedule all that content ahead of time with Postbase, so it runs on autopilot while we're tied up with other things. A clear visual calendar showing when videos will be posted makes getting a new song off the ground much more manageable, freeing up time to focus on engaging with a community instead of worrying about an upload schedule.
Spencer's spent a decade building products at companies like Buffer, UserTesting, and Bump Health. He's spent years in the weeds of social media management—scheduling posts, analyzing performance, coordinating teams. At Postbase, he's building tools to automate the busywork so you can focus on creating great content.

Enhance your email signature by adding social media icons. Discover step-by-step instructions to turn every email into a powerful marketing tool.
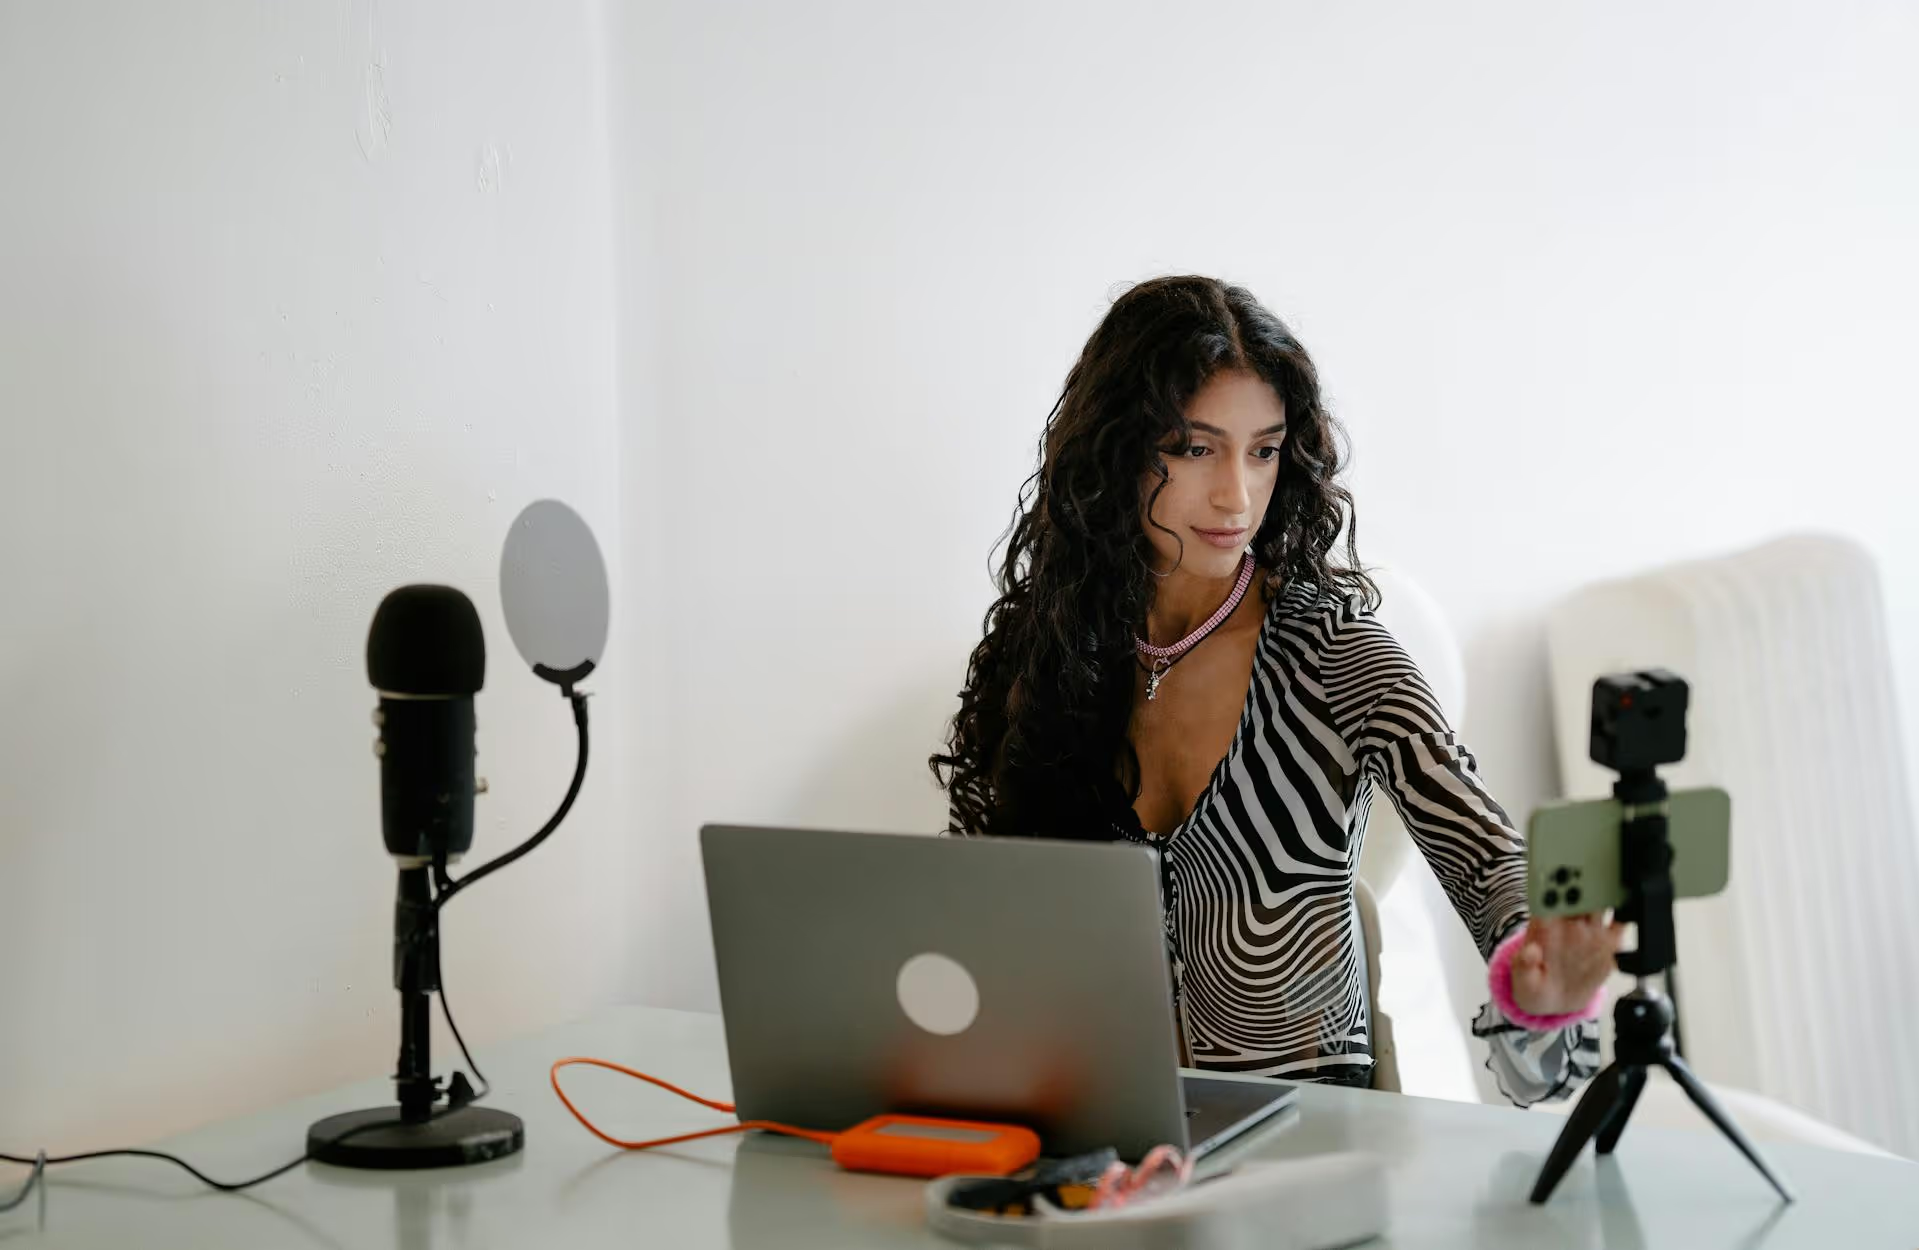
Record clear audio for Instagram Reels with this guide. Learn actionable steps to create professional-sounding audio, using just your phone or upgraded gear.
Check your Instagram profile interactions to see what your audience loves. Discover where to find these insights and use them to make smarter content decisions.
Requesting an Instagram username? Learn strategies from trademark claims to negotiation for securing your ideal handle. Get the steps to boost your brand today!
Attract your ideal audience on Instagram with our guide. Discover steps to define, find, and engage followers who buy and believe in your brand.
Activate Instagram Insights to boost your content strategy. Learn how to turn it on, what to analyze, and use data to grow your account effectively.
Wrestling with social media? It doesn’t have to be this hard. Plan your content, schedule posts, respond to comments, and analyze performance — all in one simple, easy-to-use tool.

