

How to Add Social Media Icons to an Email Signature
Enhance your email signature by adding social media icons. Discover step-by-step instructions to turn every email into a powerful marketing tool.
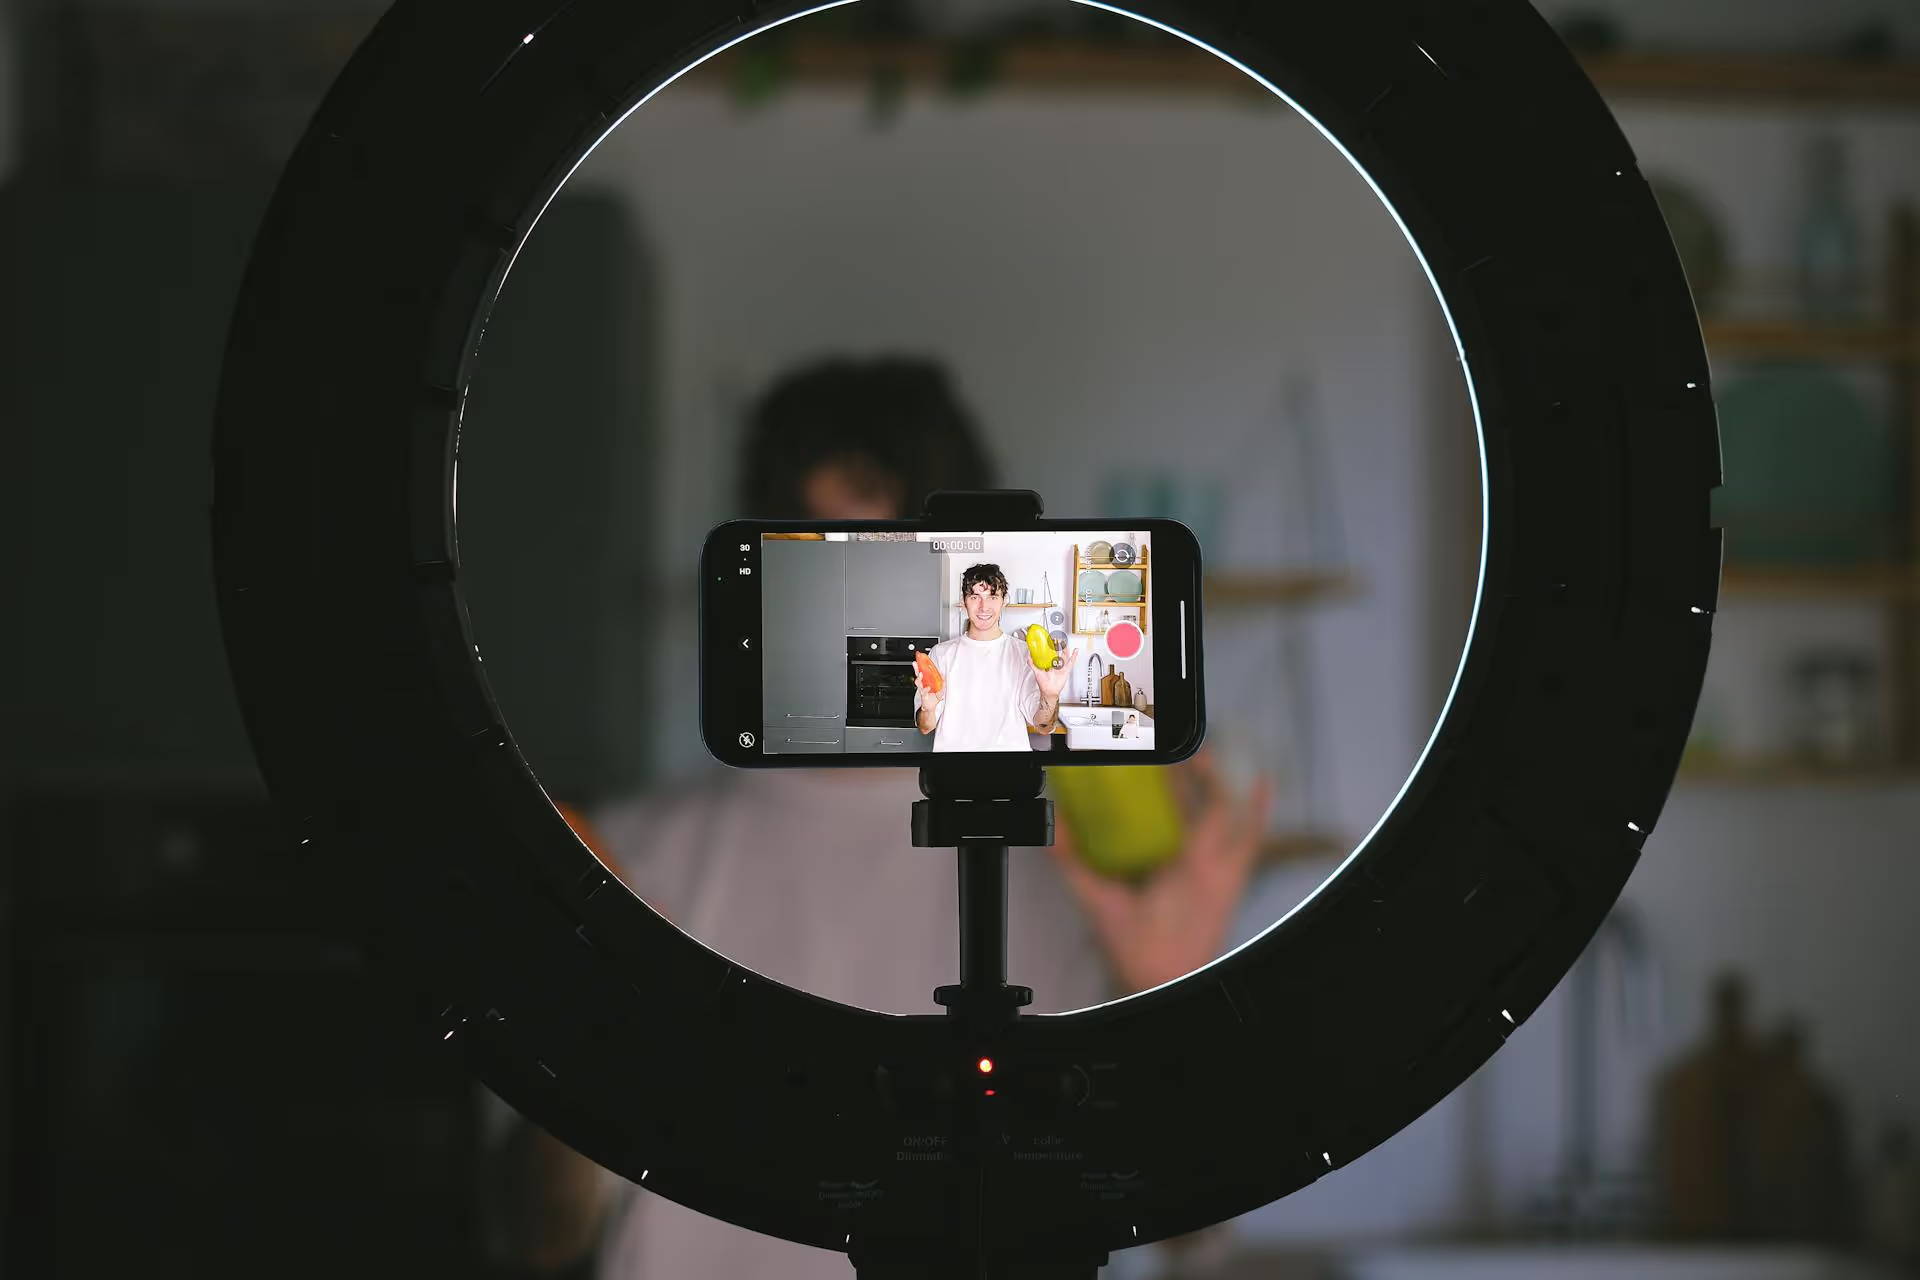
Building a Facebook chatbot can instantly put your customer service and marketing on autopilot, engaging users 24/7 without you lifting a finger. This guide gives you the blueprint to create a smart, helpful Messenger bot for your business page, from planning your first automated conversation to launching it to your audience. We'll cover the tools you need, the steps to follow, and the best practices that turn a simple bot into a powerful asset.
Before jumping into the "how," let's quickly cover the "why." A Facebook Messenger chatbot isn't just a fun gadget, it's a practical tool that solves real business problems. Think of it as your most reliable employee - one who never sleeps, gets tired, or calls in sick. Here's what a well-built chatbot can do for you right away:
You have two main paths for building a Facebook chatbot: using Meta's own tools or using a third-party, no-code platform. While Meta provides the underlying technology, most businesses find it much easier to use a dedicated chatbot builder.
These platforms offer visual, drag-and-drop interfaces that turn the complex process of building conversational flows into something anyone can manage. Here's what to look for in a chatbot builder:
For this guide, we'll focus on the process using a typical no-code platform, as the steps are generally consistent across all the popular tools.
Ready to build? Let’s walk through the process from start to finish. We'll use the example of a local pizza restaurant named "Paolo's Pizza" to make the steps feel more tangible.
First things first: what is the one primary job you want this chatbot to do well? Don't try to make it do everything at once. Start with a clear, simple goal.
For Paolo's Pizza, the main goal is to reduce inbound calls by answering the top three questions they always get:
A secondary goal is to let people start an online order. Once you have a goal, give your bot a personality and a name. This helps set the right tone. For Paolo's, we’ll call him "Paolo Bot" and give him a friendly, helpful vibe.
This is the technical handshake. Once you sign up for a chatbot builder, it will prompt you to connect your Facebook account. You'll need to grant the tool permissions to manage your Page's messages. It's usually a matter of clicking a few "Allow" buttons. Just make certain you're a Page Admin, otherwise the connection won't work.
The Welcome Message is the first thing a user sees when they open a conversation with your Page for the first time. It's your bot's first impression, so make it count.
A good Welcome Message should:
Here’s what Paolo Bot's welcome message could look like:
"Hey there! 👋 Welcome to Paolo's Pizza. I'm Paolo Bot, your friendly assistant. I can help you with our menu, hours, and location. How can I help you today?"
Underneath this message, you'd add buttons like:
Now, you need to build out what happens when someone clicks one of those buttons. This is where you create "flows," which are essentially conversation pathways. Using a visual builder, you'll drag and connect different actions.
For Paolo Bot, we'd build two main flows:
Map these out visually first on paper or a whiteboard. It helps to simplify the logic before you start building inside the tool.
Not everyone will use your buttons. Some people will just type. Keyword triggers allow your bot to understand and respond to specific words or phrases.
You can set up your chatbot to look for keywords in a user's message and fire off a specific flow. For Paolo's Pizza:
Add as many variations as you can think of. This makes your bot feel much smarter and more helpful.
Your bot will inevitably get a question it doesn’t understand. You need a plan for this. This is where a Default Reply comes in. It's a fallback message that triggers when the bot has no matching keyword or logic.
A good Default Reply might be:
"Sorry, I'm just a bot and didn't quite get that. I can help with our menu and hours. If you'd like to talk to a member of our team, just tap the button below."
Below this, you must have a "Talk to a Human" button. When clicked, this should pause the bot's automation and notify you (or your team) that someone needs assistance. Most chatbot platforms have a built-in "live chat" section where these conversations appear.
Before you unleash your chatbot on the world, test every possible path. Click every button. Type in keywords you've set up. Try to break it by asking it weird questions. Have friends or colleagues test it out and give you feedback.
Check for:
Once you're confident it's working properly, it's time to go live. But just building it isn't enough, you need to drive traffic to it. Here are a few ways:
A Facebook chatbot is a highly effective tool that can transform how you handle customer interactions and generate leads on social media. By starting with a clear goal, building simple and logical conversation flows, and always giving users a way to reach a human, you create an experience that feels helpful, not robotic.
Once your chatbot is handling routine questions, a human touch becomes even more critical for the conversations that matter. Managing comments and DMs across all platforms is exactly what we built Postbase to simplify. Its unified inbox brings every message, from Instagram DMs to Facebook comments, into one place. This way, when your bot needs to hand off a conversation, your team can jump in from the same dashboard they use for everything else, making community management feel orderly instead of chaotic.
Spencer's spent a decade building products at companies like Buffer, UserTesting, and Bump Health. He's spent years in the weeds of social media management—scheduling posts, analyzing performance, coordinating teams. At Postbase, he's building tools to automate the busywork so you can focus on creating great content.

Enhance your email signature by adding social media icons. Discover step-by-step instructions to turn every email into a powerful marketing tool.
Record clear audio for Instagram Reels with this guide. Learn actionable steps to create professional-sounding audio, using just your phone or upgraded gear.
Check your Instagram profile interactions to see what your audience loves. Discover where to find these insights and use them to make smarter content decisions.
Requesting an Instagram username? Learn strategies from trademark claims to negotiation for securing your ideal handle. Get the steps to boost your brand today!
Attract your ideal audience on Instagram with our guide. Discover steps to define, find, and engage followers who buy and believe in your brand.
Activate Instagram Insights to boost your content strategy. Learn how to turn it on, what to analyze, and use data to grow your account effectively.
Wrestling with social media? It doesn’t have to be this hard. Plan your content, schedule posts, respond to comments, and analyze performance — all in one simple, easy-to-use tool.

