

How to Add Social Media Icons to an Email Signature
Enhance your email signature by adding social media icons. Discover step-by-step instructions to turn every email into a powerful marketing tool.
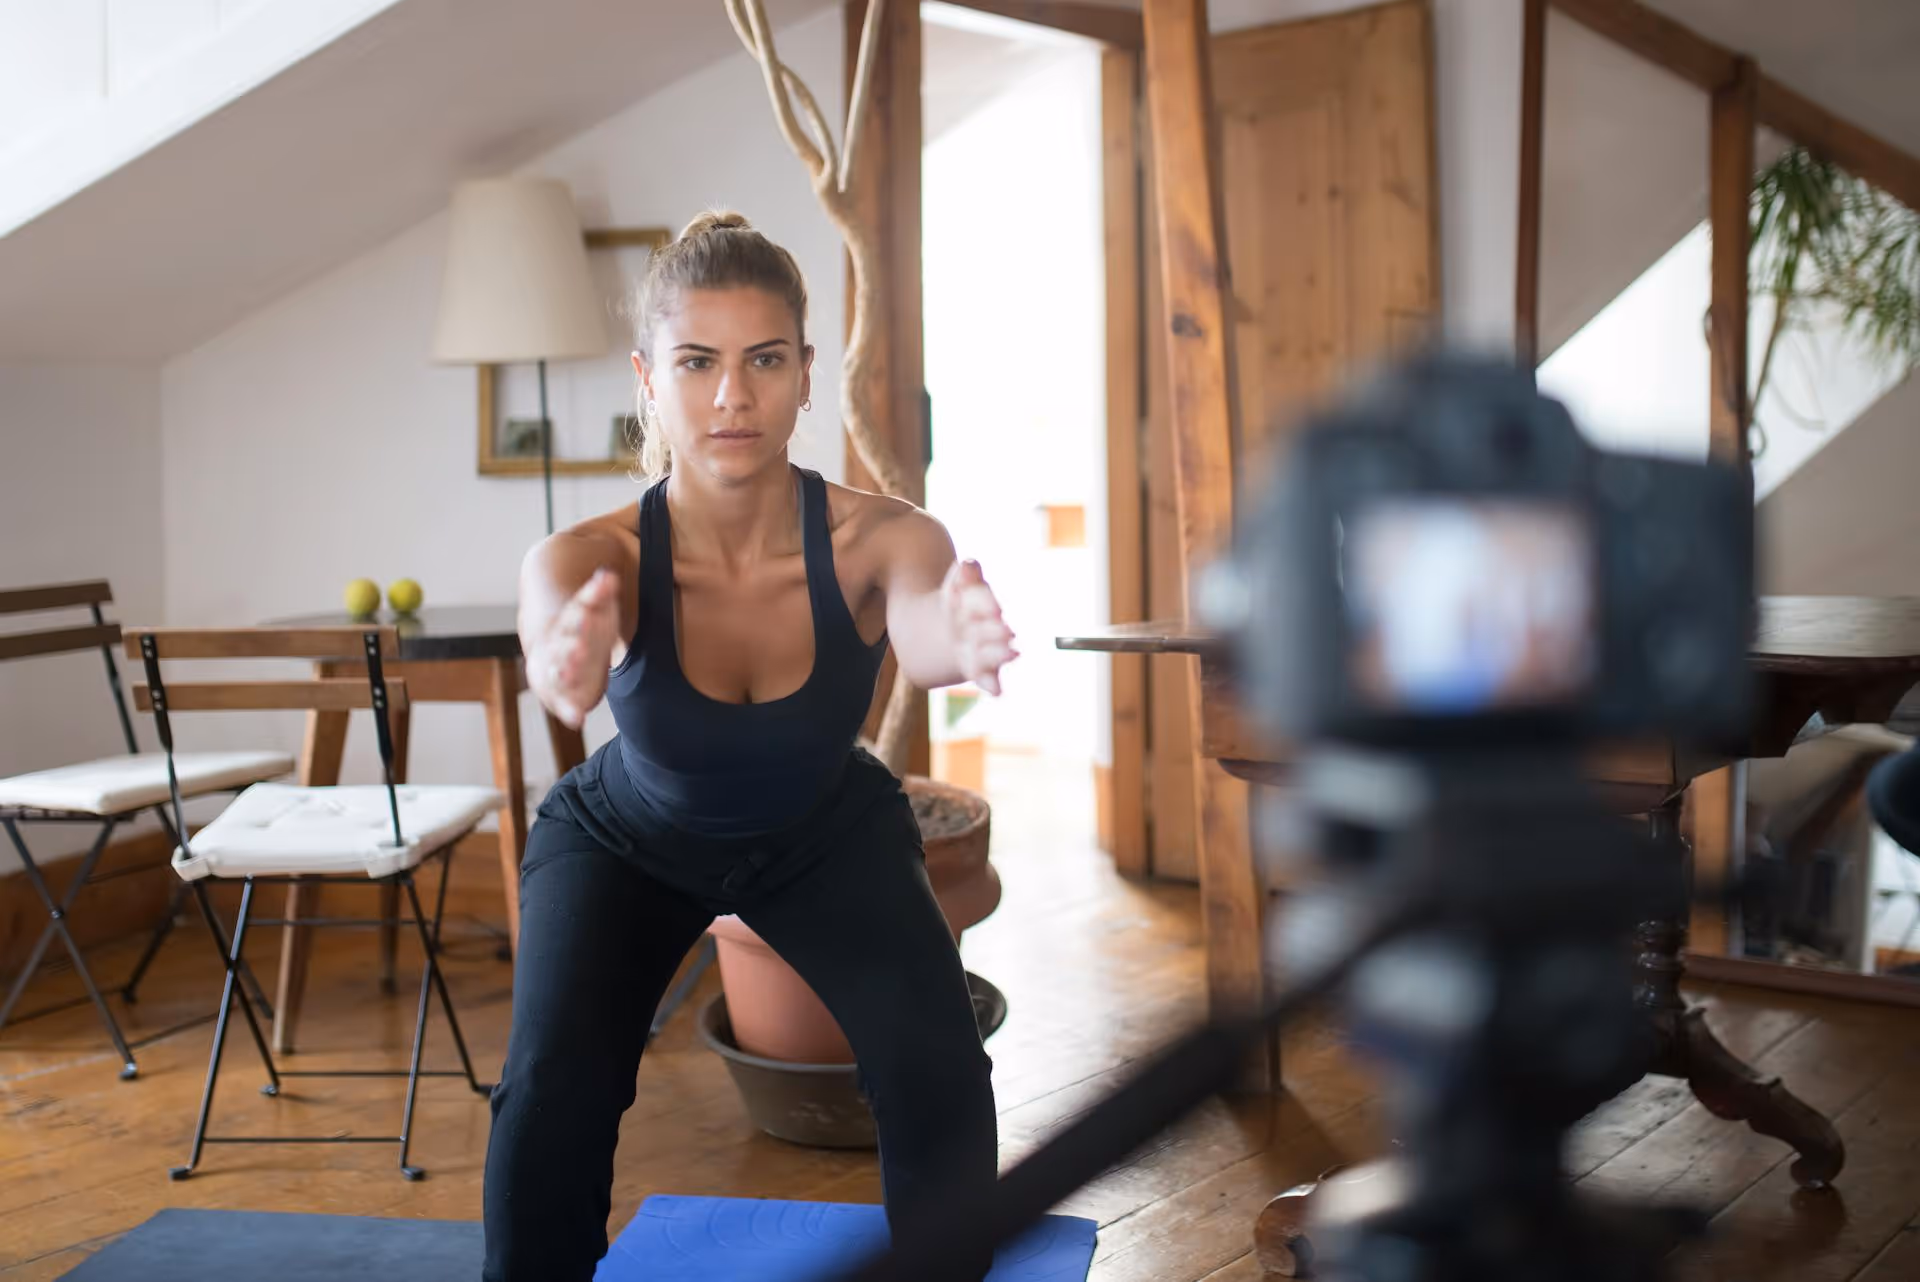
You've spent hours perfecting a stunning photo or video, only to have Instagram awkwardly chop off heads, feet, or critical parts of your frame. It's a frustrating experience that happens to everyone. This guide breaks down exactly why Instagram crops your content and provides simple, step-by-step methods to ensure what you post is always what your audience sees.
The short answer is one many people don't expect: it's all about aspect ratios, not file size. Think of the Instagram feed as a set of picture frames with specific shapes and sizes. When you upload a photo or video that doesn't fit neatly into one of those frames, Instagram automatically forces it to fit by cropping it. To avoid the crop, you just need to make sure your content is already in the right shape before you upload it.
Here are the "frames" you need to know about, along with the pixel dimensions for the best quality:
For the main grid, Instagram offers three options. Of these, the Portrait (4:5) format is generally the best choice because it takes up the most vertical space, grabbing more attention as people scroll.
Pro Tip: Anything taller than 4:5 (like a screenshot) or wider than 1.91:1 (like a panoramic shot) will be forced into a crop when you post it to the feed.
Stories and Reels are much simpler because they use the standard vertical orientation of a smartphone screen. They're designed to be a full-screen, immersive experience.
If you upload content that isn't 9:16, Instagram will either zoom in and crop it automatically or display the content with large, clunky borders at the top and bottom. To keep your Reels and Stories looking clean and professional, always resize them to 9:16 first.
Carousels introduce a rule that often catches people off-guard: the aspect ratio of the first slide dictates the aspect ratio for all other slides in the carousel.
If your first photo is a 1:1 square, every other photo and video in the carousel - even if you shot them in a vertical 4:5 orientation - will be automatically cropped into a 1:1 square. If you want a tall, vertical carousel, make sure the very first piece of media you select is in the 4:5 aspect ratio. Consistency from the start is what matters here.
The best way to sidestep the automatic crop is to prepare your content before you even open the Instagram app. Sending a photo or video that's already perfectly sized gives Instagram nothing to "fix." Here are a few easy methods, from quick phone edits to more powerful apps.
For a quick photo fix, you don't need any special apps. Your phone's gallery has everything you need.
Mobile apps give you more control and are especially fantastic for resizing videos and adding creative touches. Apps like Canva or InShot are perfect for this.
If you're editing on a computer, tools like Adobe Photoshop, Lightroom, or free alternatives like GIMP provide the most precision. The process is similar across most desktop programs.
What if you have an awesome horizontal landscape photo or a really tall vertical shot that would be ruined by cropping? Instead of chopping parts off, you can place the entire image onto a correctly sized background. This creates a "no-crop" effect by adding borders.
An app like InShot (for video and photos) or Canva makes this incredibly easy.
Instagram does have a small, very basic tool for resizing within the app itself. When you go to post and select your photo from your gallery, look for an icon with two corner arrows (↔) in the bottom-left of the image preview. Tapping this button toggles between the automatic 1:1 square crop and showing the image in its original aspect ratio.
However, this tool is limited. It won't let you manually adjust to a perfect 4:5 if your original image isn't already close to it. It's a handy fix in a pinch, but for guaranteed results, resizing your content before you get to the app is always the better route.
Mastering Instagram's aspect ratios transforms your feed from a collection of awkwardly cropped images to a professional-looking portfolio. By resizing your photos and videos before you post, you take back creative control and make sure your audience sees your content exactly as you intended.
We know that keeping track of different formats for Feeds, Reels, and Stories can be a huge time-sink, especially when you're managing multiple platforms. That's why we built our visual planner in Postbase to streamline this entire process. You can see how your content fits across different channels at a glance and schedule everything with confidence, knowing it is perfectly optimized every time - no more last-minute cropping headaches.
Spencer's spent a decade building products at companies like Buffer, UserTesting, and Bump Health. He's spent years in the weeds of social media management—scheduling posts, analyzing performance, coordinating teams. At Postbase, he's building tools to automate the busywork so you can focus on creating great content.

Enhance your email signature by adding social media icons. Discover step-by-step instructions to turn every email into a powerful marketing tool.
Record clear audio for Instagram Reels with this guide. Learn actionable steps to create professional-sounding audio, using just your phone or upgraded gear.
Check your Instagram profile interactions to see what your audience loves. Discover where to find these insights and use them to make smarter content decisions.
Requesting an Instagram username? Learn strategies from trademark claims to negotiation for securing your ideal handle. Get the steps to boost your brand today!
Attract your ideal audience on Instagram with our guide. Discover steps to define, find, and engage followers who buy and believe in your brand.
Activate Instagram Insights to boost your content strategy. Learn how to turn it on, what to analyze, and use data to grow your account effectively.
Wrestling with social media? It doesn’t have to be this hard. Plan your content, schedule posts, respond to comments, and analyze performance — all in one simple, easy-to-use tool.

