TikTok Tips & Strategies

How to Add Text to TikTok Live

By Spencer Lanoue
October 31, 2025

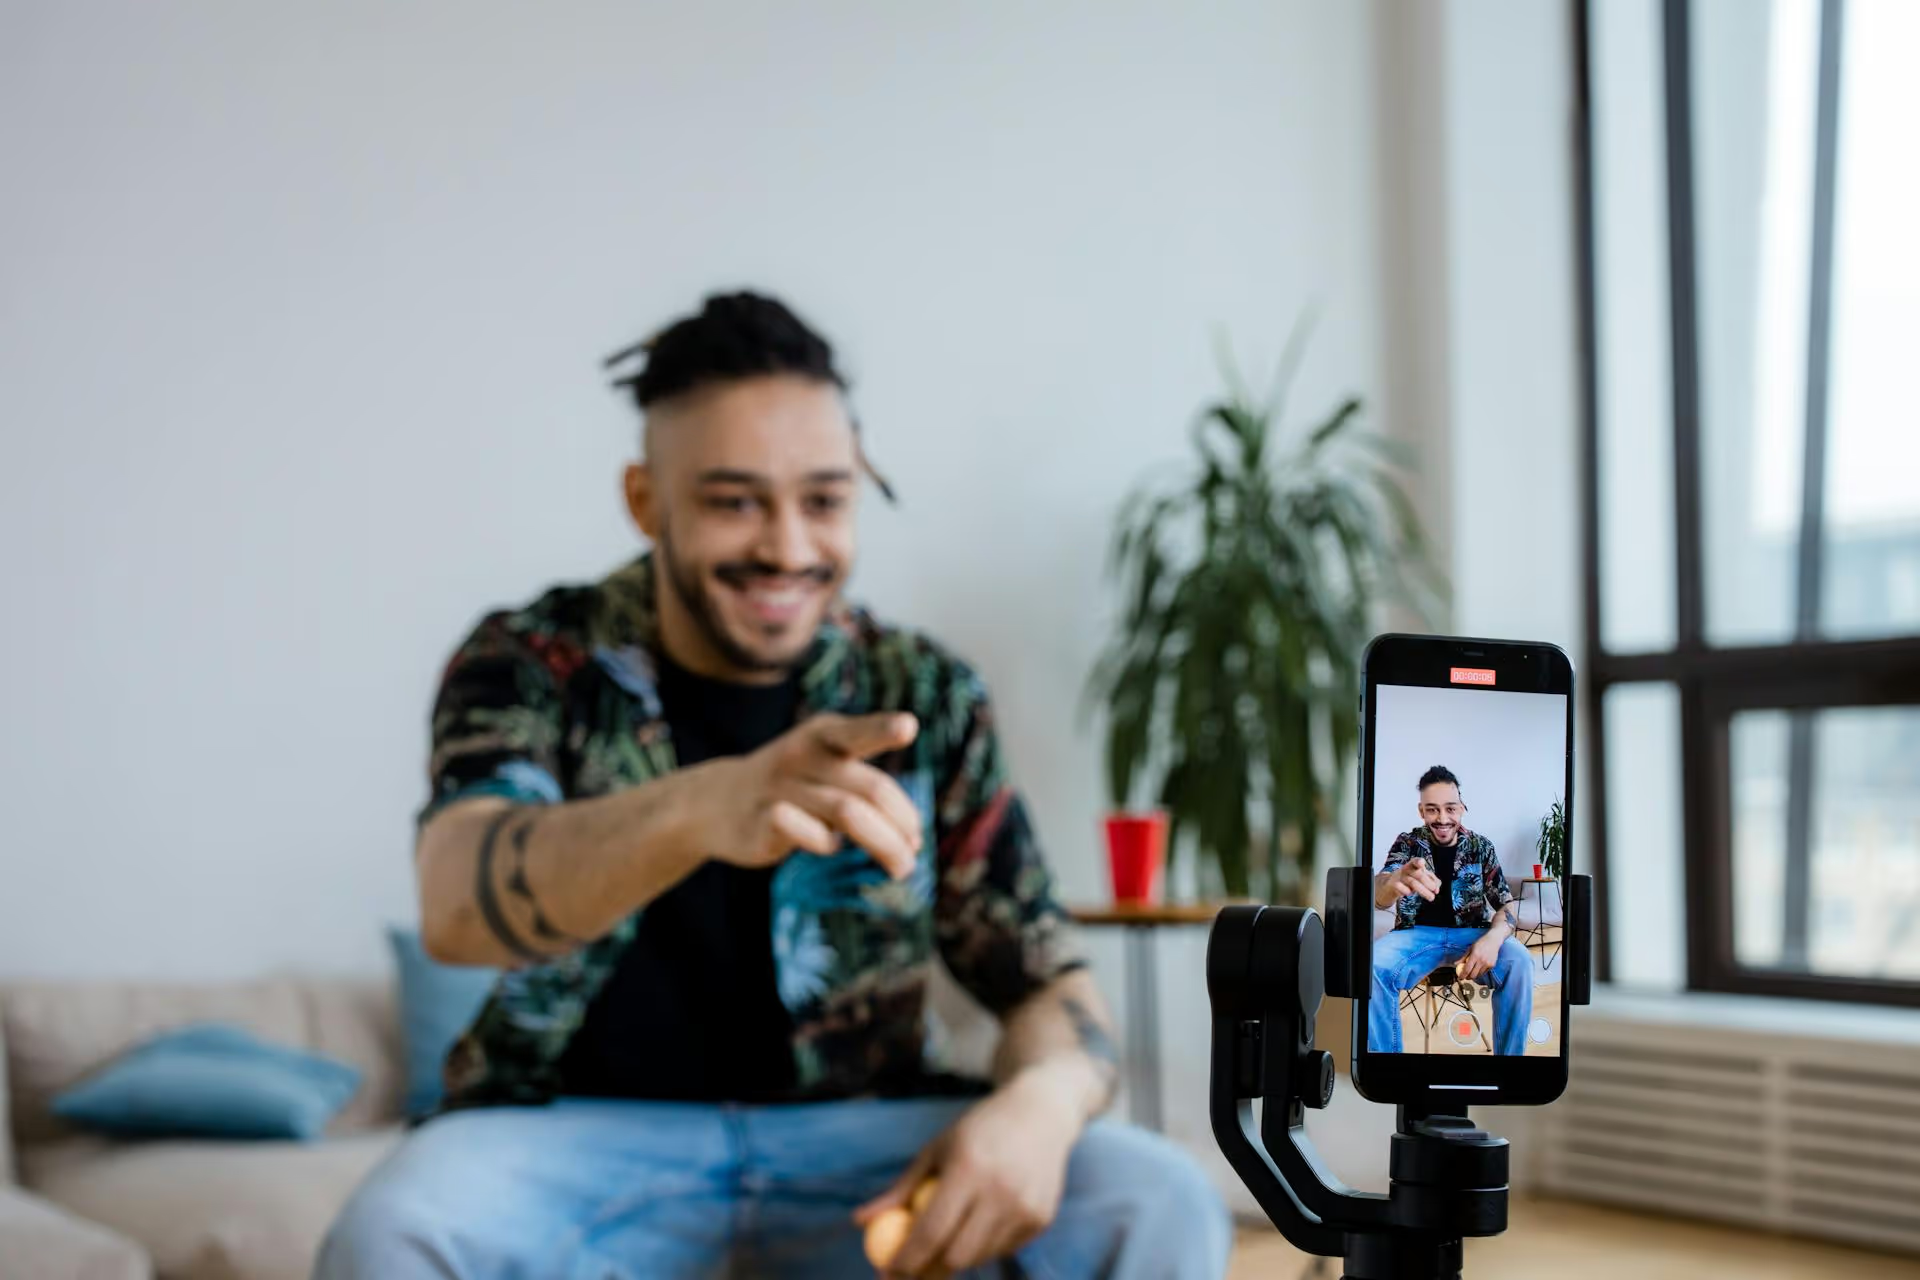
Adding text to your TikTok Live can be the difference between a viewer scrolling past and sticking around to see what you’re about. It’s a simple way to grab attention, share key information, and make your stream instantly more engaging for everyone who joins. This guide will walk you through exactly how to add text to your TikTok Live, from the easiest built-in methods to more advanced techniques that give you total control.

Why You Should Add Text to Your TikTok Live Videos

While going live is a fantastic way to connect with your audience in real time, it can be chaotic. New viewers are constantly popping in and out, comments fly by in a flash, and it's easy for your core message to get lost. Adding on-screen text anchors your stream and provides immediate context.

Here’s why it’s so effective:

  • Grabs Attention Immediately: A clear headline or a pointed question instantly tells people what your live session is about. It gives them a reason to stop scrolling and tune in.
  • Reinforces Key Information: Are you promoting a special offer, sharing a link, or asking people to follow you? Placing a call-to-action (CTA) on screen makes it impossible to miss, even for viewers who join late.
  • Boosts Engagement: Use text to post a Q&A question, run a poll, or give a shoutout. This makes your stream more interactive and encourages viewers to participate in the chat.
  • Improves Accessibility: Text is a huge help for viewers watching in a noisy environment or for those who are hard of hearing. It allows everyone to follow along, regardless of their audio situation.
  • Keeps New Viewers in the Loop: Nothing is more confusing than joining a live conversation halfway through. A simple text overlay stating the topic - like "Live Q&A: Small Business Marketing Tips" - gives newcomers instant context so they can jump right into the discussion.

Understanding TikTok's Native Features for Text

First, let's clear up a common frustration: TikTok itself doesn’t offer a direct, built-in feature to add custom, stylized text overlays to your Live stream the way you can with a Story or a pre-recorded video. Tapping a button and typing styled text onto your live video feed isn't an option yet. But don't worry, there are several powerful features and effective workarounds you can use right now.

The most straightforward native method is pinning comments. While it’s not a graphical overlay, it’s a fast, easy, and officially supported way to keep important text at the top of the chat for all your viewers to see.

How to Seamlessly Pin Comments on Your TikTok Live

Pinning a comment is the quickest way to get your message on screen during a TikTok Live. It places the selected comment in a special highlighted box at the top of the chat, where it will remain until you unpin it or pin a different comment. You can pin your own comments or a viewer's comment.

Here’s your step-by-step guide to doing it:

  1. Start Your TikTok Live: Just as you normally would, go to the creation screen, select "LIVE," and hit the "Go LIVE" button.
  2. Post Your Own Comment: Once you're live, tap the comment box and type the message you want to feature. This could be the topic of your Live, a question for your audience, or a quick CTA. Post the comment yourself.
  3. Press and Hold: Immediately after your comment appears in the chat feed, find it and press and hold it. A menu with a few options will appear.
  4. Pin the Comment: Simply tap "Pin comment." A confirmation will pop up, and your comment will now be stuck to an emphasized spot above the flowing chat feed.

You can also do this with a viewer’s message. If someone asks a great question that you want to address or leaves a particularly insightful comment, you can pin it to make that the focus of the conversation. Just press and hold their comment and follow the same "Pin comment" step.

Pro Tips for Using Pinned Comments:

  • Rotate Questions: Running a Q&A? Pin the question you're currently answering. Once you're done, unpin it and pin the next one to keep the conversation structured.
  • Highlight Your CTA: Pin a comment like, "Don't forget to follow for more daily tips!" or "Get 20% off with code LIVE20 at our site!"
  • Set the Agenda: Start your stream by pinning the topic, such as "Topic: Let's review the new season of [Your Favorite Show]!"

Advanced Strategy: Use Streaming Software for Custom Text Overlays

If you want full control over your text - custom fonts, colors, backgrounds, and professional-looking graphics - you'll need to stream from your desktop computer using free software like OBS Studio. This approach requires a bit more setup, but it takes your live streams from looking amateur to feeling like a polished show. This is how the pros do it.

OBS (Open Broadcaster Software) is a free, open-source application that lets you craft a streaming "scene" with multiple sources - your camera, your screen, images, and, most importantly, custom text. You then send this finished scene to TikTok Live.

Step 1: Get Your TikTok Stream Key

To connect OBS to TikTok, you need a special "Stream Key" and "Server URL." Think of these as the unique address and password for your stream.

  • Open the TikTok app on your phone, tap the "+" button, and swipe to the "LIVE" tab.
  • Choose the option to go live with "LIVE Studio" (even if you'll ultimately use OBS). You may need to have a certain number of followers (this requirement changes but is usually around 1,000) for this feature to be available.
  • Once you've started the Live Studio process, TikTok will provide you with a Server URL and a Stream Key. Keep these private and ready to copy.

Step 2: Connect OBS to TikTok

Now, let's get OBS configured.

  1. Download and install OBS Studio from their official website (obsproject.com). It’s available for Windows, Mac, and Linux.
  2. Open OBS and go to File >, Settings (or OBS >, Preferences on Mac).
  3. Click on the "Stream" tab.
  4. For "Service," select "Custom..."
  5. Paste the Server URL and Stream Key you got from TikTok into the corresponding fields.
  6. Click "Apply" and "OK."

Step 3: Add Your Text and Camera to an OBS Scene

A "Scene" in OBS is the canvas for everything your viewers will see.

  1. In the "Scenes" box (usually bottom left), click the "+" button to create a new scene. Name it something like "TikTok Live Scene."
  2. Next, move to the "Sources" box right next to it. This is where you'll add your layers. First, add your camera by clicking the "+" icon and selecting "Video Capture Device." Choose your webcam from the list.
  3. Now for the main event: adding text. Click the "+" icon in the "Sources" box again and this time select "Text (GDI+)."
  4. A properties window will open. Give your text layer a name (e.g., "Live Topic") and click "OK."
  5. In the next window, you'll see a text editor. This is where you customize everything.
    • Type the message you want to display in the main text box.
    • Use the font, color, and size options to style it exactly how you want. You can even add an outline, drop shadow, or a solid background color to make it pop.
  6. Once you're happy with it, click "OK." Your text will appear in the main preview window. You can click and drag it to position it anywhere on the screen and pull the corners to resize it.

You can add multiple text sources! Create one for a welcome message, one for your website URL, and one for a Q&A prompt. You can toggle them on and off during your stream using the small eye icon next to each source.

Step 4: Go Live!

When your camera is set up and your text is in place, you're ready to stream.

  1. In OBS, click the "Start Streaming" button. The software will now send your entire scene (camera view plus text overlays) to TikTok's servers.
  2. Look at your TikTok app on your phone. You should see a preview of what you're sending from OBS. When you see it, tap "Go LIVE" on your phone to officially start your broadcast.
  3. That’s it! You're now live on TikTok with professional-looking text on your screen.

Creative (and Simple) Workarounds for Text

If OBS sounds too technical, don't sweat it. You still have some creative options beyond just pinning comments.

  • The Physical Whiteboard/Chalkboard: This low-fi method is surprisingly effective. Get a small whiteboard, chalkboard, or even just a piece of poster board. Write your main topic, website, or social media handle on it and position it in the background behind you. It's simple, adds personality, and gets the job done.
  • Mirror Your Screen: While a bit trickier, you can use screen-sharing software (like what might be built into your computer) along with streaming software to show a text document or a note from a simple app on your phone or computer. It may not look as polished, but it's a way to display information if you need to.

Final Thoughts

Adding text to your TikTok Live is a small effort that pays big dividends in viewer engagement and message clarity. Whether you’re using the simple pinned comment feature, getting creative with a physical sign, or going all-in with a professional OBS setup, displaying your key information helps make your stream more accessible and effective.

Thinking strategically about your content - both live and pre-recorded - is the foundation of any strong social media presence. We built Postbase because we believe having a clean, simple tool for planning and scheduling your standard video content gives you more time and mental energy to focus on high-impact moments like going live. When your content calendar is organized in one place, you can confidently go off-script and engage with your community in real time, knowing the rest of your strategy is already taken care of.

Spencer's spent a decade building products at companies like Buffer, UserTesting, and Bump Health. He's spent years in the weeds of social media management—scheduling posts, analyzing performance, coordinating teams. At Postbase, he's building tools to automate the busywork so you can focus on creating great content.

Other posts you might like

How to Add Social Media Icons to an Email Signature

Enhance your email signature by adding social media icons. Discover step-by-step instructions to turn every email into a powerful marketing tool.

Read more

How to Add an Etsy Link to Pinterest

Learn how to add your Etsy link to Pinterest and drive traffic to your shop. Discover strategies to create converting pins and turn browsers into customers.

Read more

How to Grant Access to Facebook Business Manager

Grant access to your Facebook Business Manager securely. Follow our step-by-step guide to add users and assign permissions without sharing your password.

Read more

How to Record Audio for Instagram Reels

Record clear audio for Instagram Reels with this guide. Learn actionable steps to create professional-sounding audio, using just your phone or upgraded gear.

Read more

How to Add Translation in an Instagram Post

Add translations to Instagram posts and connect globally. Learn manual techniques and discover Instagram's automatic translation features in this guide.

Read more

How to Optimize Facebook for Business

Optimize your Facebook Business Page for growth and sales with strategic tweaks. Learn to engage your community, create captivating content, and refine strategies.

Read more

Stop wrestling with outdated social media tools

Wrestling with social media? It doesn’t have to be this hard. Plan your content, schedule posts, respond to comments, and analyze performance — all in one simple, easy-to-use tool.

Schedule your first post
The simplest way to manage your social media
Rating