

How to Add Social Media Icons to an Email Signature
Enhance your email signature by adding social media icons. Discover step-by-step instructions to turn every email into a powerful marketing tool.
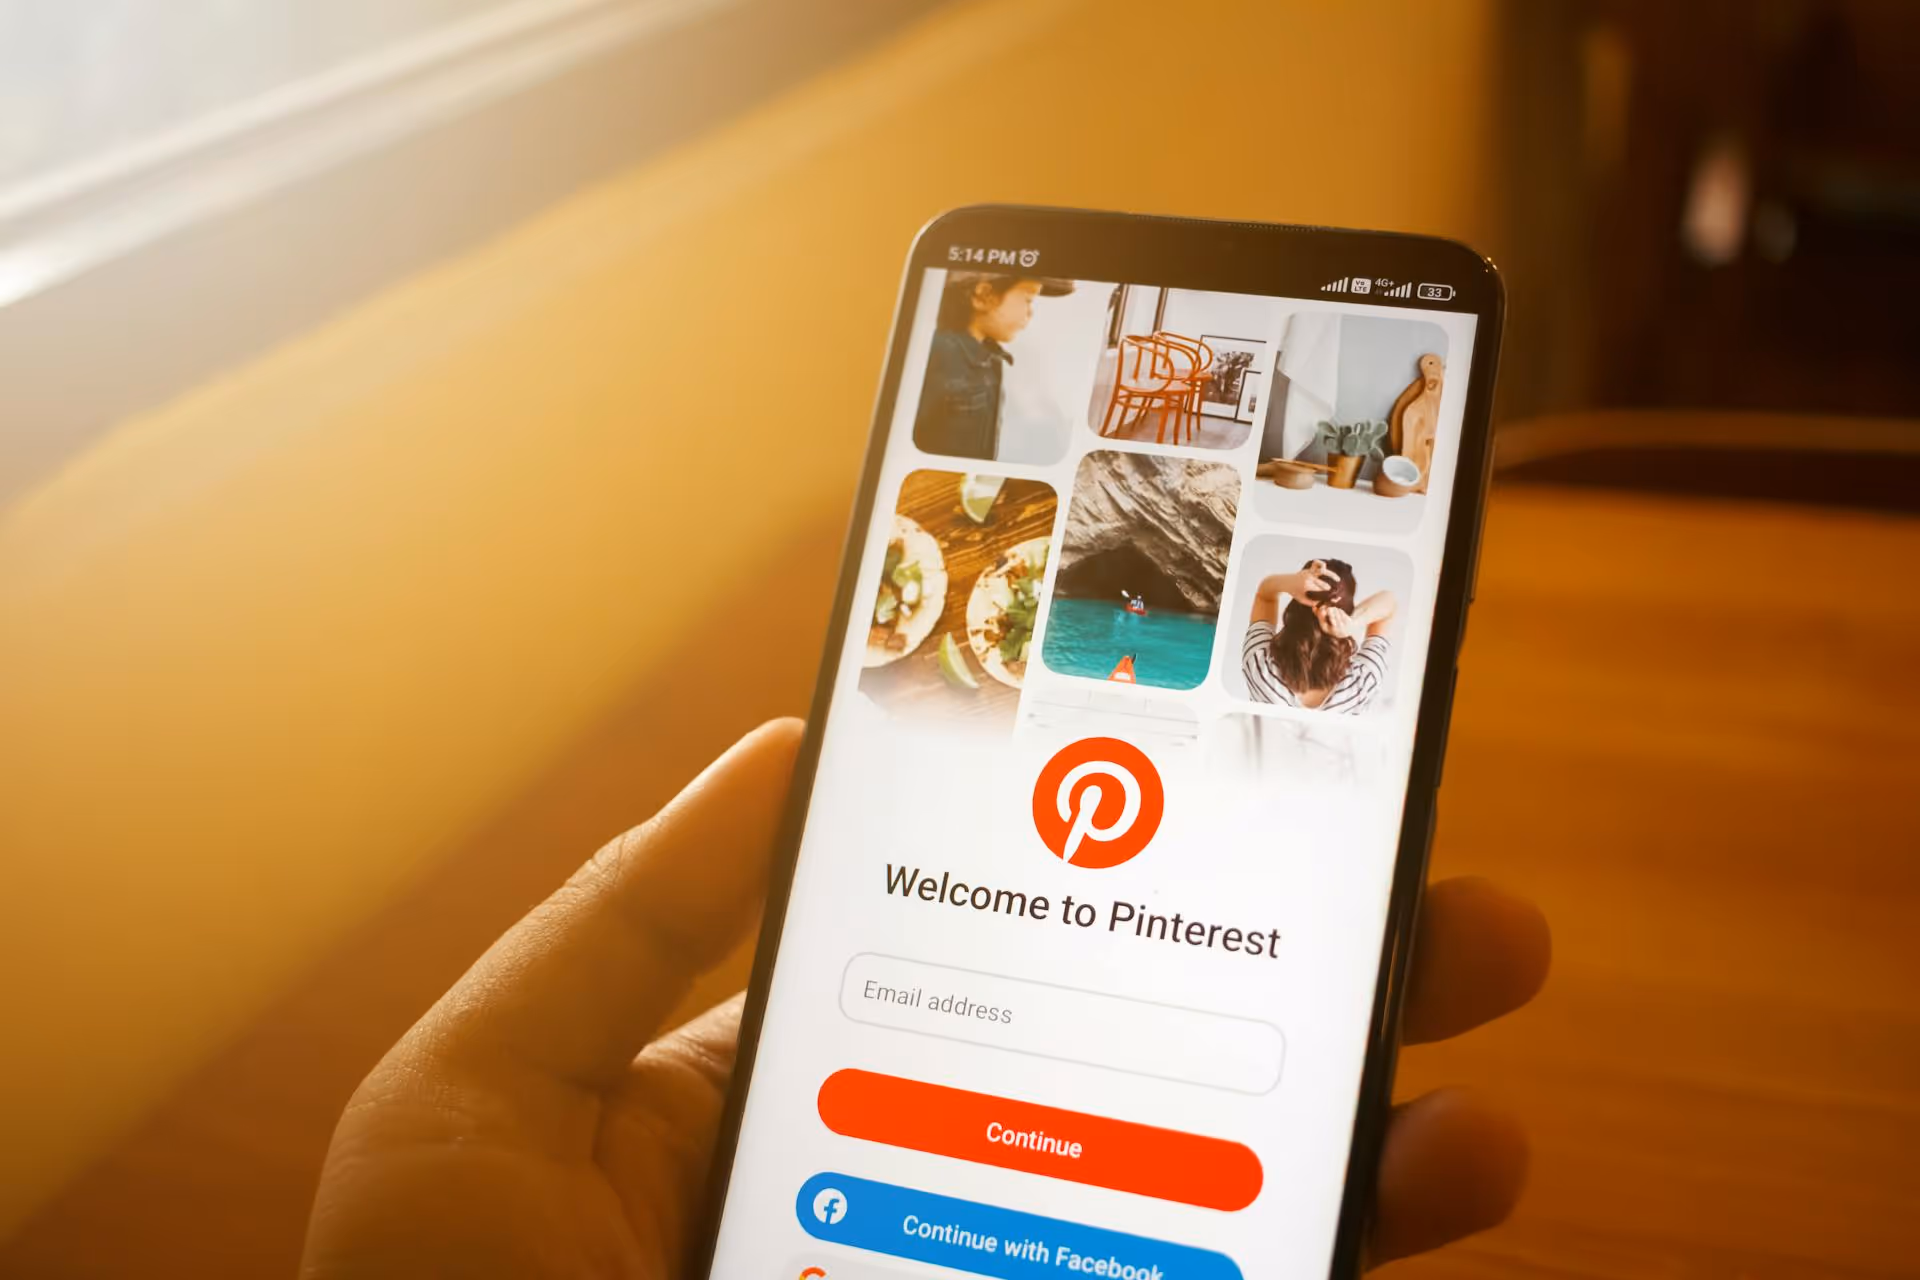
Adding Pinterest to your WordPress site is one of the smartest ways to boost your blog's visibility and drive a steady stream of traffic. This isn't just about sticking social media icons in your footer, it's about turning your entire website into a powerful, pin-worthy asset. This guide will walk you through exactly how to do it, from adding simple Pin It buttons to your images to embedding entire boards and supercharging your content delivery with Rich Pins.
Before we get into the "how," let's quickly talk about the "why." Unlike platforms driven by timelines that fade in hours, Pinterest is a visual search engine. A pin you create today can continue sending people to your website for months, even years. It's a long-term content strategy that pays huge dividends over time.
Here's the quick breakdown of benefits:
This is the first and most important step. Claiming your website on Pinterest unlocks access to analytics, enables powerful Rich Pin features, and links your Pinterest profile directly to any content pinned from your site. It is the official "handshake" between your WordPress site and your Pinterest account. Fortunately, it’s a lot simpler than it sounds.
There are a few ways to do this, but the easiest method for most WordPress users is by adding an HTML meta tag.
This method involves copying a small snippet of code from Pinterest and pasting it into the header section of your WordPress site. Don’t worry - you don't need to be a developer. Here's how to do it with a simple, free plugin.
<,meta name="p:domain_verify" content="[a unique string of numbers and letters]" />,Note: Some premium themes have a built-in section under "Theme Options" to add header scripts. If your theme has this, you can paste the code there and skip installing a plugin.
The single most effective way to encourage visitors to share your content on Pinterest is to put a "Pin It" or "Save" button directly on your images. When someone hovers over a great photo in your post, giving them a one-click way to save it to their board removes all friction.
For a lightweight solution focused purely on Pinterest, a dedicated plugin works perfectly. A popular choice is "Pinterest Pin It Button On Image Hover and Post."
If you also want share buttons for platforms like X, Facebook, and LinkedIn, a comprehensive social sharing plugin is the better choice. Tools like Grow Social by Mediavine or Social Warfare not only add share bars but also give you fine-tuned control over your Pinterest optimization.
With these plugins, you can:
Sometimes you want to bring Pinterest content into your WordPress site, not just send content out. Embedding pins, boards, or even your full profile is fantastic for visual storytelling, tutorials, and inspiration posts.
Let's say you're a designer writing a post on "2024 Interior Design Trends." Embedding a board you curated on that exact topic is a powerful visual aid.
WordPress has a native Pinterest embed block that makes this incredibly simple.
If you want more customization over the size and feel of your embeds, Pinterest's own Widget Builder is the answer. It generates a small code snippet for you to use.
Rich Pins are the secret weapon for serious bloggers and businesses. They automatically sync extra information from your website directly onto the pin itself, making your content more useful and clickable.
There are four main types:
This sounds technical, but if you have a good SEO plugin installed, most of the hard work is already done.
Integrating Pinterest with your WordPress site transforms it from a static blog into a dynamic engine for traffic and brand discovery. By claiming your website, making your images easy to Pin, and enabling powerful Rich Pins, you create a seamless connection that encourages visitors to save and share your very best content. Your next blog post could be the spark that drives new audiences to you for years to come.
Once you’ve got your website perfectly optimized for pinning, the challenge becomes managing the content creation and scheduling process alongside all your other social platforms. We know how fragmented that can feel. That’s why at Postbase, we built a clean, visual planner that helps you see your entire content strategy - for Pinterest, Instagram, TikTok, and more - all in one place. Scheduling natively, especially for video formats, is rock-solid and reliable, so you can trust your content will go live exactly as planned.
Spencer's spent a decade building products at companies like Buffer, UserTesting, and Bump Health. He's spent years in the weeds of social media management—scheduling posts, analyzing performance, coordinating teams. At Postbase, he's building tools to automate the busywork so you can focus on creating great content.

Enhance your email signature by adding social media icons. Discover step-by-step instructions to turn every email into a powerful marketing tool.
Record clear audio for Instagram Reels with this guide. Learn actionable steps to create professional-sounding audio, using just your phone or upgraded gear.
Check your Instagram profile interactions to see what your audience loves. Discover where to find these insights and use them to make smarter content decisions.
Requesting an Instagram username? Learn strategies from trademark claims to negotiation for securing your ideal handle. Get the steps to boost your brand today!
Attract your ideal audience on Instagram with our guide. Discover steps to define, find, and engage followers who buy and believe in your brand.
Activate Instagram Insights to boost your content strategy. Learn how to turn it on, what to analyze, and use data to grow your account effectively.
Wrestling with social media? It doesn’t have to be this hard. Plan your content, schedule posts, respond to comments, and analyze performance — all in one simple, easy-to-use tool.

