Transforming a pre-recorded polished video into a live event on Facebook is a secret weapon for driving engagement without the stress of a real-time broadcast. It gives you the best of both worlds: the quality of a perfectly edited video and the algorithm-juiced reach of a live stream. This guide will walk you through exactly how to schedule your pre-recorded video on Facebook Live using its native tools and free software.
Why Schedule a Pre-Recorded Video as a Live Broadcast?
If you're wondering whether this is worth the effort, the answer is a resounding yes. Going live with a pre-recorded video offers several strategic advantages that brands and creators can't afford to ignore.
- Perfect Quality, Every Time: Say goodbye to live broadcasting pitfalls like poor lighting, choppy audio, unexpected interruptions, or missed talking points. A pre-recorded video allows you to edit, refine, and present your absolute best work, ensuring a professional and hiccup-free viewing experience for your audience.
- Boosted Reach and Engagement: Facebook’s algorithm loves live content. When you go live, your broadcast gets priority in the News Feed, and your followers receive a notification. By using the "live" format, you capture that extra attention and sense of urgency, even though the content was filmed earlier.
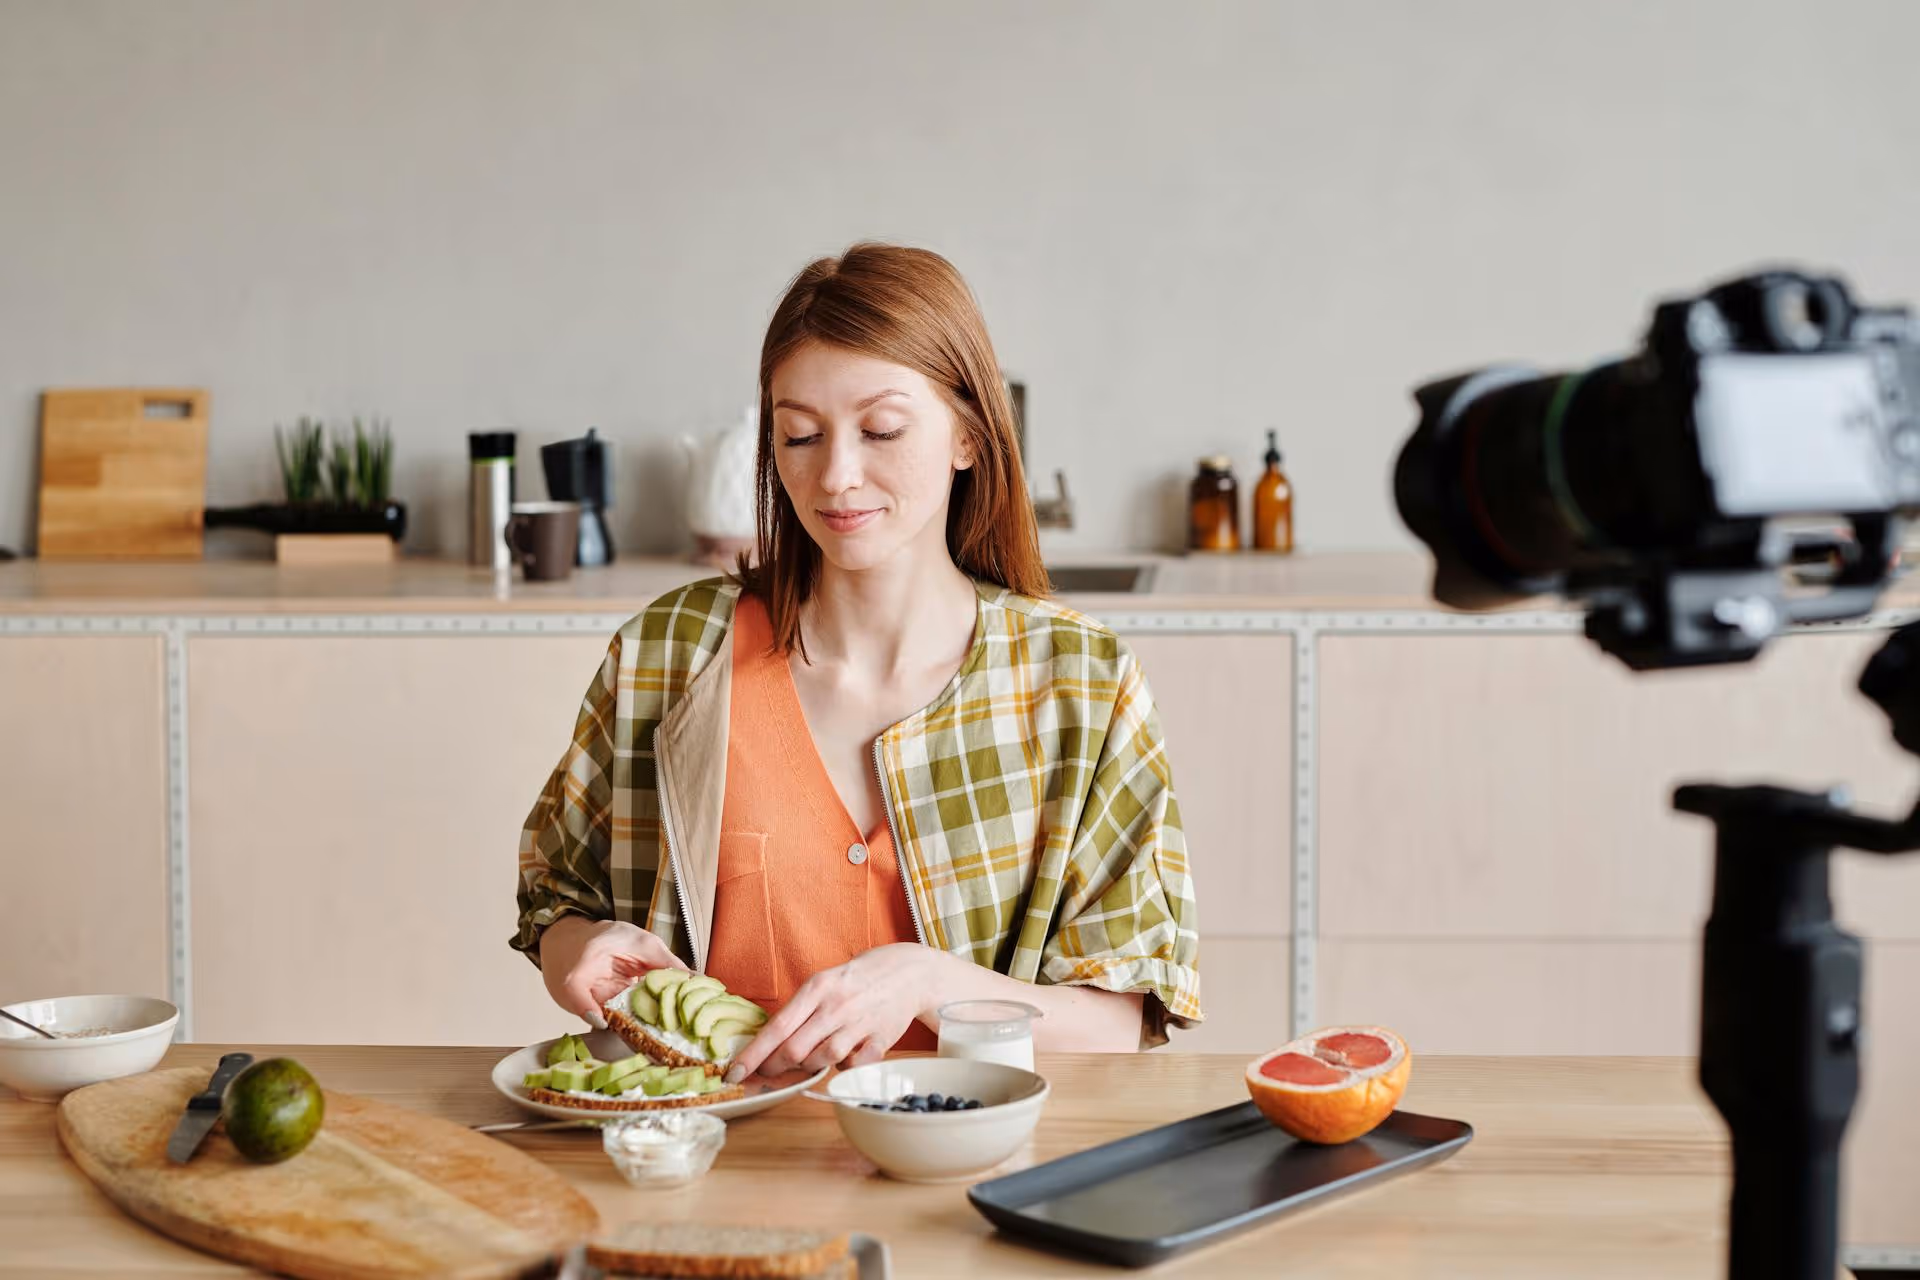
- Become a Super-Host in the Comments: Since you aren't busy presenting, you can dedicate 100% of your attention to the comments section as the video streams. You can welcome viewers by name, answer questions in real-time, and foster community discussions. This active engagement creates a genuinely interactive feel that transforms a simple broadcast into a shared event.
- Stream at the Perfect Hour: Your best time to film might not be your audience's best time to watch. Pre-recording lets you shoot content whenever you're ready and then schedule it to air at peak engagement hours, even if that's in the middle of the night for you. This is a game-changer for businesses with a global audience.
What You’ll Need Before You Start
Gathering a few key items beforehand will make the whole process smooth and painless. Treat this as your pre-flight checklist.
- A Completed Video File: Export your final video in a high-quality format. An MP4 file with a resolution of 1080p is a solid choice for quality and compatibility.
- A Facebook Business Page: Streaming a pre-recorded video is a feature available for Business Pages, not personal profiles. You also need to have administrator or editor permissions for the page you want to use.
- A Compelling Title and Description: Prepare a keyword-rich title and a detailed description that tells people exactly what to expect and why they should tune in.
- A Custom Thumbnail: Design an eye-catching thumbnail image (1280x720 pixels or a 16:9 ratio). A good thumbnail stands out in the feed and gets more clicks than a randomly generated still from the video.
- Streaming Encoder Software: This might sound intimidating, but it’s just a tool that connects your video file to Facebook Live. The best and most popular free option is Open Broadcaster Software (OBS). It’s a powerful, open-source program that works perfectly for this task. Download it and install it on your computer before you begin.
Step-by-Step Guide to Scheduling Your Facebook Live Video
We’ll break this process down into three manageable parts: setting things up on Facebook, configuring OBS, and finally, starting the stream at the right time. Follow these steps carefully, and you’ll be good to go.
Part 1: Schedule the Live Event in Meta Business Suite
First, you need to tell Facebook about your upcoming live stream. This creates an announcement post on your Page that helps build anticipation.
- Navigate to Meta Business Suite and select the Facebook Page you want to stream from.
- From the main menu, go to the “Content” section. Click the “Create Post” button, and from the options that appear, select “Go live.” This will open the Facebook Live Producer dashboard.
- In the Live Producer, choose “Go live.” On the next screen, you’ll be asked to select your video source. Choose “Streaming software.” Don't select "Webcam."
- Underneath the Streaming Software section, you’ll see your Stream Key. You can leave the "Persistent Stream Key" toggle off. This is the unique code that links OBS to your Facebook Page. Keep this page open in your browser, you'll need this key in a moment.
- Now, look at the “Post Details” panel on the left side of your screen. This is where you’ll add your video’s title and description. Write them now so you're ready.
- In the "Settings" panel further down, expand the scheduling options. Check the box for “Schedule a live video for later.”
- Select the date and time for your broadcast to begin. Below the scheduling options, upload your custom thumbnail under "Image."
- Once all your details are filled in, including your title and description, double-check everything and click the blue “Schedule Live Video” button at the bottom of the page. Facebook will now automatically create an announcement post on your Page, and you're ready for the next setup phase.
Part 2: Configure Your Stream in OBS
Now it's time to set up your video file in OBS and connect it to Facebook using the stream key you just generated.
- Open OBS on your computer. If it’s your first time, it might ask you to run an auto-configuration wizard, you can just select "optimize for streaming" and accept the defaults for now.
- At the bottom of the screen, you’ll see a box called “Sources.” Click the ‘+’ icon in that box and select “Media Source.”
- Give your source a name (e.g., “My Video File”) and click OK. In the next window, click “Browse” to find and select the pre-recorded video file on your computer.
- Important: Make sure the “Loop” option is unchecked. This ensures your video plays through once and then stops, just like a movie premiere. Also make sure "Restart playback when source becomes active" is unchecked. Then click OK.
- Your video should now appear in the main preview window of OBS. You can resize it to fit the screen if necessary.
- Next, go to Settings, which is usually in the bottom-right corner. In the Settings window, click on the “Stream” tab.
- For the “Service” dropdown, select “Facebook Live.”
- Now, go back to your Facebook Live Producer page and copy the “Stream Key.” Click the ‘Copy’ button next to the long string of characters.
- Return to OBS and paste that key into the “Stream Key” field. Click “Apply” and then “OK.” Your OBS is now linked to your specific scheduled broadcast.
Part 3: Final Steps to Go Live
This is where everything comes together. To make sure your scheduled stream starts on time, you need to send the video feed from OBS to Facebook *before* the broadcast is set to begin.
- About 10-15 minutes before your scheduled live time, open up both OBS and your Facebook Live Producer page.
- In OBS, click the “Start Streaming” button. This button does *not* make you go live instantly to your audience. It simply starts sending your video feed securely to Facebook's servers. You should see a green indicator at the bottom of OBS showing a stable connection.
- Now shift your attention to the Facebook Live Producer page. Within a minute or so, you will see a video preview appear. This is your cue that Facebook is successfully receiving the video from OBS. The page will show a message like "Waiting for your scheduled start time."
- That's it! When your scheduled time arrives, Facebook will automatically start the broadcast for you. You don’t need to click anything else on Facebook. Just watch the Producer page status change to "LIVE."
- Once the video is officially live, open your Facebook page in a separate browser tab or on your phone. Watch the stream along with your audience and get active in the comments section!
Best Practices for a Flawless Launch
Just scheduling is half the battle, ensuring people show up and engage is the other half. Here are a few tips to maximize your event's success.
- Promote the Event Heavily: Don’t just rely on the initial notification. Copy the link to the announcement post and share it everywhere - in your newsletter, on other social media channels, and even in an Instagram Stories countdown sticker. The more you promote, the bigger your live audience will be.
- Be an Active Host: Your most important job during the premiere is community management. Cheerleader, moderator, tour guide - play all the roles. Greet followers as they join, thank them for their comments, and respond to their questions instantly. This is what breathes life into the pre-recorded format.
- Have a Call to Action Ready: Know what you want your audience to do next. Is it visiting a website, signing up for a list, or checking out a product? Prepare the link and pin it as a comment at the very beginning of the broadcast.
- Don’t Run Off After the Video Ends: The conversation often continues after the stream concludes. Stick around in the comments section for another 5-10 minutes to answer any lingering questions and thank people for tuning in. This leaves a great lasting impression.
Final Thoughts
Scheduling a pre-recorded Facebook Live stream is a fantastic way to deliver polished, high-value content with the added urgency and reach of a live event. By taking control of the broadcast, you eliminate technical risks and free yourself up to create a truly interactive and memorable experience for your community.
Mastering individual platform features is a great step, but the real efficiency comes from managing your entire content strategy in one organized place. We built Postbase because we believe creators and brands need modern tools built for today's video-first world. After your successful live event, you can use our visual calendar to effortlessly schedule repurposed clips of your video to TikTok, Instagram Reels, and YouTube Shorts, keeping your content momentum strong without ever leaving the platform.
Spencer's spent a decade building products at companies like Buffer, UserTesting, and Bump Health. He's spent years in the weeds of social media management—scheduling posts, analyzing performance, coordinating teams. At Postbase, he's building tools to automate the busywork so you can focus on creating great content.