

How to Add Social Media Icons to an Email Signature
Enhance your email signature by adding social media icons. Discover step-by-step instructions to turn every email into a powerful marketing tool.
Going LIVE on TikTok can feel completely spontaneous, but the most successful creators know that scheduling is the secret to getting more views and boosting engagement. By planning your broadcast in advance, you turn a random stream into a can't-miss event. This guide will walk you through exactly how to schedule a LIVE on TikTok, promote it effectively, and host a session that keeps your audience captivated.
Jumping on a LIVE last minute works in a pinch, but scheduling offers some serious strategic advantages that can help grow your account and build a stronger community. It’s a small step that brings a professional polish to your content strategy.
Think about your favorite TV show - you know when it airs, and you tune in for it. Scheduling a TikTok LIVE works the same way. It transforms your stream from a casual pop-up into an official event. When you schedule a Q&,A with a special guest, a new product launch, or an exclusive workshop, you give your audience a reason to mark their calendars and make time for you.
Your followers live in different time zones, and their daily schedules vary wildly. By scheduling, you can strategically pick a time when you know the largest segment of your audience is online and active. Instead of guessing and hoping people are browsing when you go live, you can launch your stream to an audience that is already waiting for you.
The best LIVEs have a clear purpose, even if they feel casual and off-the-cuff. Scheduling buys you invaluable time to prepare. You can outline your talking points, create any visuals you might need, test your lighting and audio equipment, and clean up your background. A little bit of prep makes the difference between a fumbling, awkward stream and a confident, engaging broadcast that people will actually stick around for.
When you start a LIVE with a group of people already waiting, it sends a positive signal to the TikTok algorithm right away. High initial viewership and engagement tell the platform that your content is valuable and interesting. As a result, TikTok is more likely to push your LIVE stream to the For You feeds of users who don't follow you yet, drastically extending your reach.
Before you get started, it's good to know that not every TikTok account has access to the LIVE feature. TikTok has put a couple of basic requirements in place to maintain the quality and safety of live streams on the platform.
If you meet both of these criteria, you should see the LIVE option available in your app!
The process of scheduling a LIVE is straightforward and only takes a minute inside the app. Here’s exactly how to do it.
First, open the TikTok app. Tap the plus (+ icon) located at the bottom center of your screen - the same button you use to create any new video.
Once you’re on the creation screen, look at the menu at the bottom. You’ll see options like ‘Camera’ and ‘Templates’. Swipe right along this menu until you find and select ‘LIVE’.
On the main LIVE screen, you’ll see several options on the right-hand panel. Look for an icon that looks like a calendar, which is usually labeled ‘Schedule’. Tap this to open the event creation menu.
This is where you bring your event to life. You’ll need to set up a few key details that tell your audience what to expect.
Take one final look at all the details you’ve entered. If everything looks good, tap the 'Schedule' button at the bottom. And that’s it! Your TikTok LIVE is officially scheduled.
Scheduling is just the first step. To make sure people actually show up, you need to spread the word. A strong promotion strategy is just as important as the LIVE itself.
As soon as you schedule an event, TikTok automatically adds a link to it right on your profile page, just below your bio. This is your most powerful promotional tool. Anyone visiting your profile can tap on it to see the details and set a reminder. You can even update your bio for a day or two to point directly to the event link (e.g., “⬇️ Sign up for my LIVE Q&,A this Friday! ⬇️”).
This is the most effective way to drive sign-ups. Create a few short TikTok videos focused on promoting the upcoming stream.
TikTok lets you send one announcement notification to all your followers about the scheduled live. About an hour before you're scheduled to start, head into your event settings (from the LIVE screen) and you’ll see an option to “Send notice”. This gives your community a direct reminder to tune in.
Your most dedicated fans might follow you on multiple platforms. Promote your LIVE across all your social channels. Share a screenshot of the event pin from your TikTok profile to your Instagram Story. Post the event link on Twitter/X or in your Facebook community group. The goal is to reach your audience wherever they are.
The promotion is done, the attendees are arriving - now it's time to deliver. Here are some key tips for hosting a smooth, engaging, and successful TikTok LIVE.
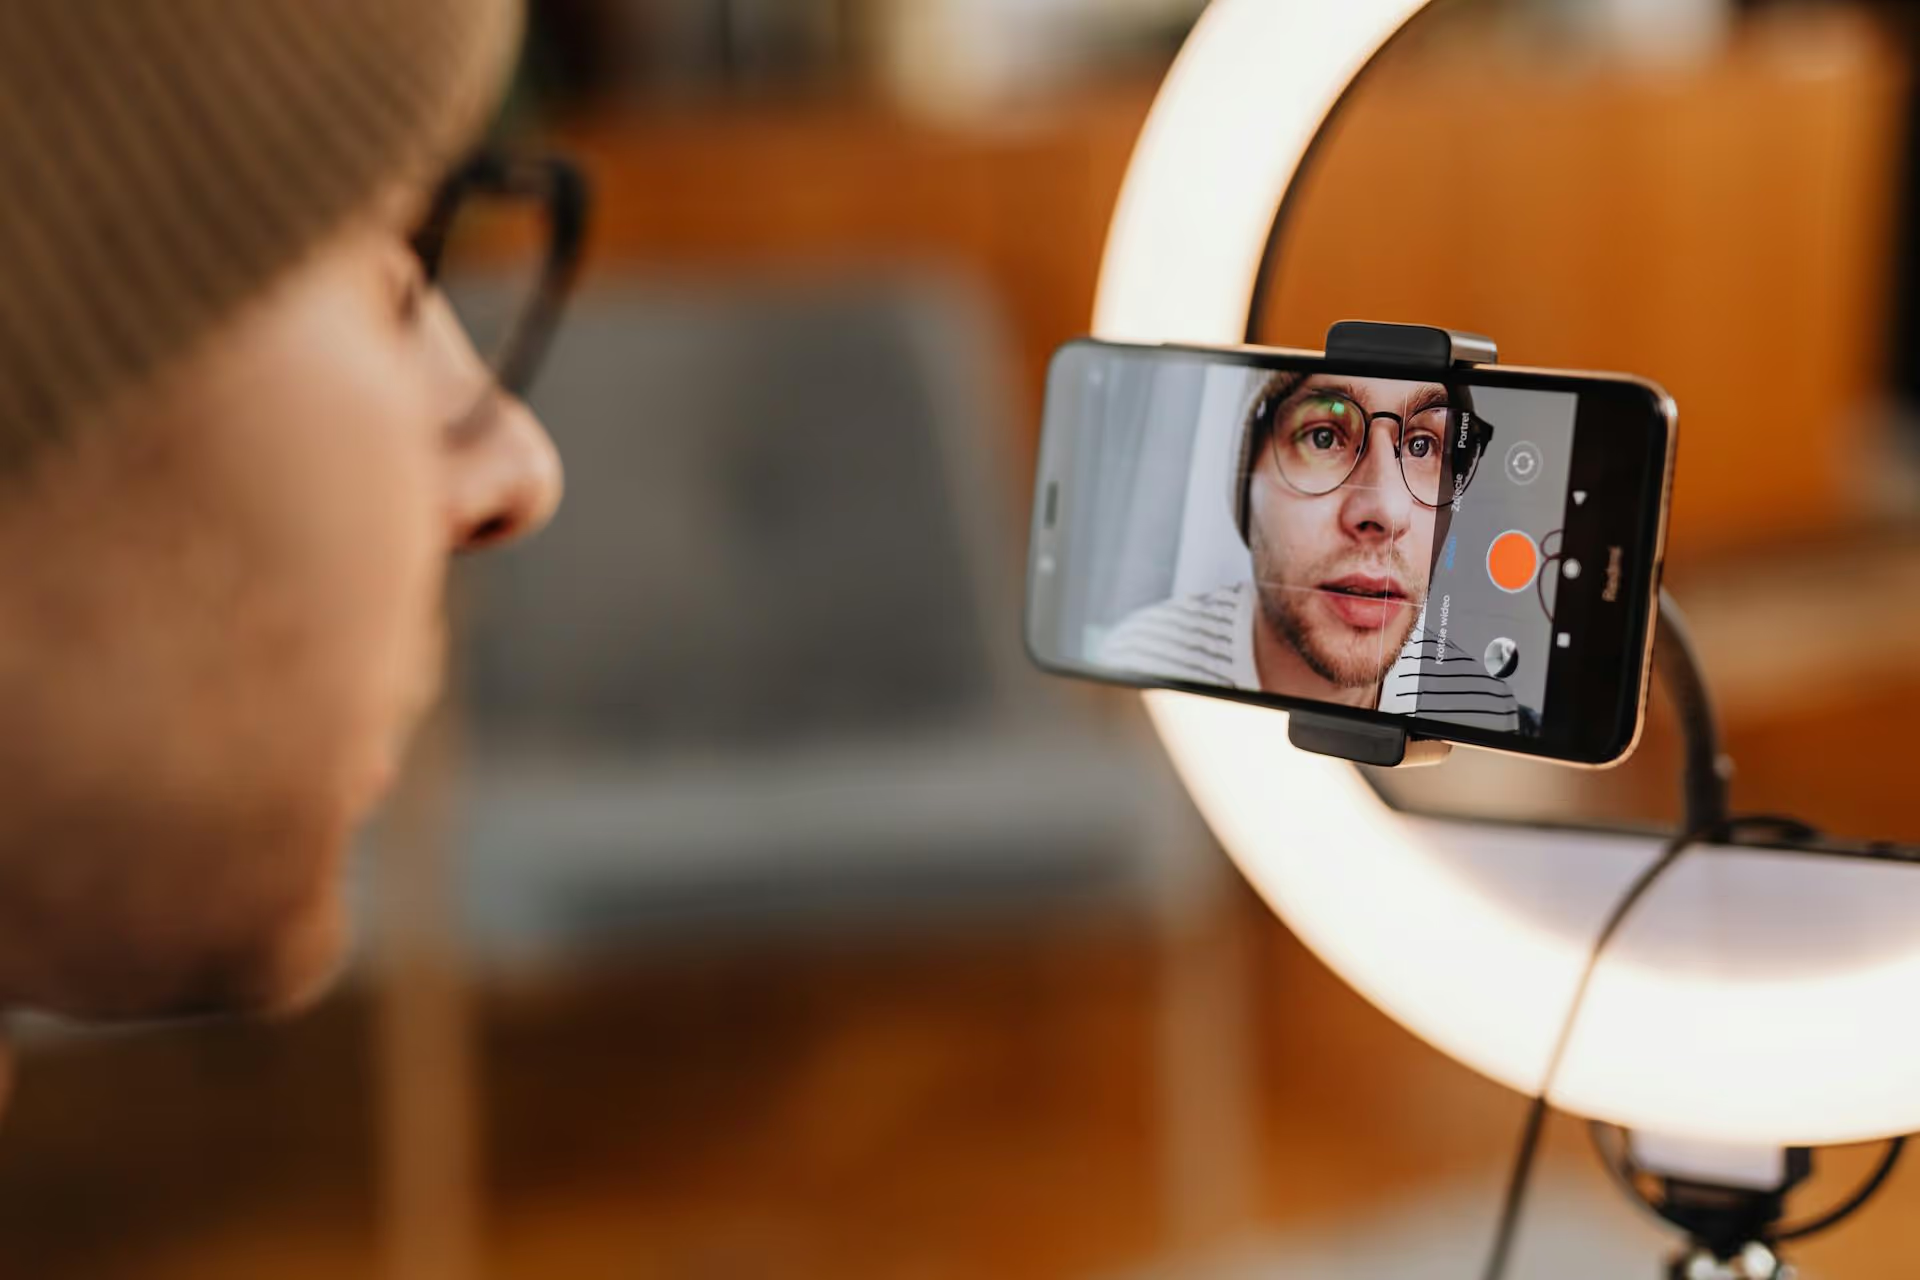
Technical glitches can derail a stream instantly. Before you go live, do a quick test run to check your setup:
You don't need to read from a script, but you should have a solid idea of how you want the LIVE to flow. A simple list of three to five key talking points is often enough to keep you on track. Start with a warm welcome, move into your main topic, leave plenty of time for audience interaction, and finish with a clear call-to-action.
A LIVE session is a conversation, not a monologue. Make it your mission to interact with the audience as much as possible. Welcome new viewers by calling out their usernames, feature and answer interesting questions from the chat, and thank people for their gifts and engagement. The more you make your audience feel seen and valued, the longer they will stick around.
Don't end your stream abruptly. As you wrap up, clearly state what you want your viewers to do next. Do you want them to follow you? Visit the link in your bio to buy a product? Sign up for your newsletter? Tell them precisely what the next step is and thank them for spending their time with you.
Scheduling a TikTok LIVE is a powerful strategy that transforms a spontaneous stream into a planned event, helping you build anticipation and maximize viewership. By setting a date in advance, promoting it consistently with teaser videos, and focusing on genuine interaction during the broadcast, you create an experience that strengthens your community and helps you reach your goals on the platform.
To really nail your promotional strategy, we know how chaotic it can be to plan teaser videos for your TikTok LIVE while also keeping up with posts for Instagram, Reels, and everywhere else. That's why we built Postbase with a simple visual calendar at its core. You can see your entire content plan - from your regular schedule to the promotional clips for your next big LIVE - all in one place, making it easy to create a cohesive campaign without the stress.
Spencer's spent a decade building products at companies like Buffer, UserTesting, and Bump Health. He's spent years in the weeds of social media management—scheduling posts, analyzing performance, coordinating teams. At Postbase, he's building tools to automate the busywork so you can focus on creating great content.

Enhance your email signature by adding social media icons. Discover step-by-step instructions to turn every email into a powerful marketing tool.
Record clear audio for Instagram Reels with this guide. Learn actionable steps to create professional-sounding audio, using just your phone or upgraded gear.
Check your Instagram profile interactions to see what your audience loves. Discover where to find these insights and use them to make smarter content decisions.
Requesting an Instagram username? Learn strategies from trademark claims to negotiation for securing your ideal handle. Get the steps to boost your brand today!
Attract your ideal audience on Instagram with our guide. Discover steps to define, find, and engage followers who buy and believe in your brand.
Activate Instagram Insights to boost your content strategy. Learn how to turn it on, what to analyze, and use data to grow your account effectively.
Wrestling with social media? It doesn’t have to be this hard. Plan your content, schedule posts, respond to comments, and analyze performance — all in one simple, easy-to-use tool.

