

How to Add Social Media Icons to an Email Signature
Enhance your email signature by adding social media icons. Discover step-by-step instructions to turn every email into a powerful marketing tool.
Repurposing your Instagram Reels for TikTok is one of the smartest ways to maximize your content's reach without creating twice the work. It's a content strategy used by top creators and brands to get their best videos in front of a completely new audience. This guide provides a complete walkthrough on how to repost your Instagram Reels to TikTok effectively, starting with the most important step: getting rid of that pesky watermark.
You already did the hard work of scripting, filming, and editing a killer piece of short-form video. Letting it live on only one platform is a missed opportunity. Reposting is about efficiency - getting more value from the effort you've already invested.
Before we get into the "how," let's cover the single biggest mistake creators make: uploading a video to TikTok that clearly has the Instagram Reels watermark on it. Both platforms are in direct competition, and their algorithms are designed to favor native, original content. Uploading a video branded with a competitor's logo is an almost-guaranteed way to get your content deprioritized, meaning it will be shown to fewer people.
Beyond the algorithm, it also signals to users that they're seeing recycled content. Viewers on TikTok expect content made *for* TikTok. A watermark instantly breaks that illusion and can make your content feel like an afterthought. Taking a few extra minutes to remove it shows that you care about the viewer experience on the platform you're posting to.
You have two primary, reliable methods for getting a clean, watermark-free version of your Reel. The best one depends on where you are in your posting workflow.
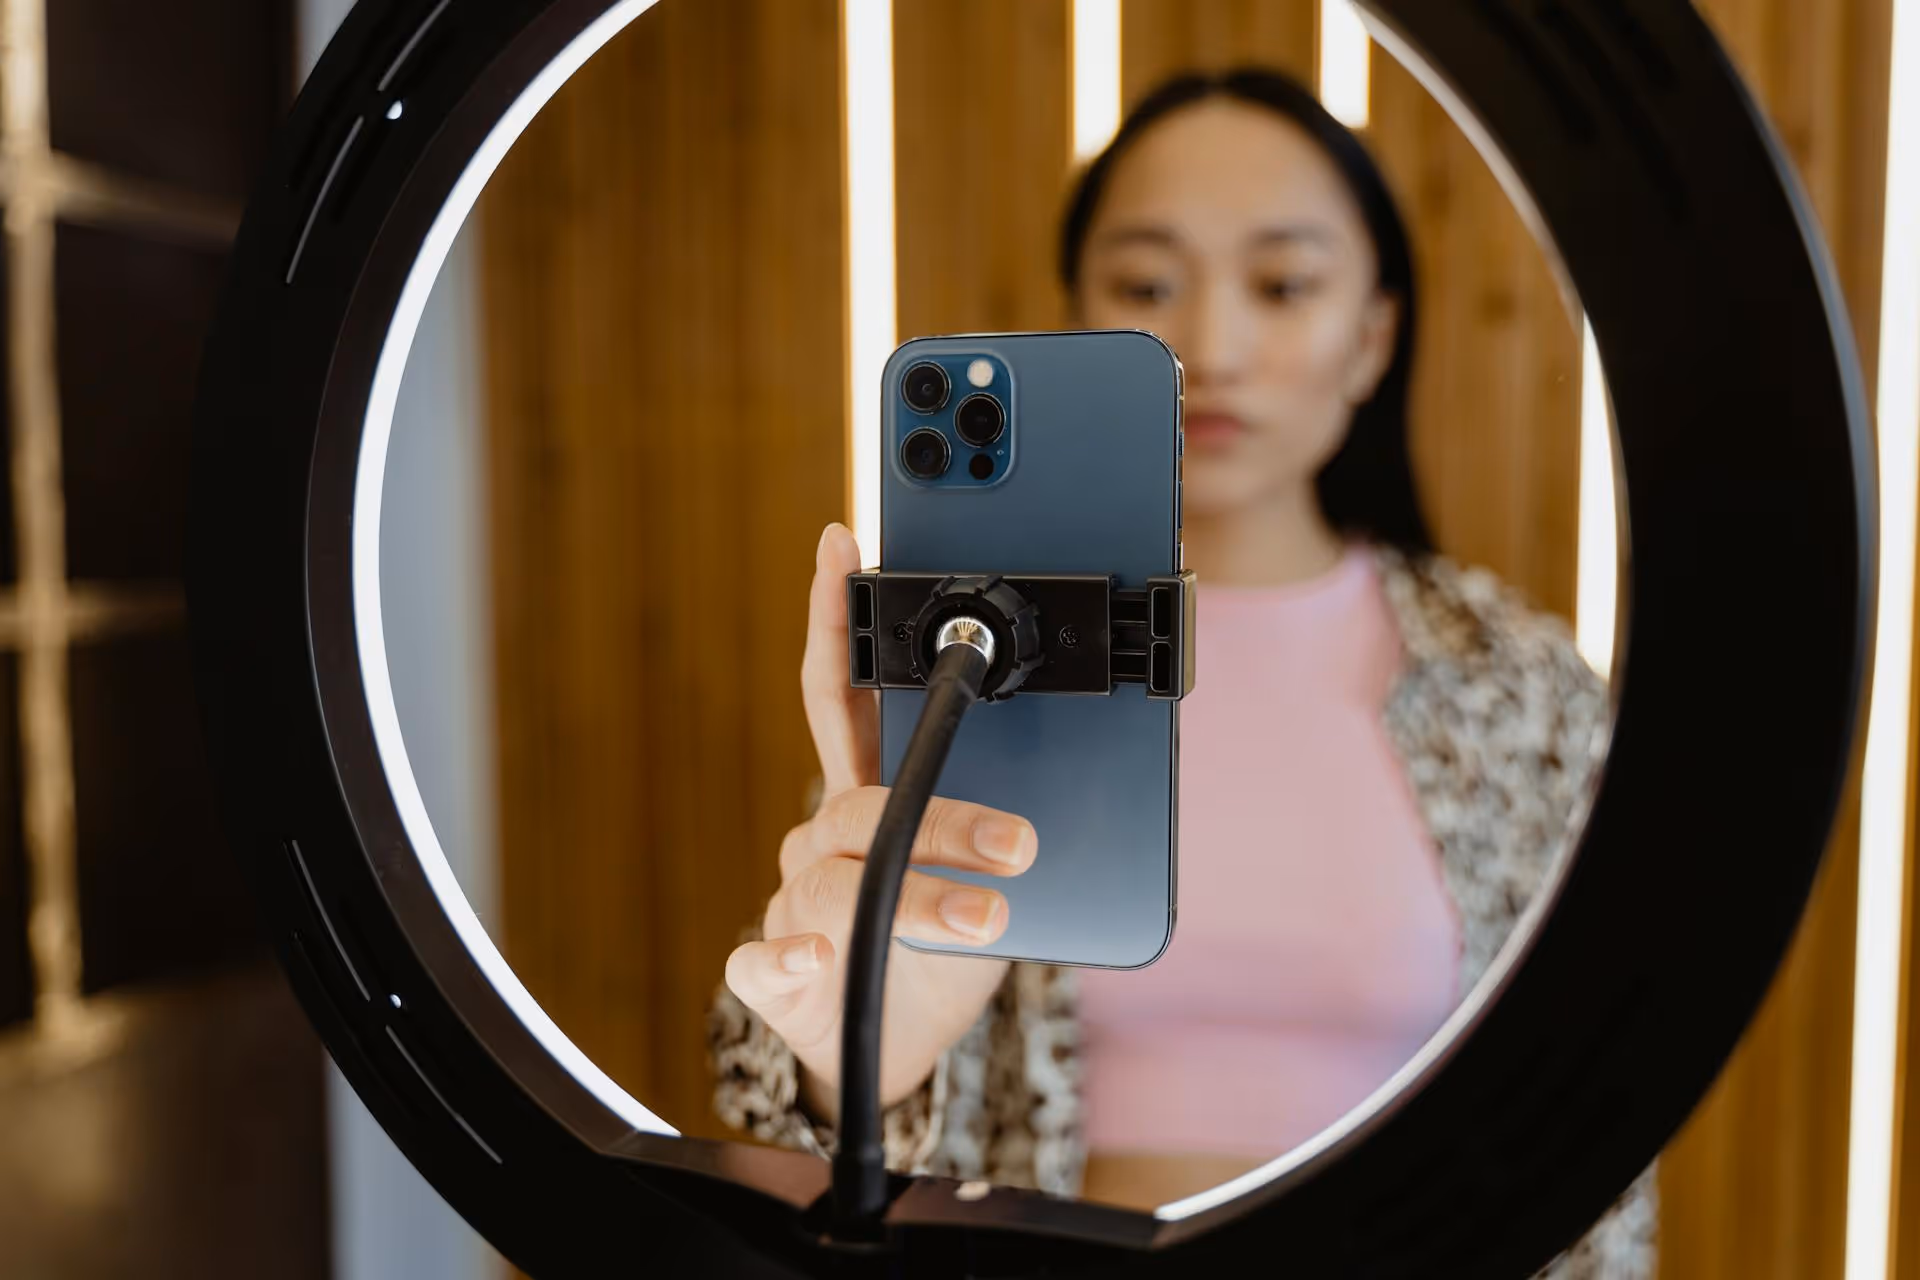
This is by far the cleanest and safest method because it doesn't involve any third-party websites or apps. The trick is to save the video to your camera roll before you hit the final "Share" button on your Reel.
Here's how it works:
A Quick Tip: If you use Instagram's text-to-speech feature, its audio will be saved with the video using this method. However, on-screen text added in Instagram will not be saved. This is actually a good thing! It gives you a clean slate to add native text in TikTok, which looks more natural on that platform anyway.
What if you already posted the Reel and forgot to save it? Or maybe you want to repost an older Reel from your archive. In this case, you'll need to use a third-party tool designed to download Instagram videos.
While there are many websites and apps for this (a quick search for "Instagram Reel downloader" will give you plenty), the process is generally the same:
A Friendly Warning: Be discerning when using these external sites. Use ones that don't ask for your password or personal information. Be prepared for pop-up ads, and never download any extra software or extensions they might try to push on you. The "pre-posting" method is always the most secure choice.
Once you have your clean video file, the magic happens. Reposting isn't just about uploading, it's about optimizing. Here's how to do it right.
This part is simple. Open TikTok, tap the plus (+) icon at the bottom to open the camera, and then tap the "Upload" button on the bottom right. Select your watermark-free video from your camera roll.
Your video might have original audio or a sound you added on Instagram. While you can keep it, you have a massive opportunity for better reach by using one of TikTok's trending sounds.
Even if you liked your text placement on Instagram, it's best to recreate it natively within TikTok. TikTok's fonts, colors, and text styles are part of the platform's visual identity.
Tap the "Text" (Aa) icon to add new text overlays. Time the text to appear and disappear using the "Set duration" feature. This is also your chance to place text safely inside TikTok's "safe zones" - the areas that aren't covered by the caption, username, or engagement buttons on the sides.
Do not simply copy and paste your Instagram caption. The caption culture is very different.
#fyp or #xyzbca), 1-2 broad industry tags (like #socialmediamarketing), and 1-2 niche, community-specific tags (like #contentcreationtips).You're ready! You can either hit "Post" to publish it immediately or save it as a draft to post later. When you post, keep an eye on your new video, and make sure to reply to comments to fuel engagement in the first few hours, which can help give it a boost from the algorithm.
Steering clear of these common pitfalls will make your repurposing strategy much more effective.
Reposting your Instagram Reels to TikTok is more than just a time-saving hack, it's a strategic way to grow your brand and connect with a wider audience on their preferred platform. By ditching the watermark, embracing TikTok-native features like sounds and text, and tailoring your captions, you turn a simple repost into a powerful piece of native content.
Managing all this content creation, scheduling, and community engagement across multiple platforms can quickly become overwhelming. At Postbase, we built our platform specifically to solve this problem for creators and marketers. You can visually plan your video content for Reels, TikToks, and Shorts in one beautiful calendar, schedule them reliably, and handle all your comments and DMs in a single inbox. We designed it for the video-first world we live in now, making your cross-platform strategy feel effortless instead of chaotic.
```
Spencer's spent a decade building products at companies like Buffer, UserTesting, and Bump Health. He's spent years in the weeds of social media management—scheduling posts, analyzing performance, coordinating teams. At Postbase, he's building tools to automate the busywork so you can focus on creating great content.

Enhance your email signature by adding social media icons. Discover step-by-step instructions to turn every email into a powerful marketing tool.
Record clear audio for Instagram Reels with this guide. Learn actionable steps to create professional-sounding audio, using just your phone or upgraded gear.
Check your Instagram profile interactions to see what your audience loves. Discover where to find these insights and use them to make smarter content decisions.
Requesting an Instagram username? Learn strategies from trademark claims to negotiation for securing your ideal handle. Get the steps to boost your brand today!
Attract your ideal audience on Instagram with our guide. Discover steps to define, find, and engage followers who buy and believe in your brand.
Activate Instagram Insights to boost your content strategy. Learn how to turn it on, what to analyze, and use data to grow your account effectively.
Wrestling with social media? It doesn’t have to be this hard. Plan your content, schedule posts, respond to comments, and analyze performance — all in one simple, easy-to-use tool.

