

How to Add Social Media Icons to an Email Signature
Enhance your email signature by adding social media icons. Discover step-by-step instructions to turn every email into a powerful marketing tool.
Getting your music on TikTok isn't just a good idea anymore, it's a fundamental part of a modern release strategy. This is where songs are born, old tracks are revived, and music careers can change overnight. This guide will walk you through the entire process, from the technical requirements of getting your track uploaded to the platform to the creative strategies for helping it catch fire.
Every artist's dream is to see millions of people using their song as the soundtrack to their lives. TikTok has become the number one platform for music discovery, single-handedly launching artists and sending songs up the Billboard charts. But virality isn't just dumb luck. It's a combination of two things: making your music available for people to use and then actively promoting it with a smart content strategy. We’ll cover both.
You can't just upload an MP3 to TikTok and have it appear in the official music library for everyone to use. To do it right and get paid for streams, you need to go through a digital music distributor. Think of them as the go-between that sends your music to all the major platforms like Spotify, Apple Music, and, most importantly, TikTok.
There are many distributors out there, and most offer similar core services. The biggest difference usually comes down to their pricing model. Here are a few of the most popular options for independent artists:
Do your research, but don't get paralyzed by choice. All three of these (and many others) do the fundamental job well: they get your music onto TikTok's sound library.
Before you upload, you'll need two things in the correct format. This is non-negotiable, as distributors have quality control standards.
Once you’ve signed up with a distributor, the process is pretty straightforward. You'll create a new release and follow the dashboard prompts:
This is arguably the most important step for your TikTok release. Your distributor will ask you to specify which part of your song will become the default sound clip on the platform. You get to choose when the clip starts. Some distributors let you pick a specific 15-second, 30-second, or 60-second clip.
Do not just let it default to the beginning of your song.
Think like a TikTok creator. What is the catchiest, most memorable, and most loop-able moment of your song? Is it the chorus? The beat drop? A clever lyrical phrase in the second verse? Choose the part that has the most energy and instantly grabs a listener's attention. This moment is what hundreds, thousands, or even millions of people will be making videos to.
After you submit everything, your distributor will review your release to make sure it meets all the technical requirements. This can take anywhere from a couple of days to a couple of weeks. Once approved, it gets sent out to the platforms. It’s always best to upload your music at least 3-4 weeks before your release date to avoid any delays.
Once your music is live, search for it on TikTok's sound library to confirm it's there and that the right clip is selected. Now, the real work begins.
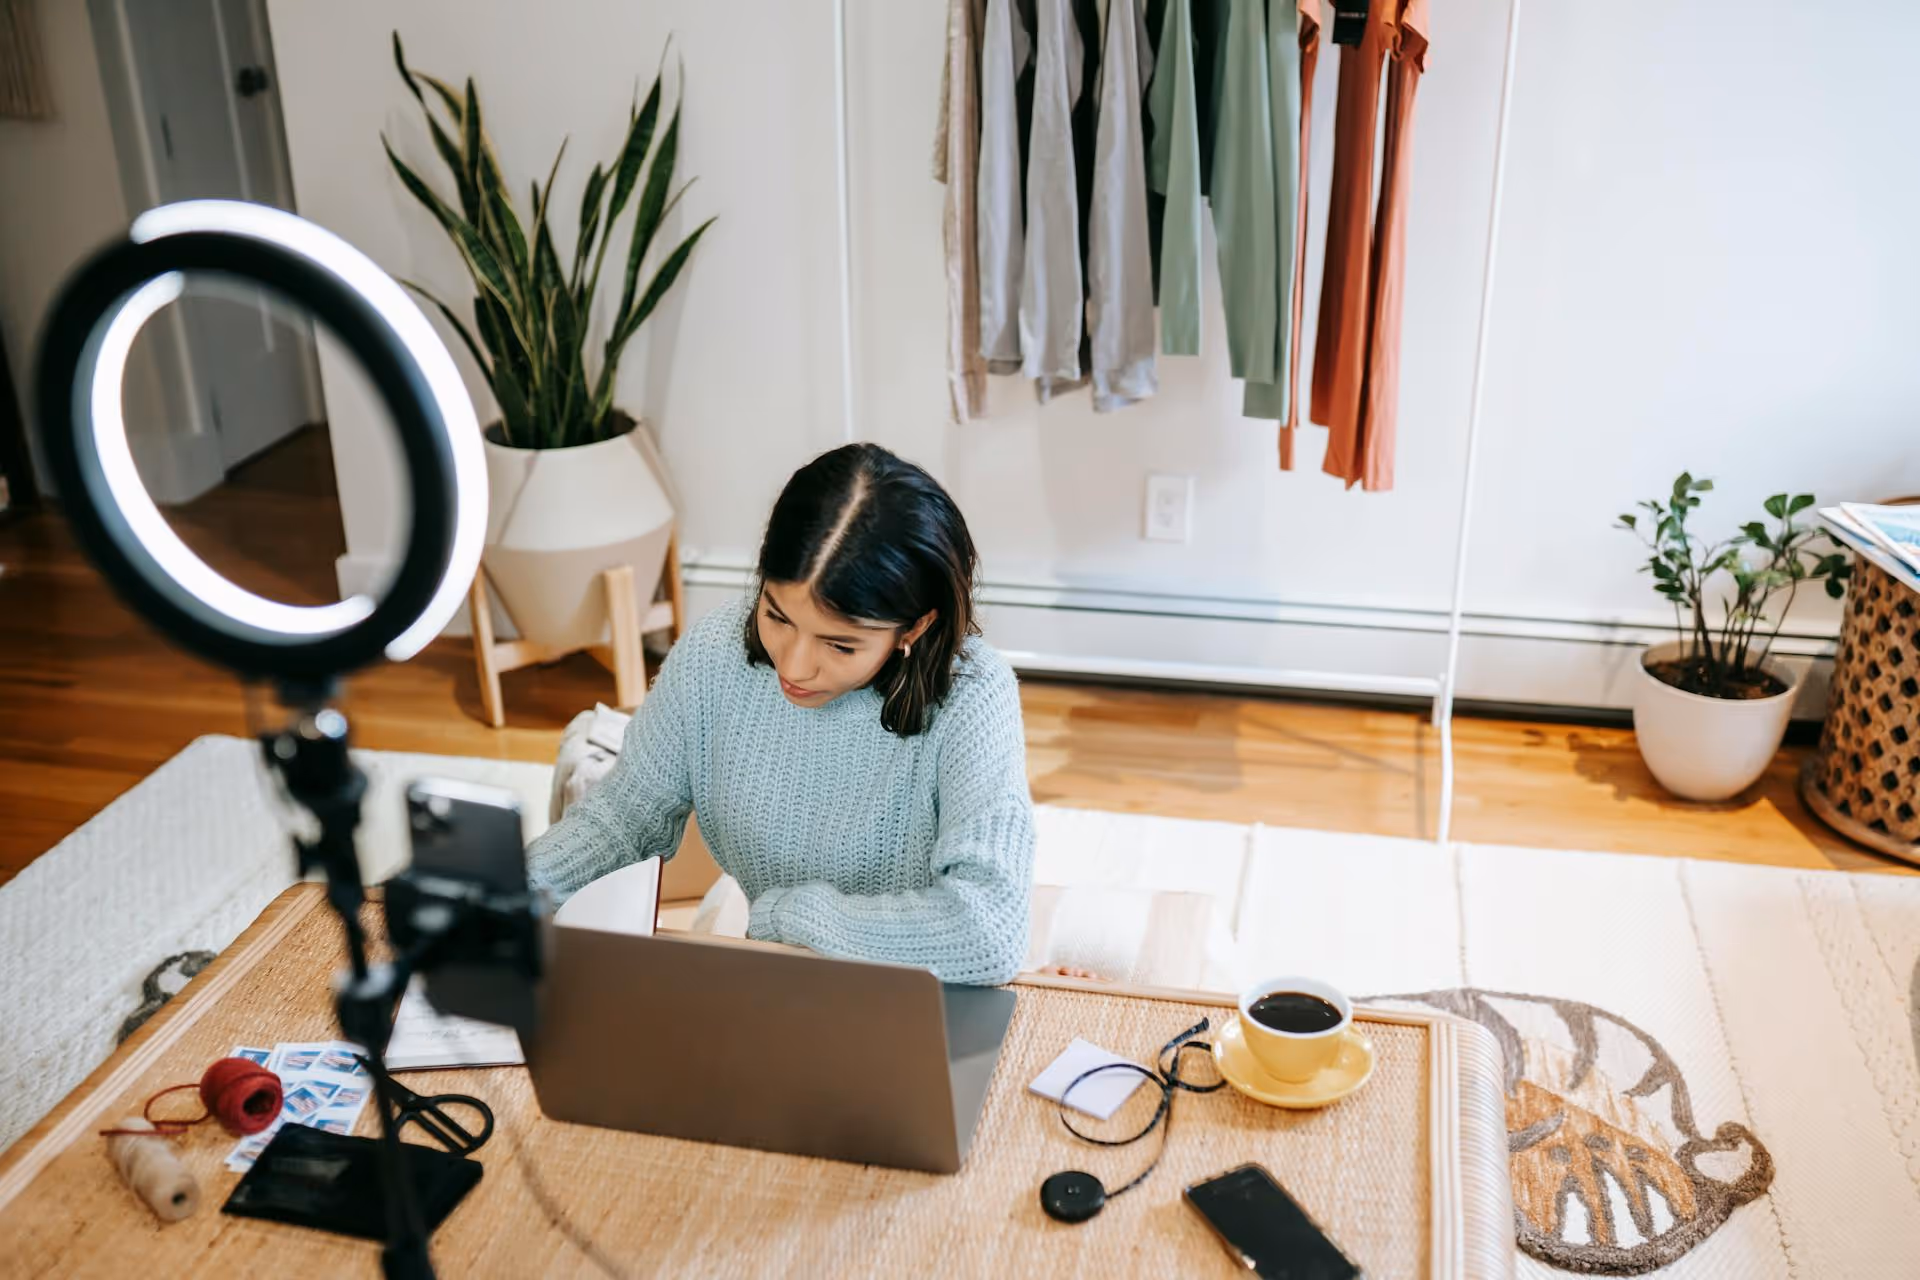
Having your music on TikTok is one thing, getting people to use it is another. You can't just upload it and hope for the best. You need to be the single biggest champion of your own sound.
One of the most effective strategies is to build hype before the song officially drops. You don't need the song to be on the official audio library to do this.
How to do it:
This does two things: It activates your existing fans and validates your song idea. If the teaser video starts getting traction and comments like "DROP THIS NOW," you already know you have something that connects with people.
On your release day, you need to be the first person creating content with your official sound. Don't wait for a trend to happen - start one yourself. The goal is to make content that is easily replicable and gives other people ideas of how they can use your sound.
Post multiple videos using your sound, not just one. Hit different angles, try a few different trend ideas, and see what sticks.
When someone finally uses your sound to make a video, it’s a big deal. You now have an opportunity to turn a listener into a fan.
This kind of engagement encourages more people to use your sound. When others see the original artist is active and supportive, they're more likely to join in.
Remember that TikTok operates on 15 to 30-second clips. The most successful songs on the platform often have one perfect, undeniable "moment." This could be a powerful vocal run, a huge beat drop, or a relatable lyric. When you’re writing and producing, start thinking about where that TikTok moment might live in your own music. Sometimes, an explosive, catchy pre-chorus is more valuable for TikTok discovery than a slow-burning chorus.
Don't be afraid to lean into trends like sped-up or slowed + reverb versions. If you notice fans creating their own sped-up remixes, beat them to it! Release an official "Sped Up version" through your distributor to capitalize on the trend and get paid for it.
Releasing music on TikTok is a powerful two-step process: you handle the technical logistics through a distributor and then drive the creative marketing by making your own content and engaging your community. It’s not a passive process, but it’s one where your hard work can pay off with a visibility that was once unimaginable for independent artists.
Once your music is live and you're ready to promote it, the daily task of creating and posting content for it across TikTok, Instagram Reels, and YouTube Shorts can become overwhelming. At Postbase, we designed our platform specifically for the short-form video era. We help you plan your entire video release schedule on a visual calendar, allowing you to prep and schedule all your promotional content from one clean dashboard. This saves you hours of time, so you can focus on what's most important: making great music and connecting with the fans who discover you on TikTok.
Spencer's spent a decade building products at companies like Buffer, UserTesting, and Bump Health. He's spent years in the weeds of social media management—scheduling posts, analyzing performance, coordinating teams. At Postbase, he's building tools to automate the busywork so you can focus on creating great content.

Enhance your email signature by adding social media icons. Discover step-by-step instructions to turn every email into a powerful marketing tool.
Record clear audio for Instagram Reels with this guide. Learn actionable steps to create professional-sounding audio, using just your phone or upgraded gear.
Check your Instagram profile interactions to see what your audience loves. Discover where to find these insights and use them to make smarter content decisions.
Requesting an Instagram username? Learn strategies from trademark claims to negotiation for securing your ideal handle. Get the steps to boost your brand today!
Attract your ideal audience on Instagram with our guide. Discover steps to define, find, and engage followers who buy and believe in your brand.
Activate Instagram Insights to boost your content strategy. Learn how to turn it on, what to analyze, and use data to grow your account effectively.
Wrestling with social media? It doesn’t have to be this hard. Plan your content, schedule posts, respond to comments, and analyze performance — all in one simple, easy-to-use tool.

