TikTok Tips & Strategies

How to Record Hands-Free on TikTok

By Spencer Lanoue
October 31, 2025

Tired of precariously balancing your phone against a water bottle to film your next TikTok? Let's fix that. Mastering hands-free recording is one of the easiest ways to make your videos look more polished and dynamic, and this guide will show you exactly how to do it. We’ll cover everything from TikTok’s built-in timer to the simple gear that can transform your content.

Master the Timer: Your Go-To for Hands-Free Recording

The simplest way to go hands-free is built right into the TikTok app. The timer function allows you to set a countdown before the camera starts rolling, giving you a few seconds to get into position. Even better, you can set an exact recording duration, so the camera stops automatically after capturing the perfect clip. This is the feature nearly every top creator uses to film seamless transitions and routines.

A Quick Step-by-Step Guide

Getting started with the timer is straightforward. Follow these steps, and you'll be recording without holding your phone in no time.

  • Step 1: Open the Creation Screen. Launch the TikTok app and tap the '+' button at the bottom of the screen to open the camera.
  • Step 2: Find the Timer. On the right-hand side of the screen, you’ll see a panel of icons. Look for one that looks like a small stopwatch and says "Timer." Tap on it.
  • Step 3: Choose Your Countdown. You'll be presented with two countdown options: 3 seconds or 10 seconds. The 3-second countdown is great for quick adjustments, like fixing your hair or an outfit change close to the camera. The 10-second option gives you more time to move further away from your phone or get a more complex prop in place.
  • Step 4: Set Your Recording Duration. This is the most powerful part of the feature. Below the video timeline, you'll see a red bar. Drag the end of this bar to set exactly how long you want the clip to record. For example, if you only need a 5-second clip for the first part of a song, you can set it to stop automatically after 5 seconds. This lets you film your video in small, manageable segments instead of one long, awkward take.
  • Step 5: Start Recording. Once you've set your countdown and duration, tap the big red "Start countdown" button. The app will count down aloud, giving you a clear audio cue to get ready. When it hits zero, it will start recording and stop at the point you designated.

To record your next clip, just repeat the process. Set the timer, define a new recording duration in the timeline, hit start, and build your TikTok piece by piece. This small feature is the foundation of almost all well-edited, trend-focused videos on the platform.

Next-Level Hands-Free: Using Voice Control on Your Phone

What if you want to start and stop recording from across the room without setting a timer for every single take? This is where your phone's built-in accessibility features come into play. Both iPhone and Android have powerful voice command functions that you can program to control apps like TikTok. It takes a few minutes to set up, but once you do, you'll be able to shout "Record!" from anywhere in the room.

How to Set Up Voice Control on an iPhone

Apple’s Voice Control lets you create custom commands mapped to specific screen gestures. In this case, we’ll make a custom command that mimics tapping the record button.

  1. Navigate to Settings >, Accessibility >, Voice Control.
  2. Toggle Voice Control on at the top of the menu. You should see a small blue microphone icon appear in your phone's status bar.
  3. Tap on Customize Commands, then select Create New Command....
  4. In the "Phrase" field, type in a command that’s easy to remember and unlikely to be triggered by accident. Something like "Start filming" or "Go Tok" works well.
  5. Tap on Action, and then select Run Custom Gesture.
  6. A blank screen will appear. This is where you'll record the "tap." Imagine your screen is the TikTok recording interface and tap right where the big red record button would normally be. A single, clean tap is all you need. Tap Save in the top right corner.
  7. Finally, go back and save your new command.

Now, open TikTok and go to the camera screen. Get yourself in position and clearly say your command phrase ("Start filming!"). Your phone will automatically perform the tap gesture, and the recording will begin. You can say it again to stop recording. It feels like magic the first time you use it.

How to Set Up Voice Access on Android

Android's method, while similar, is often a bit simpler because its "Voice Access" app automatically overlays numbers on everything you can interact with on-screen.

  1. If you don’t already have it, download the Voice Access app from the Google Play Store.
  2. Go to Settings >, Accessibility >, Voice Access and turn it on.
  3. The app will guide you through a short tutorial explaining the basics. You can choose to have it listen all the time or activate it with a spoken command like "Hey Google, Voice Access."
  4. Once active, open TikTok and navigate to the recording screen. You will see small numbers appear over all the clickable buttons, including the camera controls.
  5. Note the number that's hovering over the red record button. To start filming, just say "Tap [Number]." To stop, say "Tap [Number]" again.

This method is incredibly useful for creators who need to start and stop frequently from a distance, like those filming workout tutorials, comedy skits with multiple takes, or stop-motion videos.

Gear Up: Why a Tripod Isn't Just for Professionals

You’ve figured out how to press "record" without touching your phone, but what about the phone itself? A wobbly stack of books or a phone leaned against a coffee mug doesn't just look unprofessional - it’s unreliable. One small vibration can send it toppling over mid-shot. This is why a simple tripod is the single most valuable piece of equipment for any serious TikTok creator.

Using a tripod instantly gives you:

  • Unshakable Stability: Your footage will be smooth and steady, making it far more pleasing to watch.
  • Creative Angles: Shoot from low down, high up, or straight-on without having to search for a surface at the perfect height. This freedom lets you create more engaging and visually interesting content.
  • Perfect Consistency: For transition videos (like outfit changes or makeup transformations), the camera must remain in the exact same spot. A tripod makes this effortless, ensuring your transitions look clean and seamless.

Types of Tripods and Mounts to Consider

You don't need to spend a fortune to get a good setup. Here are a few popular options:

  • Mini Tabletop Tripod: These are small, portable, and perfect for shooting at a desk or on a countertop. Many come with flexible, "octopus-style" legs (like the Joby GorillaPod) that can be wrapped around poles, branches, or chair backs for even more creative angles.
  • Full-Size Tripod: If you're recording full-body dance routines or content where you need to stand, a full-size tripod is a must. They are adjustable in height and provide the most stability for standing shots. Look for one with a dedicated phone mount.
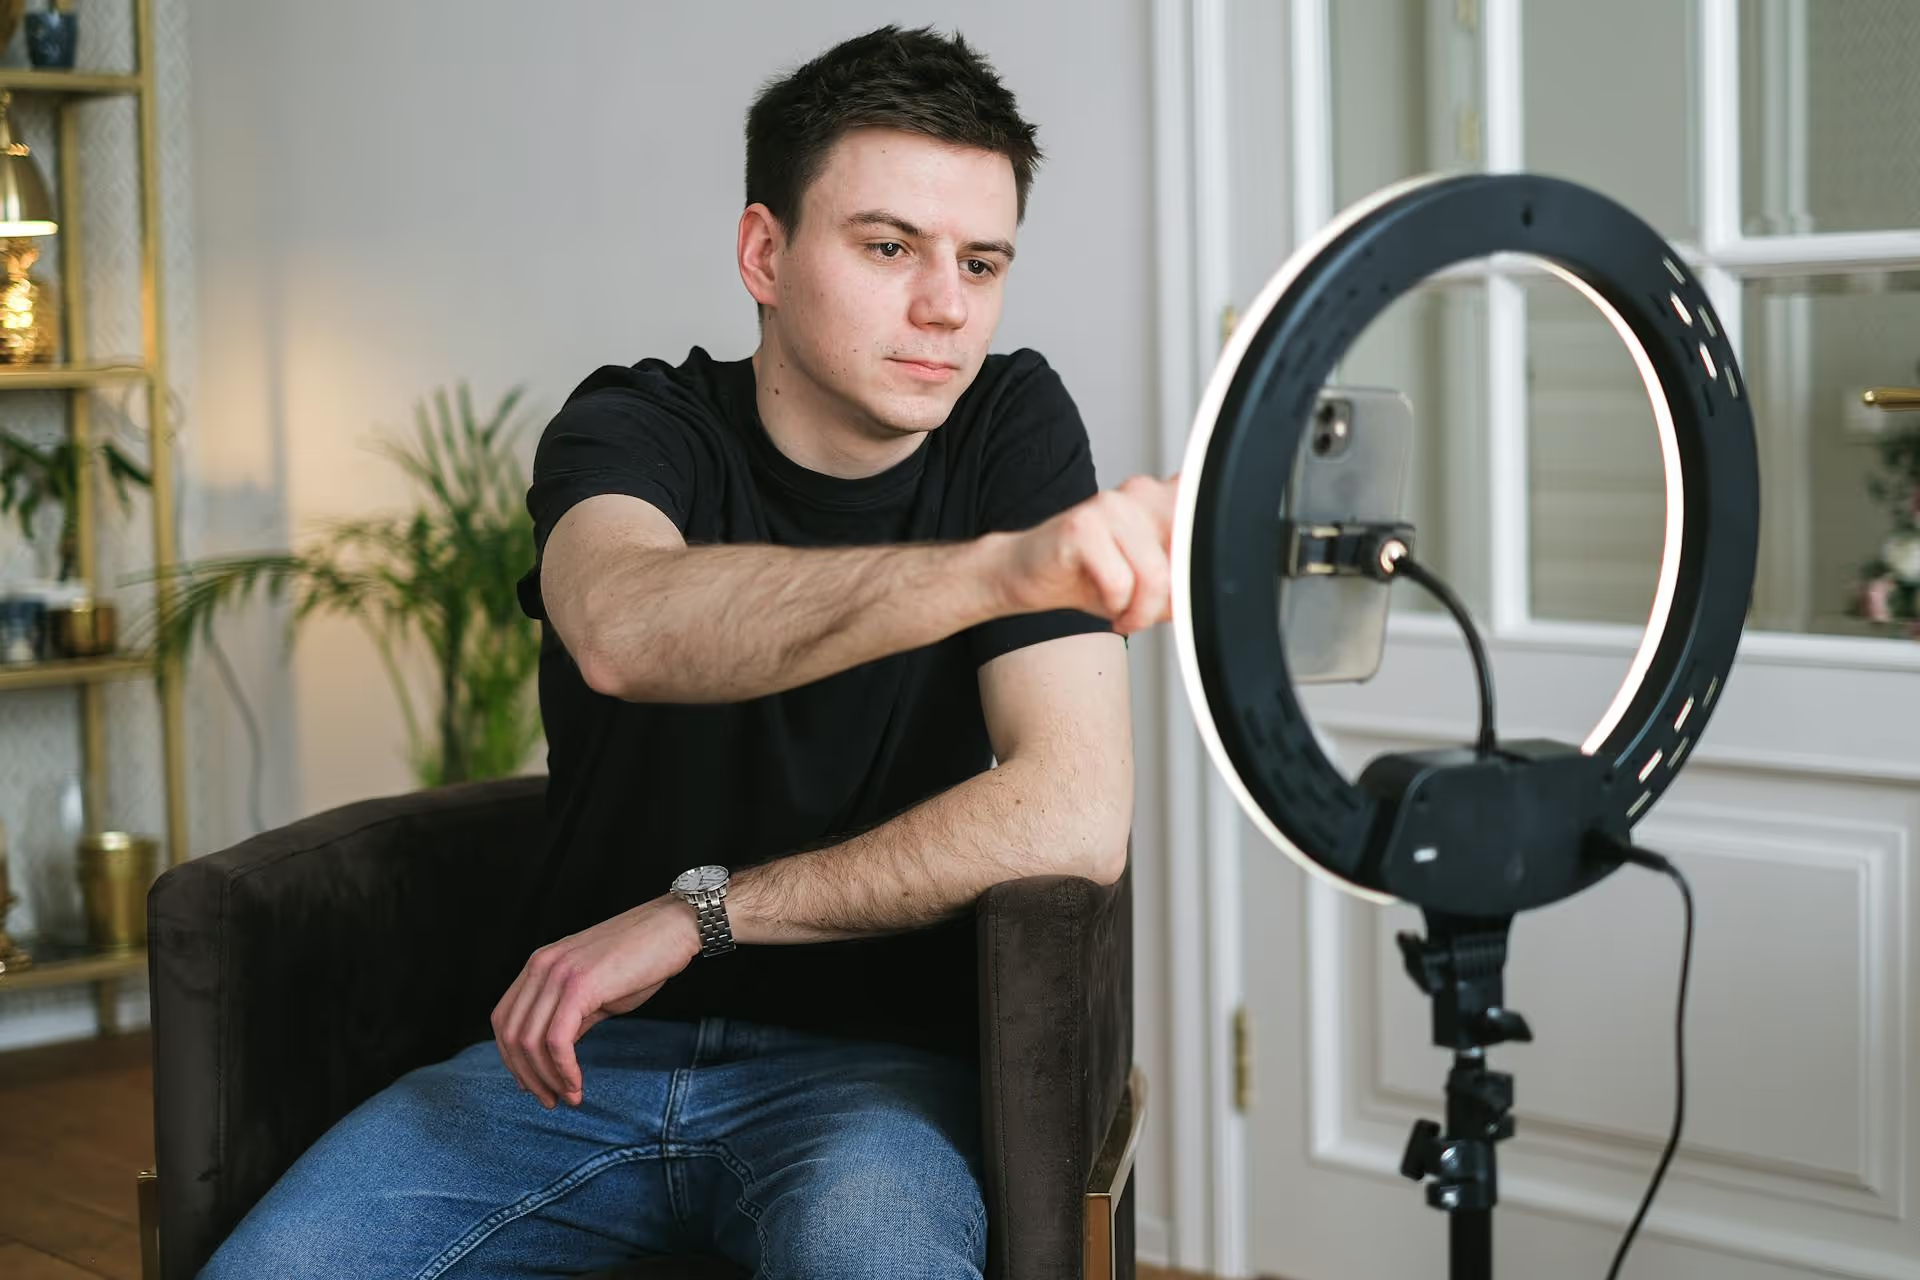
  • Ring Light with Phone Holder: This is a fantastic all-in-one solution. You solve your lighting and stability problems simultaneously. A ring light provides flattering, even light that eliminates harsh shadows, making it ideal for tutorials, talking-head videos, and anything filmed indoors.

Pro Tip: Many tripods come bundled with a small Bluetooth remote. This tiny keychain-sized button syncs to your phone and acts as a remote shutter. It’s an incredibly simple and reliable alternative to setting up voice commands for starting and stopping your recordings.

Creative Hands-Free Ideas to Elevate Your TikToks

Now that you know the techniques, you can start creating content that simply isn't possible while holding your phone. Hands-free recording is the key to unlocking some of TikTok's most popular video formats.

  • Complex Transitions: Think of the "snap" transition for outfit changes or the "wipe" for a makeup transformation. These depend on the camera staying completely still between takes, something only a tripod can guarantee.
  • Tutorials and Demonstrations: Whether you're showing off a recipe, a new crafting technique, or changing a guitar string, you need both of your hands. Setting your phone up on a tripod lets you demonstrate your skill clearly.
  • Dance and Fitness Challenges: You can't exactly nail a complex dance challenge with one hand holding your phone. A hands-free setup allows you to use your whole body and stay centered in the frame.
  • Comedy Skits: Playing multiple characters or interacting with props is much funnier and easier when you're not constrained by the arm's-length selfie view. You can set the scene and move freely within it.

When you prepare to shoot hands-free, always use the front-facing camera to frame your shot first. Check your background for any clutter, make sure your lighting looks good, and see where your body will be positioned within the frame. A little bit of prep makes a world of difference in the final product.

Final Thoughts

Going hands-free on TikTok is a fundamental skill that separates casual posters from serious creators. By combining the app's built-in timer, your phone's powerful voice features, and a simple tripod, you gain full creative control over your videos. It allows for unwavering stability, consistent framing, and the freedom to bring your most ambitious content ideas to life.

Once you’ve started filming dynamic, multi-clip videos, the next big challenge is keeping your publishing schedule organized across all platforms. At Postbase, we built our tool specifically for the realities of modern social media, which is dominated by short-form video. Since that amazing TikTok you just filmed would also be a great Instagram Reel and a YouTube Short, we made it simple to schedule it once and have it post everywhere. Our visual content calendar helps you plan ahead and ensures you always know what’s going live, saving you from the time-consuming chaos of managing each app individually.

Spencer's spent a decade building products at companies like Buffer, UserTesting, and Bump Health. He's spent years in the weeds of social media management—scheduling posts, analyzing performance, coordinating teams. At Postbase, he's building tools to automate the busywork so you can focus on creating great content.

Other posts you might like

How to Add Social Media Icons to an Email Signature

Enhance your email signature by adding social media icons. Discover step-by-step instructions to turn every email into a powerful marketing tool.
Read more

How to Add an Etsy Link to Pinterest

Learn how to add your Etsy link to Pinterest and drive traffic to your shop. Discover strategies to create converting pins and turn browsers into customers.

Read more

How to Grant Access to Facebook Business Manager

Grant access to your Facebook Business Manager securely. Follow our step-by-step guide to add users and assign permissions without sharing your password.

Read more

How to Record Audio for Instagram Reels

Record clear audio for Instagram Reels with this guide. Learn actionable steps to create professional-sounding audio, using just your phone or upgraded gear.

Read more

How to Add Translation in an Instagram Post

Add translations to Instagram posts and connect globally. Learn manual techniques and discover Instagram's automatic translation features in this guide.

Read more

How to Optimize Facebook for Business

Optimize your Facebook Business Page for growth and sales with strategic tweaks. Learn to engage your community, create captivating content, and refine strategies.

Read more

Stop wrestling with outdated social media tools

Wrestling with social media? It doesn’t have to be this hard. Plan your content, schedule posts, respond to comments, and analyze performance — all in one simple, easy-to-use tool.

Schedule your first post
The simplest way to manage your social media
Rating