

How to Add Social Media Icons to an Email Signature
Enhance your email signature by adding social media icons. Discover step-by-step instructions to turn every email into a powerful marketing tool.
Putting something on Pinterest is the first step to unlocking a powerful stream of traffic, discovering new audiences, and growing your brand on one of the internet's biggest visual search engines. Whether you’re sharing blog posts, products, or creative ideas, this guide will walk you through exactly how to add your content to Pinterest and optimize it for success from the start.
Before we get into the step-by-step, let's quickly cover the three main terms you'll see. Understanding these will make the entire process much smoother.
Creating a "fresh" Pin is how you upload your own original content directly to the platform. This is the best method for sharing your own blog post graphics, product photos, short-form videos, and infographics. Pinterest’s algorithm loves new content, so get comfortable with this process!
Have you ever noticed the little red "Pin It" or "Save" button on images within blog posts or on product pages? This feature is a powerful way to add content from a website (yours or someone else's) to one of your boards. For creators, having this button on your site encourages visitors to share your content for you.
The easiest way to do this from any website is with the official Pinterest browser extension.
Repinning (or Saving) is the social part of Pinterest. It’s how you curate content from others onto your boards, build community, and engage with ideas you love. While great for curating, remember that for growing your own brand, posting original content via the methods above is always a better strategy.
To repin, the process is simple:
Just putting something on Pinterest isn't enough, you want it to perform well. Following a few best practices will dramatically increase your chances of getting impressions, saves, and clicks.
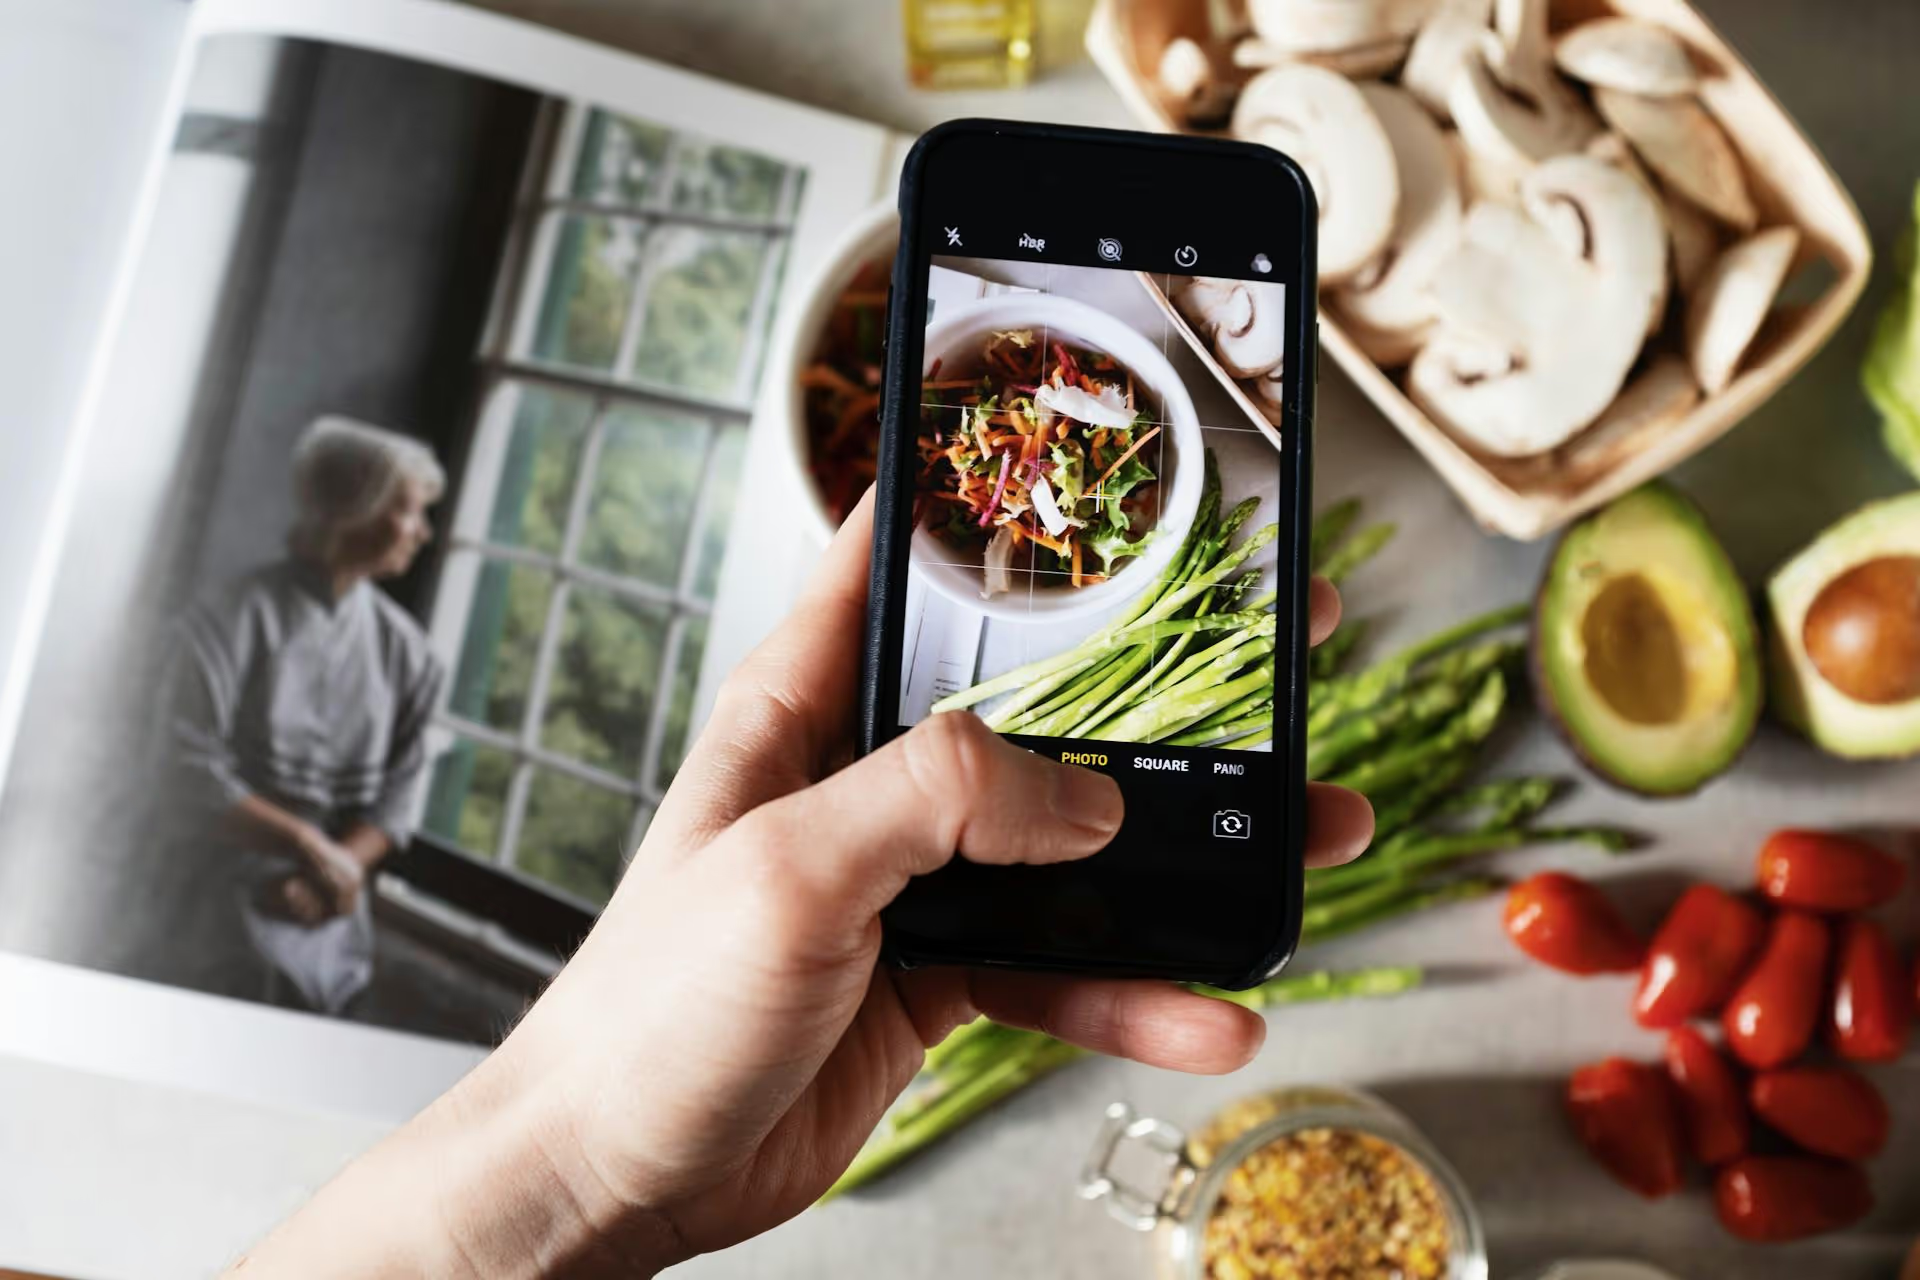
Pinterest is a vertical platform. To stand out, create visuals that take up as much screen space as possible. The ideal aspect ratio is 2:3 (for example, 1000 x 1500 pixels). This looks better on mobile feeds and gets more attention than a horizontal or square image.
People don't go to Pinterest to see what their friends are up to, they go there to find ideas, plan purchases, and solve problems. Think like they do.
Before you create a Pin, use the Pinterest search bar to see what people are looking for. Type in a general topic like "kitchen organization" and watch the autocomplete suggestions. Those suggestions ("kitchen organization ideas," "kitchen organization for small spaces," "kitchen organization on a budget") are what real users are searching for. Sprinkle these keywords into:
As mentioned, Pinterest loves new, original content. The platform calls these "Fresh Pins" - it refers to a new image/video combination that hasn't been seen on Pinterest before, even if it links to an old blog post. Creating a few different Pin designs that all point to the same URL is a perfect way to keep your content fresh.
Repinning is fine, but focus the bulk of your effort on adding your own high-value, original visuals to the platform. Posting consistently - whether that's one new Pin per day or three - signals to the algorithm that you’re an active and valuable creator, which helps your content get shown more often.
Getting your content on Pinterest is a straightforward process, whether you're uploading an original graphic, saving an article from your blog, or curating brilliant ideas you find online. Success comes from combining these methods with a smart strategy built around high-quality vertical visuals and keyword-rich descriptions.
The biggest challenge for most creators is staying consistent. That’s why we built Postbase in the first place. After spending years managing social media for brands, we got tired of scheduling headaches and tools built for a different era. Our platform lets you plan, schedule, and publish your content across all your platforms - including Pinterest - from a single visual calendar. It saves a ton of time and helps you post consistently without feeling overwhelmed.
```
Spencer's spent a decade building products at companies like Buffer, UserTesting, and Bump Health. He's spent years in the weeds of social media management—scheduling posts, analyzing performance, coordinating teams. At Postbase, he's building tools to automate the busywork so you can focus on creating great content.

Enhance your email signature by adding social media icons. Discover step-by-step instructions to turn every email into a powerful marketing tool.
Record clear audio for Instagram Reels with this guide. Learn actionable steps to create professional-sounding audio, using just your phone or upgraded gear.
Check your Instagram profile interactions to see what your audience loves. Discover where to find these insights and use them to make smarter content decisions.
Requesting an Instagram username? Learn strategies from trademark claims to negotiation for securing your ideal handle. Get the steps to boost your brand today!
Attract your ideal audience on Instagram with our guide. Discover steps to define, find, and engage followers who buy and believe in your brand.
Activate Instagram Insights to boost your content strategy. Learn how to turn it on, what to analyze, and use data to grow your account effectively.
Wrestling with social media? It doesn’t have to be this hard. Plan your content, schedule posts, respond to comments, and analyze performance — all in one simple, easy-to-use tool.

