

How to Add Social Media Icons to an Email Signature
Enhance your email signature by adding social media icons. Discover step-by-step instructions to turn every email into a powerful marketing tool.
Sharing your best Twitch clips on Instagram is one of the most effective ways to grow your channel, but you can’t just download a clip and post it. This guide breaks down the entire process, step-by-step, transforming an awkward horizontal video into a perfectly formatted Reel that drives viewers to your stream. We'll cover how to download your clips, edit them for vertical viewing, and develop a solid strategy for building your brand on Instagram.
Putting your VOD highlights on Instagram isn't just about sharing a cool moment, it's a core part of a modern streamer's growth strategy. Instagram offers a massive potential audience that might never discover you through Twitch's own browse page. Each Reel you post acts as a high-octane trailer for your stream, catching the eye of viewers who enjoy your game or your personality.
Here’s what you gain by making this a habit:
First things first: you need the video file. You have two primary methods for downloading a Twitch clip, whether it was created by you or one of your viewers.
This is the most straightforward way to download clips you or your mods have made of your own channel. Twitch has a built-in download feature right in your dashboard.
Sometimes you’ll want to grab a clip someone else made of your stream, or even of another streamer's channel (always give credit if you do!). For this, public-facing clip downloader websites are the easiest solution. Websites like Clipr or UnTwitch work great.
The process is almost identical for all of them:
This is where most streamers get it wrong. You cannot just post a horizontal 16:9 gameplay clip to Instagram Reels and expect it to do well. Instagram is a vertical platform, and your content needs to fit that 9:16 format to succeed. Taking a few extra minutes to reformat your video will drastically improve its performance.
You don't need expensive software. Excellent free video editors are available for both mobile and desktop. For editing on your phone (which is great for this kind of content), I highly recommend CapCut, VN Editor, or InShot. All are user-friendly and packed with the features we'll need.
Simply placing your horizontal clip in a vertical frame with black bars on the top and bottom (pillarboxing) looks lazy and rarely performs well. Instead, the standard for repurposing Twitch content is the "stacked" format. This layout typically features your facecam in the top portion of the screen and the cropped gameplay in the bottom portion.
Here’s how to create it, using an app like CapCut:
This format is fantastic because it puts your reaction - the most engaging part of the clip - front and center while still showing viewers what was happening at that moment in the game.
You have your perfectly edited vertical clip. Now it's time to post it where it will get the most eyeballs and drive the most growth.
Reels are the primary engine for organic reach on Instagram right now. Prioritize them.
#gaming #gamer #streamer #twitchclips#apexlegends #valorantplays #fortniteclips#smallstreamer #twitchaffiliate #twitchcommunityTurning horizontal Twitch clips into powerful, vertical social media content is a non-negotiable skill for growing a personal brand as a streamer today. It does take an extra step, but learning to quickly reformat and season your content with engaging captions and CTAs allows your best moments to work for you twenty-four hours a day, finding new viewers even when you’re not live.
I know how challenging it feels to keep up a consistent schedule across Twitch, Instagram, TikTok, and everywhere else. It gets chaotic quickly. We actually built Postbase to solve this exact problem - giving creators and social media managers a clean, intuitive visual calendar to handle all their content publishing needs. It's a simple tool to help you schedule out weeks or months of clips and other content types on multiple accounts, so you can focus on what really matters: creating great content and connecting with your community.
Spencer's spent a decade building products at companies like Buffer, UserTesting, and Bump Health. He's spent years in the weeds of social media management—scheduling posts, analyzing performance, coordinating teams. At Postbase, he's building tools to automate the busywork so you can focus on creating great content.

Enhance your email signature by adding social media icons. Discover step-by-step instructions to turn every email into a powerful marketing tool.
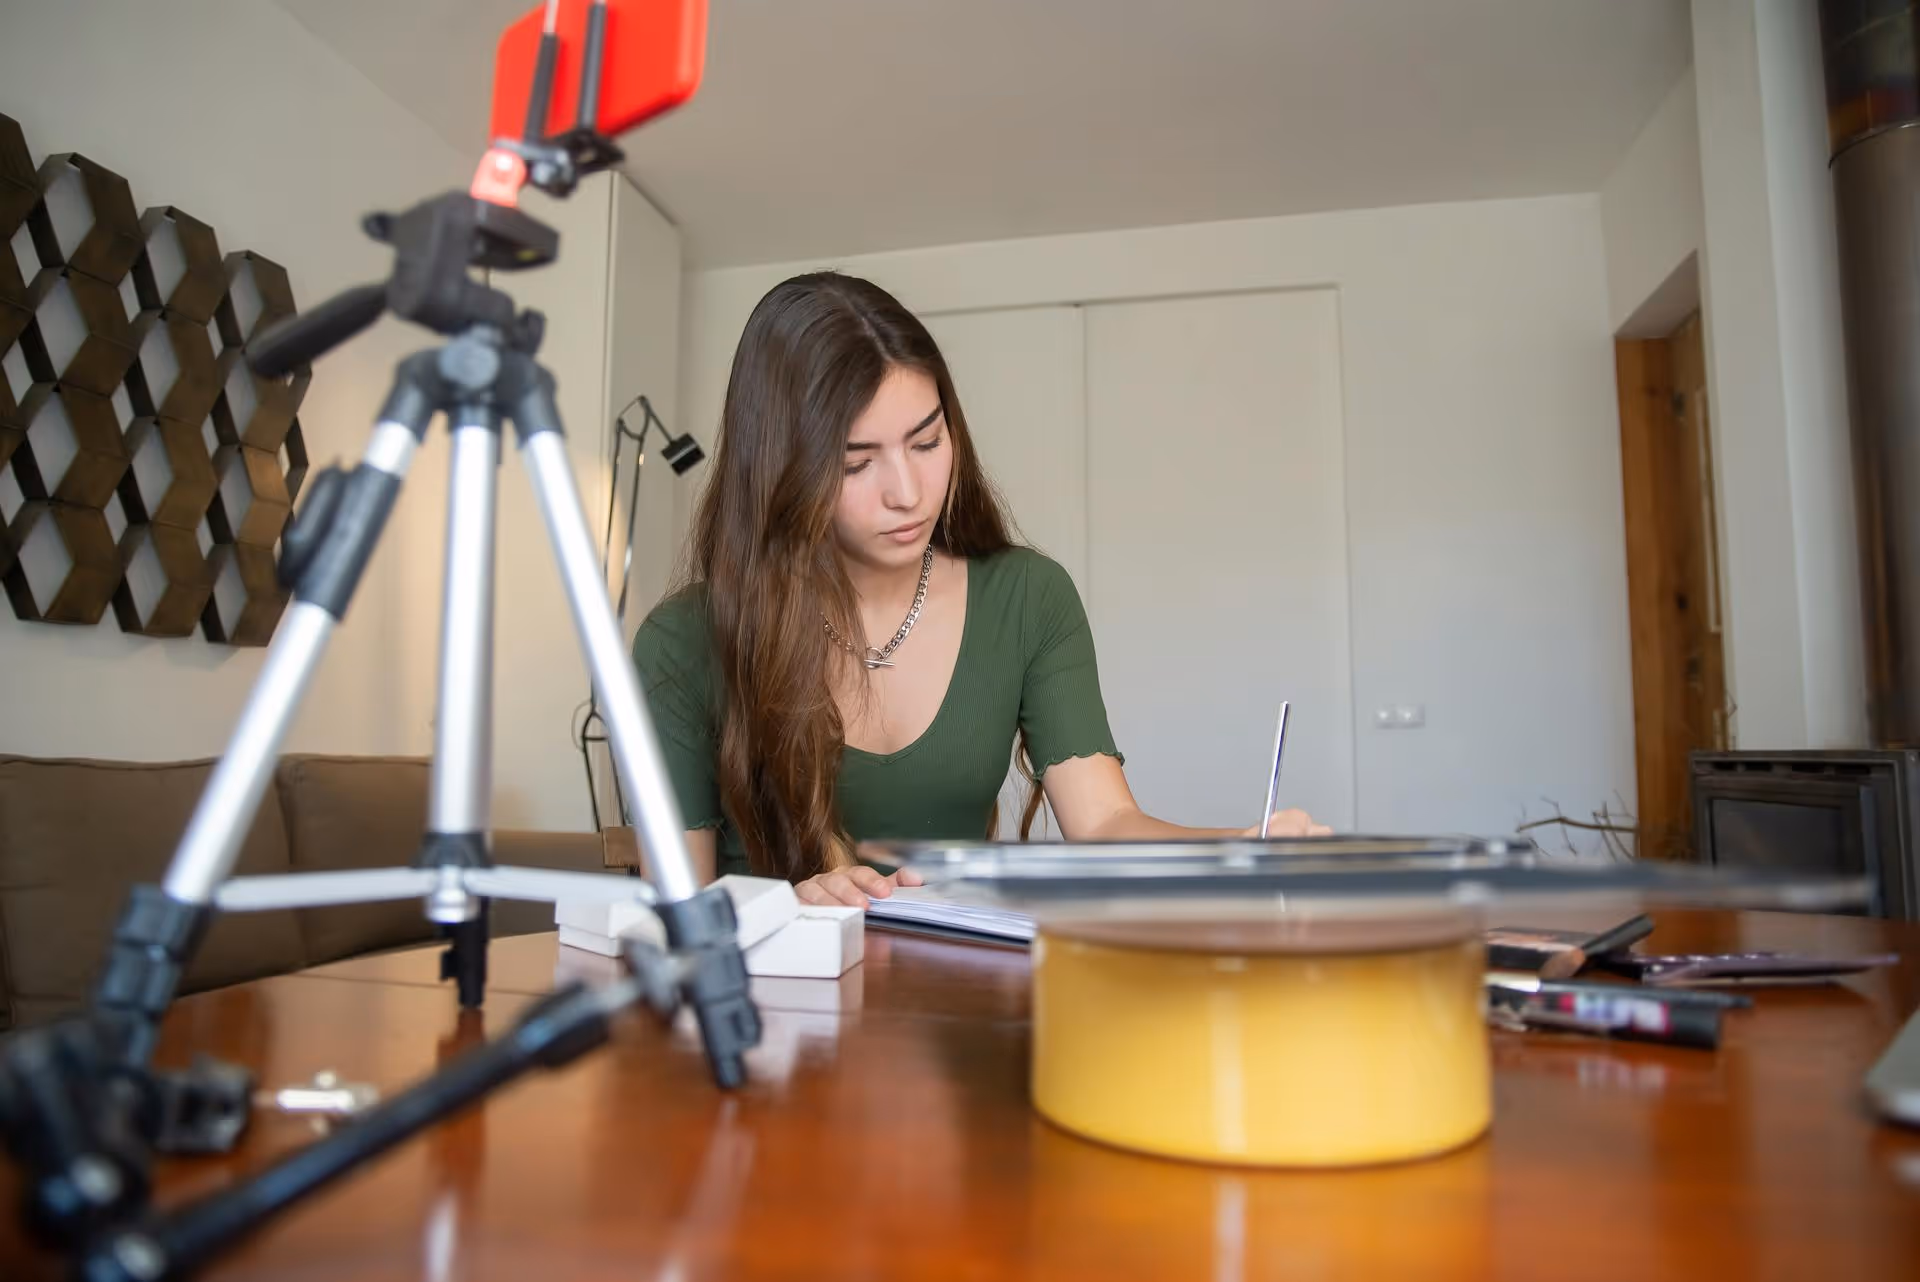
Record clear audio for Instagram Reels with this guide. Learn actionable steps to create professional-sounding audio, using just your phone or upgraded gear.
Check your Instagram profile interactions to see what your audience loves. Discover where to find these insights and use them to make smarter content decisions.
Requesting an Instagram username? Learn strategies from trademark claims to negotiation for securing your ideal handle. Get the steps to boost your brand today!
Attract your ideal audience on Instagram with our guide. Discover steps to define, find, and engage followers who buy and believe in your brand.
Activate Instagram Insights to boost your content strategy. Learn how to turn it on, what to analyze, and use data to grow your account effectively.
Wrestling with social media? It doesn’t have to be this hard. Plan your content, schedule posts, respond to comments, and analyze performance — all in one simple, easy-to-use tool.

