

How to Add Social Media Icons to an Email Signature
Enhance your email signature by adding social media icons. Discover step-by-step instructions to turn every email into a powerful marketing tool.
Posting a picture on Pinterest is more than just uploading an image, it’s about creating a visual bookmark that can drive traffic, sales, and inspiration for years to come. This guide breaks down not just the step-by-step process of getting your images live, but also the strategies you need to create Pins that get noticed, clicked, and saved, whether you’re on a desktop or your phone.
Before jumping into the "how," it's helpful to understand the "why." Unlike platforms like Instagram or Facebook, which are built around social connection and what’s happening right now, Pinterest is a visual discovery engine. Users aren’t there to see what their friends did last weekend, they’re there to plan for the future. They are actively searching for ideas, solutions, and products related to their home decor projects, weekly meal plans, dream vacations, or new exercise routines.
This future-focused, intentional mindset means your content has an incredibly long shelf life. A well-crafted Pin can continue to surface in search results and drive traffic to your website for months, or even years, after you’ve published it. Every picture you post is an asset that works for you long term. That's why taking a few extra minutes to optimize your Pin is one of the best investments you can make for your brand.
Success on Pinterest begins before you even click "create." A Pin that performs well isn't just a random photo, it’s a carefully constructed package of visuals and text designed to stop scrollers in their tracks. Here’s what makes up a high-performing Pin.
On a platform dominated by mobile users scrolling through a vertical feed, your image format is everything. Always use a vertical aspect ratio. The ideal size is 1000 x 1500 pixels (a 2:3 ratio). This format takes up the most screen real estate, making your Pin more prominent and boosting its chances of being noticed.
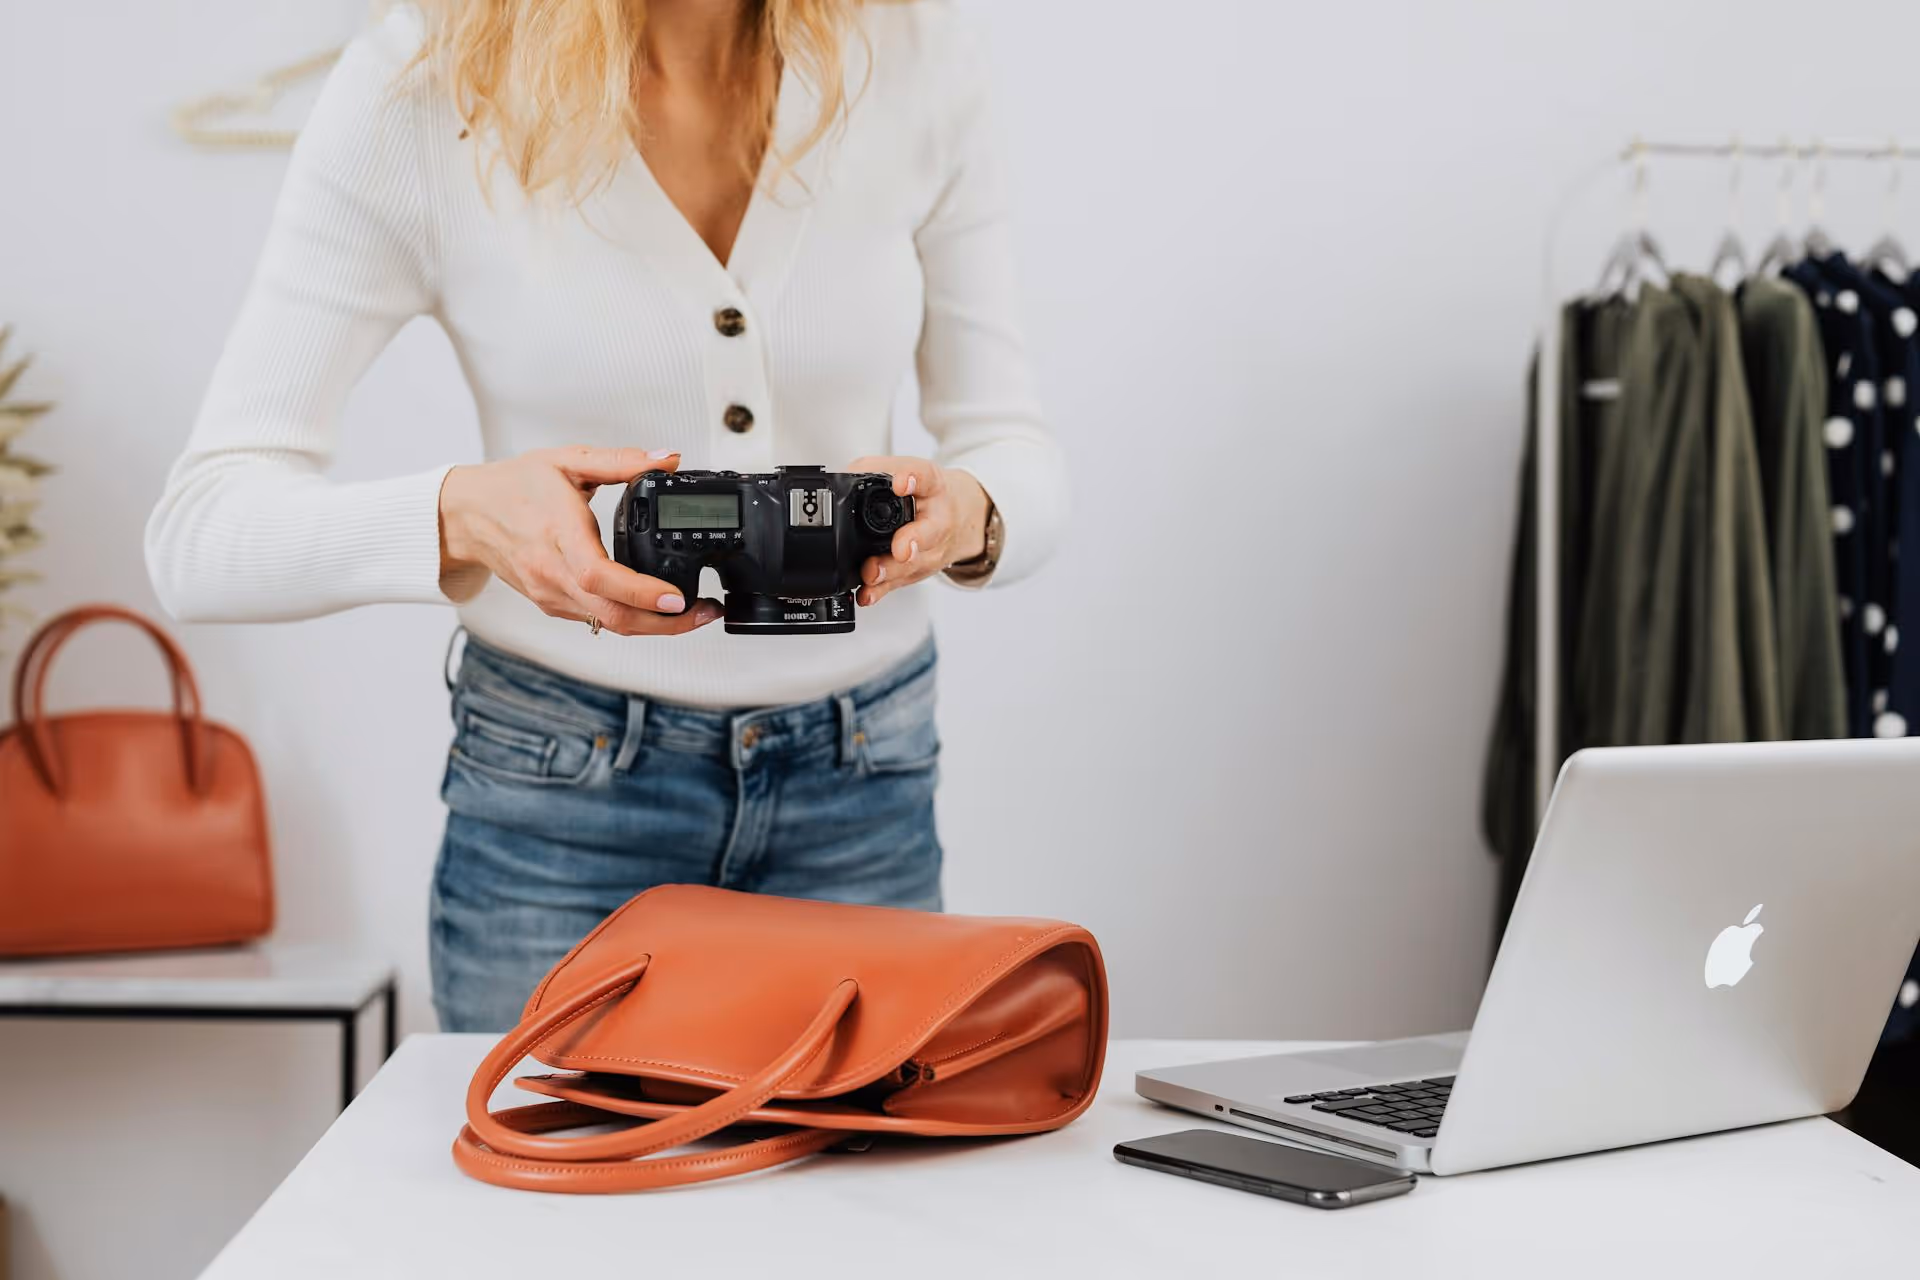
Your image should be high-quality, clear, and visually appealing. Good lighting is non-negotiable. If you’re showcasing a product, make sure it’s the hero of the shot. If it’s a lifestyle image, it should feel aspirational and relatable. A quick tip: add a text overlay directly on your image using a tool like Canva. A bold, easy-to-read headline like "5 Steps to a Clutter-Free Kitchen" or "The Ultimate Vegan Brownie Recipe" immediately tells users what your Pin is about and why they should click.
The Pin title is the first piece of text a user reads and a major factor in how Pinterest categorizes your content. Think of it as a blog post headline. It needs to be clear, compelling, and loaded with relevant keywords.
Your title should accurately reflect the content behind the link and appeal to the user’s search intent.
Your Pin description is your space to add context and, more importantly, to lean into Pinterest SEO. This is where you can naturally weave in more keywords that people might use to find your content. Don’t just list an inventory of keywords, write a few helpful, engaging sentences that elaborate on the title and entice the user to learn more.
For example, a description for the balcony makeover Pin could read: "Looking for small balcony ideas? Here’s a simple DIY small balcony makeover that completely transformed our outdoor space on a budget. Includes tips for small space gardening, finding affordable outdoor furniture, and creating a cozy atmosphere. Click through to see the full before-and-after!"
Except for specific formats like Idea Pins, the ultimate goal of most Pins is to drive traffic back to your website, blog, or store. This destination link is arguably the most important part of your Pin. Always double-check that your link works and that it directs users to the exact page you’re referencing. If your Pin is about a brownie recipe, link directly to the recipe post, not your blog’s homepage. A broken or irrelevant link creates a poor user experience and can hurt your standing with the Pinterest algorithm.
Pinterest boards are how you organize your Pins into thematic collections. They’re like virtual file folders. Saving a new Pin to a highly relevant board gives Pinterest a strong signal about what your content contains, helping it show your Pin to the right audience. Be specific and strategic with your board names. Instead of a generic board called "Food," create niche boards like "Easy Weeknight Dinner Recipes," "Healthy Breakfast Ideas," or "Holiday Baking Inspiration."
Now that you know what goes into a great Pin, here is the simple mechanical process of getting one published from your computer or phone.
The desktop uploader gives you the most control and is perfect for when you're scheduling content in batches.
Posting from your phone is fast and convenient, especially if you’ve just taken a photo or edited an image on a mobile app.
While the mobile app is great for quick uploads, note that the native scheduling feature is only available on the desktop version.
Simply posting a picture isn't enough. If you want to build momentum, you need to think like a marketer.
Pinterest heavily favors new content, which it calls "fresh Pins." A fresh Pin is defined as a brand new image or video combination that has never been seen on Pinterest before. It’s important to understand you can have multiple fresh Pins directing to the same blog post or product link, you just need to use different images, graphics, or text overlays for each one. Routinely creating and publishing fresh Pins is the single most effective strategy for growing your reach and traffic from Pinterest.
You don't need fancy tools for Pinterest SEO. The platform tells you exactly what users are searching for. Type a broad keyword related to your niche into the Pinterest search bar (e.g., "living room decor"). Pay attention to the autocomplete terms that Pinterest suggests. Once you search, look at the colorful bubbles that appear below the search bar (e.g., "modern," "boho," "small," "on a budget"). These are popular sub-topics that people are actively looking for. Sprinkle these keywords throughout your Pin titles, descriptions, and board names.
To avoid burnout and stay consistent, approach your Pin creation process in scheduling content in batches. Dedicate an hour to creating 5-10 different Pin variations for a single piece of content. You can try different titles, different text overlay designs, or use different photos that all link to the same page. This gives you a library of fresh content ready to be scheduled, and it also lets you test which visual styles perform best with your audience.
Mastering how to post pictures on Pinterest is a blend of simple steps and smart strategy. By focusing on creating high-quality, vertical images with keyword-rich titles and descriptions, you can turn your Pinterest profile into a powerful engine for traffic, engagement, and growth for your brand.
Staying consistent is often the most challenging part, and that's where planning and scheduling become game-changers. To help keep our content calendars organized across Pinterest and all our other social platforms, we use Postbase. Having a single visual calendar to plan, schedule, and analyze our Pins alongside Reels and TikToks saves us countless hours and lets us focus on what really matters: creating great content.
Spencer's spent a decade building products at companies like Buffer, UserTesting, and Bump Health. He's spent years in the weeds of social media management—scheduling posts, analyzing performance, coordinating teams. At Postbase, he's building tools to automate the busywork so you can focus on creating great content.

Enhance your email signature by adding social media icons. Discover step-by-step instructions to turn every email into a powerful marketing tool.
Record clear audio for Instagram Reels with this guide. Learn actionable steps to create professional-sounding audio, using just your phone or upgraded gear.
Check your Instagram profile interactions to see what your audience loves. Discover where to find these insights and use them to make smarter content decisions.
Requesting an Instagram username? Learn strategies from trademark claims to negotiation for securing your ideal handle. Get the steps to boost your brand today!
Attract your ideal audience on Instagram with our guide. Discover steps to define, find, and engage followers who buy and believe in your brand.
Activate Instagram Insights to boost your content strategy. Learn how to turn it on, what to analyze, and use data to grow your account effectively.
Wrestling with social media? It doesn’t have to be this hard. Plan your content, schedule posts, respond to comments, and analyze performance — all in one simple, easy-to-use tool.

