

How to Add Social Media Icons to an Email Signature
Enhance your email signature by adding social media icons. Discover step-by-step instructions to turn every email into a powerful marketing tool.
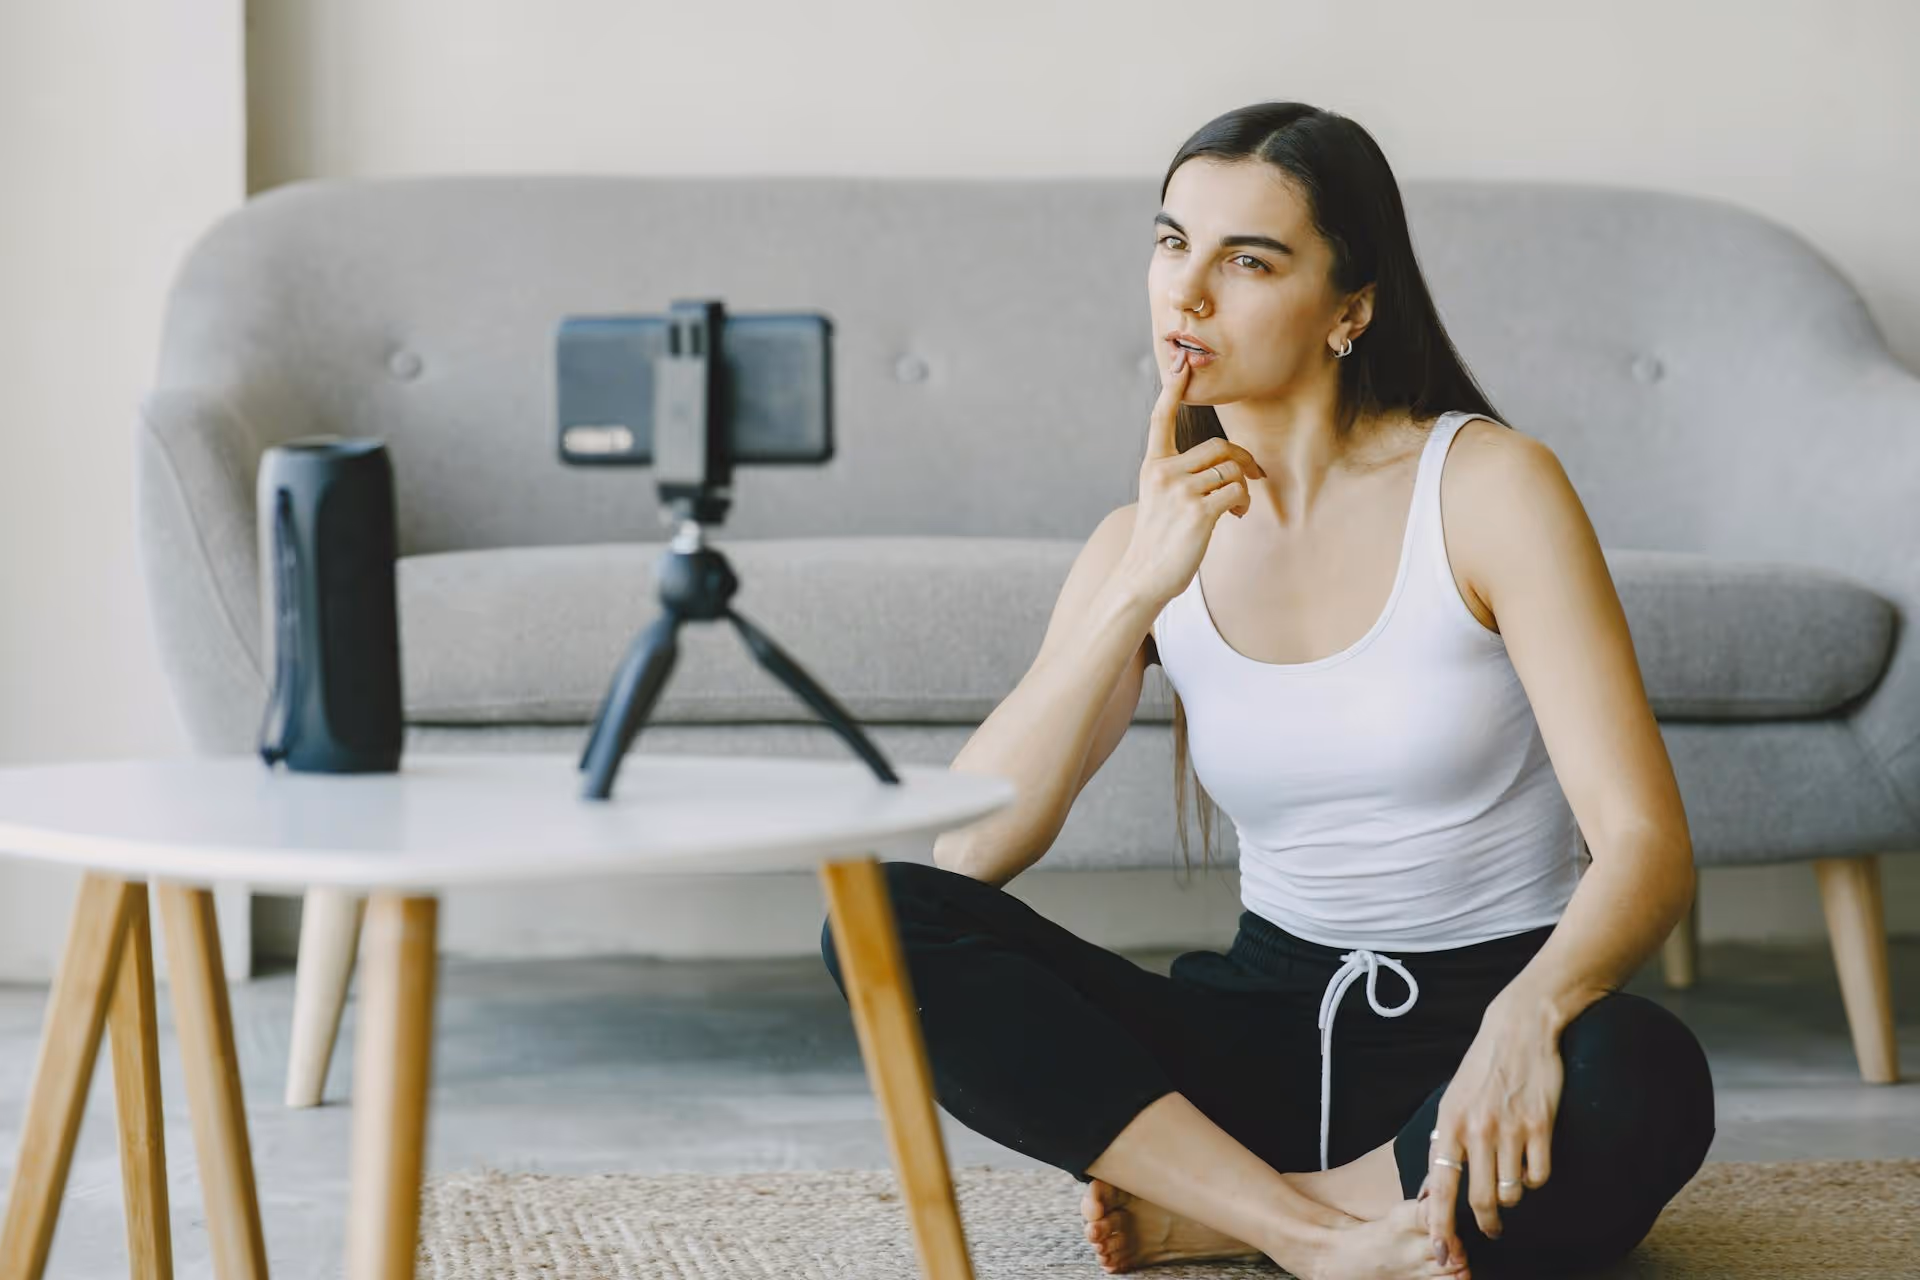
You’ve been there: you capture the perfect landscape photo or a full-body portrait, head to Instagram to post it, and suddenly the app is forcing you into a tight, awkward square that cuts off half your shot. That frustrating automatic crop can ruin a carefully composed image. The good news is, you don’t have to settle for it. This guide gives you the exact methods to post your full-size photos and videos on Instagram without unwanted cropping, whether you're posting to the Feed, Stories, or Reels.
First, it's helpful to understand that Instagram's cropping isn't random. The platform is designed around specific image and video dimensions called aspect ratios. An aspect ratio simply describes the relationship between the width and height of an image. When your content doesn't fit neatly into one of its pre-approved frames, Instagram tries to "help" by automatically zooming in and cropping it.
To outsmart the algorithm and keep your content looking exactly how you intended, you just need to know the rules. These are the core aspect ratios you need to remember:
Knowing these numbers is the first step. Next, we'll cover how to make your content fit them perfectly.
For a single photo or video that's already close to the right dimensions, Instagram offers a quick built-in fix. It isn’t foolproof, but it works in a pinch.
Here’s the simple step-by-step:
Instagram will automatically fit it to either the best Portrait or Landscape ratio it can manage. However, there's a catch: if your photo is even wider than the 1.91:1 landscape limit or taller than the 4:5 portrait limit, it will still get cropped. This quick trick is also tricky for multi-image carousels because the app forces every photo and video in the carousel to conform to the aspect ratio of the first item you selected.
For full control every time, you need to resize your content before you upload.
The most reliable way to post on Instagram without cropping is to take matters into your own hands. By resizing your photo or video to a perfect Instagram-friendly aspect ratio before you even open the app, you guarantee it will look exactly as you planned. Here are a few ways to do it, from quick phone edits to professional tools.
Most modern smartphones have powerful photo editors built right into the gallery or photos app. This is the fastest way to make a quick crop adjustment without downloading anything extra.
How to do it (general steps for iPhone &, Android):
What if your image is very wide, and you don’t want to crop out the sides to make it fit a 4:5 frame? The solution is to add a border (sometimes called a canvas or background) to fit the entire image inside an Instagram-approved aspect ratio.
This is extremely popular for photographers and creators who want to preserve their original composition. Apps make this incredibly easy.
If you're editing photos or videos on a computer, you have even more precision at your fingertips. This workflow is common for social media managers, photographers, and businesses.
Carousels present their own unique cropping challenge. As mentioned earlier, Instagram forces every single slide in a carousel to adopt the aspect ratio of the *first* one selected. If your first photo is a 1:1 square, all your 4:5 vertical shots will be awkwardly cropped. If your first is a 4:5 portrait, your horizontal shots will be zoomed in.
The solution is consistency. Before uploading, you must resize every single image or video in your planned carousel to the exact same aspect ratio.
We recommend choosing either 1:1 or 4:5 and sticking with it for all slides. Use one of the app or desktop methods above to pre-format everything. This small step ensures a smooth, professional-looking swipe-through experience for your followers without surprise crops. For more tips on how to post on Instagram, check out our other resources.
Want a truly eye-catching effect? You can use carousels to post an extra-wide panoramic image that viewers swipe through seamlessly. It maintains the full, uncropped width of a beautiful landscape or group photo.
The trick is to split a single wide image into multiple perfectly sized carousel slides. While you can do this manually in Photoshop with lots of slicing and dicing, several apps do it for you automatically.
Simply import your panoramic photo into an app like Unfold or Pana/Panorama Split, and it will divide the image into 2, 3, or more consecutive squares of 1:1 aspect ratio, ready to be uploaded as a carousel. When users swipe, the images connect perfectly, revealing your full uncropped shot.
Fighting with Instagram's automatic crop is a common source of frustration, but it’s completely avoidable once you learn to work with the platform’s specifications. Simply understanding aspect ratios and taking a moment to resize your photos or videos before you post gives you complete creative control, ensuring your content always looks exactly how you imagined.
As social media managers, we handle a mountain of visual content, and tailoring every single asset for different platforms can quickly burn through your day. We know first-hand that nothing kills creative flow like fighting with formatting. That's a core reason we built Postbase - to work smoothly with today's visual, multi-format world. Our platform is designed for the reality of publishing Reels, Stories, TikToks, and all the content that legacy tools treat as an afterthought, helping you focus more on your brand and less on winning the battle against the crop tool.
Spencer's spent a decade building products at companies like Buffer, UserTesting, and Bump Health. He's spent years in the weeds of social media management—scheduling posts, analyzing performance, coordinating teams. At Postbase, he's building tools to automate the busywork so you can focus on creating great content.

Enhance your email signature by adding social media icons. Discover step-by-step instructions to turn every email into a powerful marketing tool.
Record clear audio for Instagram Reels with this guide. Learn actionable steps to create professional-sounding audio, using just your phone or upgraded gear.
Check your Instagram profile interactions to see what your audience loves. Discover where to find these insights and use them to make smarter content decisions.
Requesting an Instagram username? Learn strategies from trademark claims to negotiation for securing your ideal handle. Get the steps to boost your brand today!
Attract your ideal audience on Instagram with our guide. Discover steps to define, find, and engage followers who buy and believe in your brand.
Activate Instagram Insights to boost your content strategy. Learn how to turn it on, what to analyze, and use data to grow your account effectively.
Wrestling with social media? It doesn’t have to be this hard. Plan your content, schedule posts, respond to comments, and analyze performance — all in one simple, easy-to-use tool.

