

How to Add Social Media Icons to an Email Signature
Enhance your email signature by adding social media icons. Discover step-by-step instructions to turn every email into a powerful marketing tool.
Got a fantastic Etsy listing you know people would love, but feel like you're shouting into the void? Pinterest is the bullhorn you've been looking for. Getting your products in front of Pinners - an audience actively searching for inspiration and things to buy - is one of the smartest moves you can make for your shop. This guide will walk you through exactly how to post your Etsy listings on Pinterest, from the simple one-click method to crafting beautiful Pins that drive sales for months to come.
Before we get into the "how," let's quickly touch on the "why." Unlike Instagram or Facebook, where content has a very short lifespan, Pinterest is a visual search engine. Someone can discover a Pin you created a year ago, click it, and land right on your Etsy listing. It’s not just about what’s happening now, it’s a long-term traffic driver.
People use Pinterest to plan their future - their weddings, their home redecoration, their wardrobes, and their next craft project. They are in a discovery and buying mindset, making them the perfect audience for your unique, handcrafted products. Driving them from a Pin to your listing is a natural, seamless journey from inspiration to purchase.
Etsy knows how valuable Pinterest is, so they’ve built a simple sharing feature right into your listing page. This is the fastest way to get your product onto the platform, and it’s a great starting point if you’re short on time.
The Pros: It’s incredibly fast and easy. In just a few clicks, your product is on Pinterest.
The Cons: You have very little control. Pinterest will automatically pull the title and the beginning of your Etsy product description, which probably isn't optimized for Pinterest search. You also can't add custom graphics or text overlays, which often help Pins perform better.
If you want to treat Pinterest as a serious traffic driver for your Etsy shop, this is the method you should master. Creating a "fresh" Pin directly on Pinterest gives you complete control over the image, title, description, and overall strategy. It takes a few more minutes but can yield massively better results.
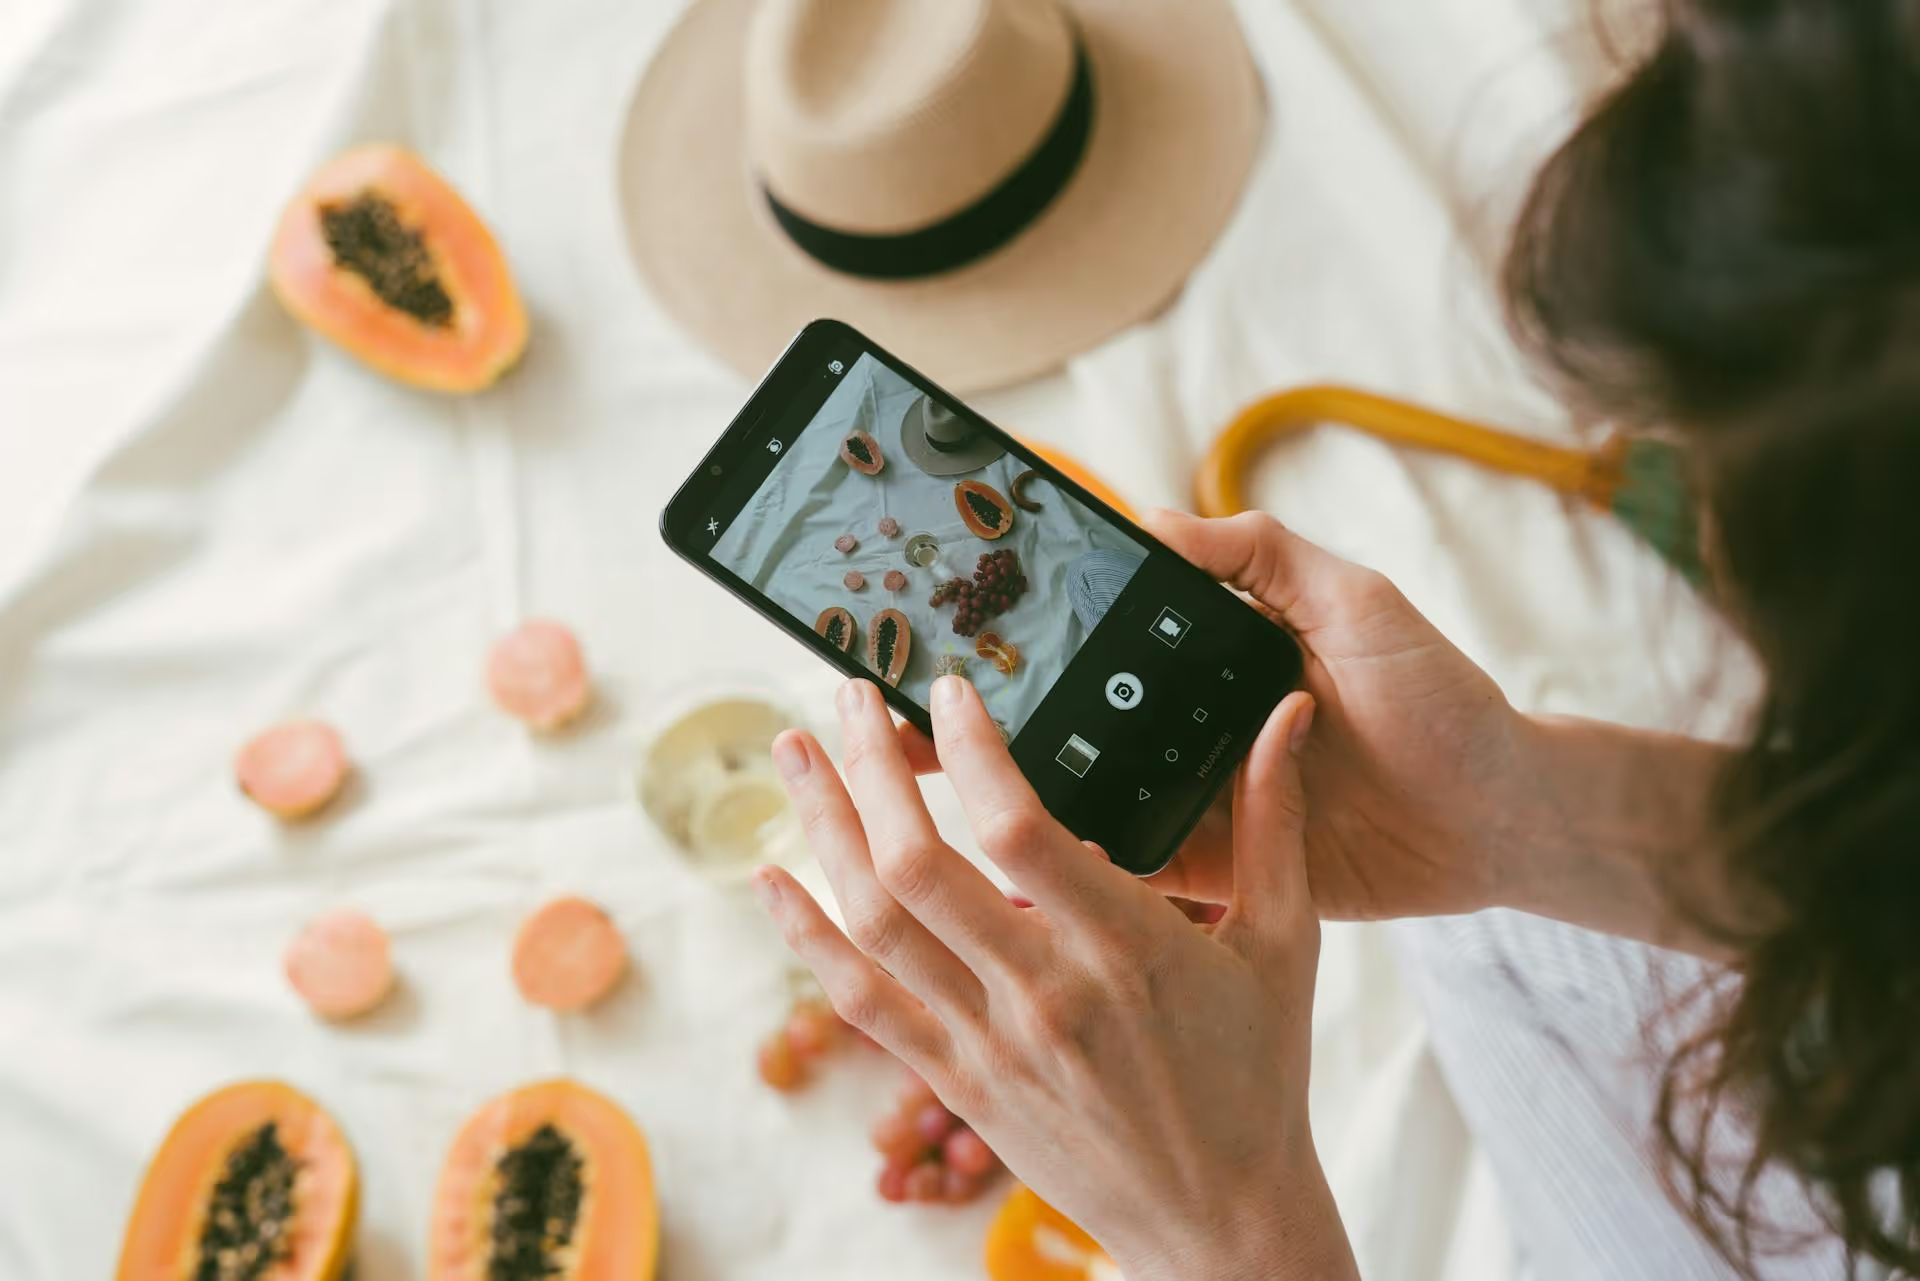
Your Pin’s visual is the single most important factor in getting someone to stop scrolling. While you can use your standard product photos, custom graphics almost always perform better.
Log in to your Pinterest business account. In the top-left corner, click the Create dropdown menu and select Create Pin.
This is where you'll bring everything together and tell Pinterest what your Pin is about.
This is the most critical step for driving traffic! Go to your Etsy listing, copy the full URL from your browser's address bar, and paste it into the "Add a destination link" field on Pinterest. Triple-check that this link works and goes to the correct product page.
Just like with the "quick share" method, select the most relevant board for your Pin. Organizing your boards by theme or niche (e.g., "Minimalist Home Decor," "Kid's Birthday Party Ideas") is far more effective than just having one board for all of your products. Once selected, you can either "Publish" it immediately or schedule it to post at a later time.
Once you’ve mastered static Pins, you can experiment with formats that are getting even more attention on the platform right now.
To really succeed, keep these final tips in mind:
Driving traffic from Pinterest to Etsy is a tried-and-true strategy for growing your creative business. Whether you start with the simple share button or immediately start crafting custom graphics, the trick is to consistently create helpful, inspiring content that guides a discovery-minded audience directly to your virtual storefront.
Juggling all these platforms can feel like a lot, especially when adding video and trying to be consistent everywhere. It’s the exact challenge we experienced that led us to build Postbase. Our goal was to create a clean, modern social media management tool where you can plan all your content - including your beautiful new Pins and Reels - on one visual calendar. You can see how your Etsy marketing plan fits alongside your other social efforts, get your time back, and focus on what really matters: making amazing things.
Spencer's spent a decade building products at companies like Buffer, UserTesting, and Bump Health. He's spent years in the weeds of social media management—scheduling posts, analyzing performance, coordinating teams. At Postbase, he's building tools to automate the busywork so you can focus on creating great content.

Enhance your email signature by adding social media icons. Discover step-by-step instructions to turn every email into a powerful marketing tool.
Record clear audio for Instagram Reels with this guide. Learn actionable steps to create professional-sounding audio, using just your phone or upgraded gear.
Check your Instagram profile interactions to see what your audience loves. Discover where to find these insights and use them to make smarter content decisions.
Requesting an Instagram username? Learn strategies from trademark claims to negotiation for securing your ideal handle. Get the steps to boost your brand today!
Attract your ideal audience on Instagram with our guide. Discover steps to define, find, and engage followers who buy and believe in your brand.
Activate Instagram Insights to boost your content strategy. Learn how to turn it on, what to analyze, and use data to grow your account effectively.
Wrestling with social media? It doesn’t have to be this hard. Plan your content, schedule posts, respond to comments, and analyze performance — all in one simple, easy-to-use tool.

