

How to Add Social Media Icons to an Email Signature
Enhance your email signature by adding social media icons. Discover step-by-step instructions to turn every email into a powerful marketing tool.
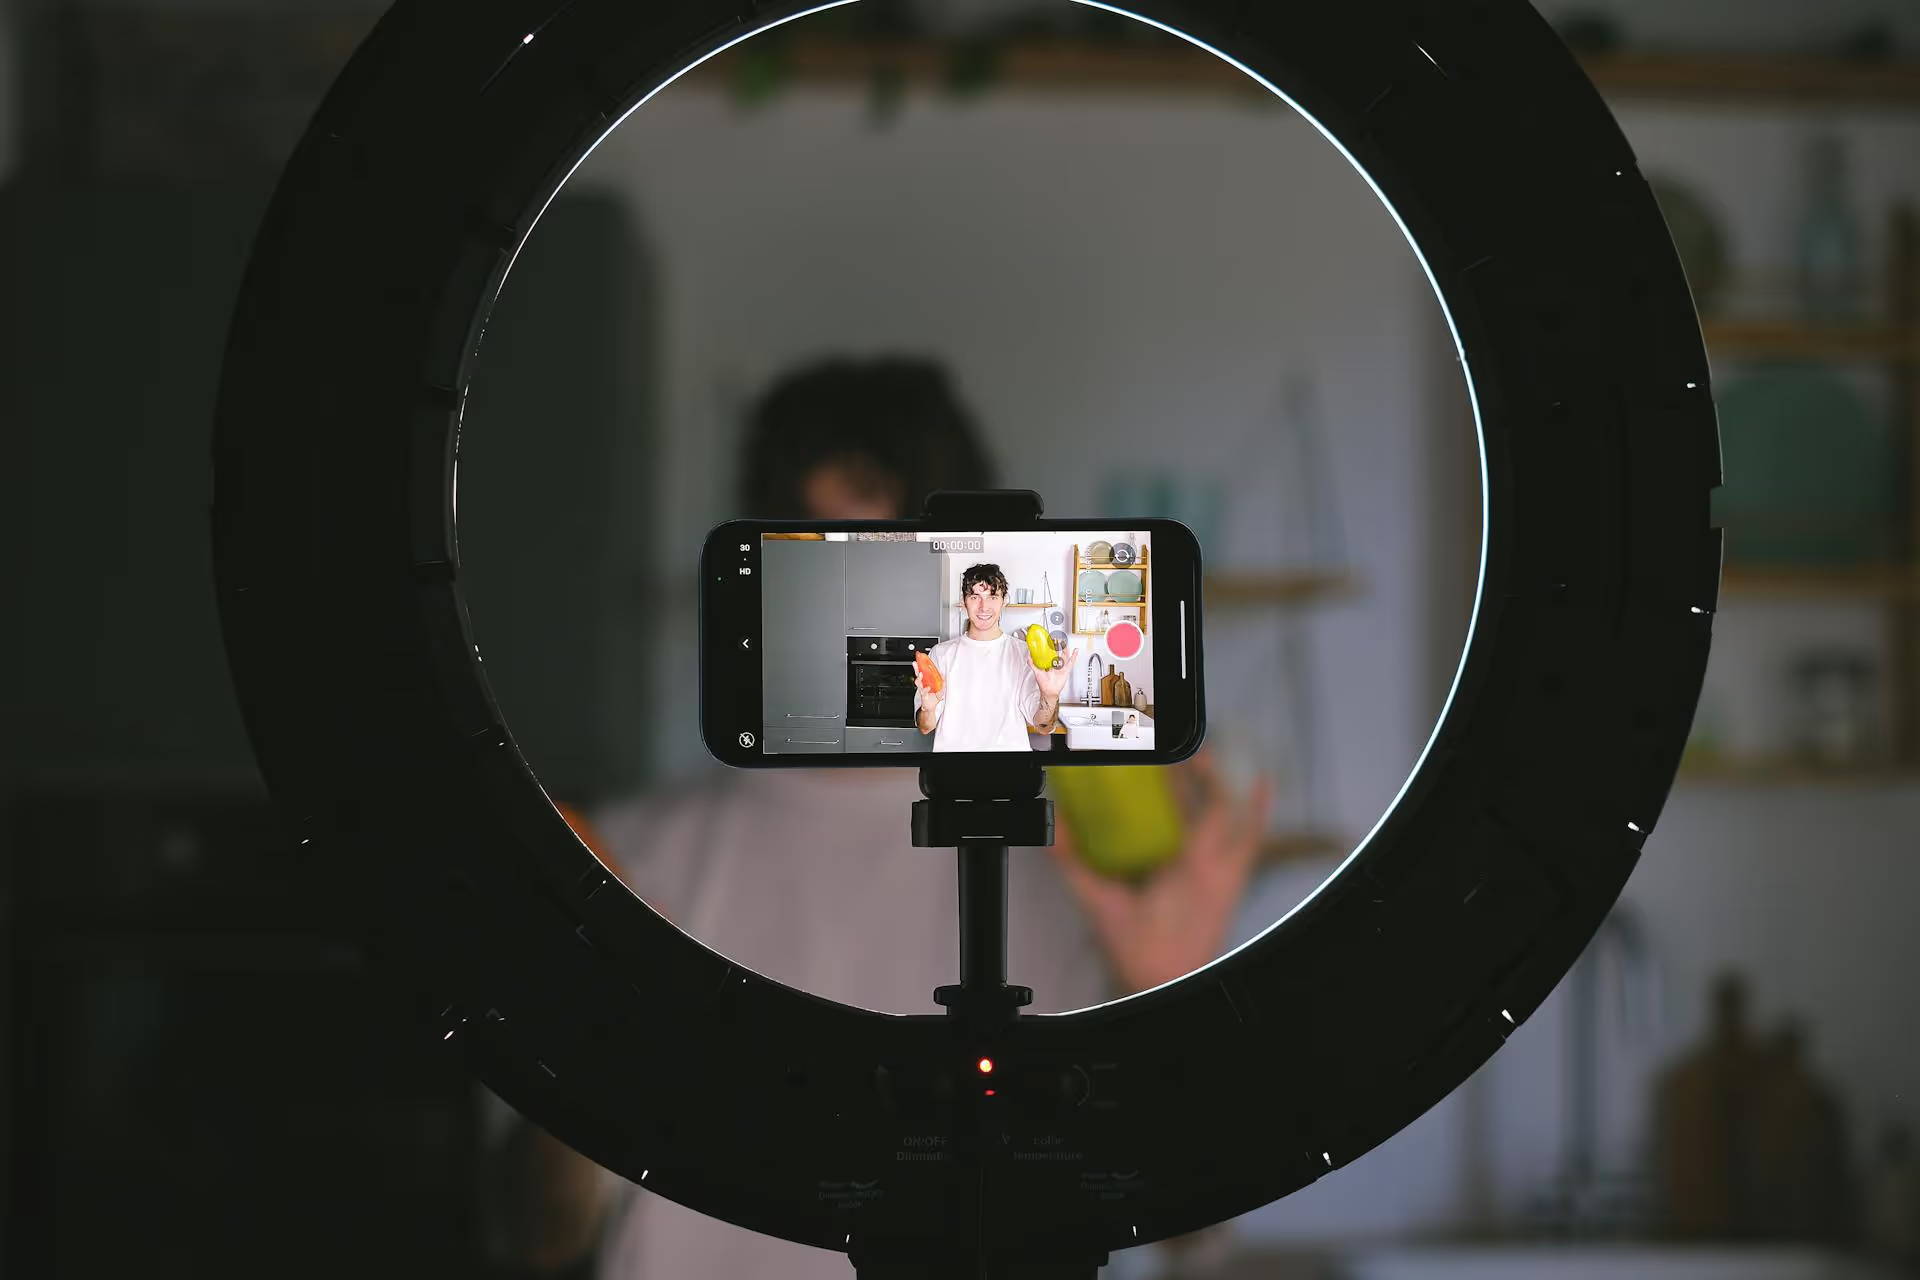
Opening an Instagram Broadcast Channel gives you a direct line to your most dedicated followers, moving beyond the algorithm to build a real community. This one-to-many messaging tool allows you to share exclusive updates, behind-the-scenes content, and interactive polls right in their DMs. This guide will walk you through exactly how to create a channel, what to share in it, and how to use it to grow your brand.
Think of an Instagram Broadcast Channel as your own exclusive, private chat room where you're the only one who can send messages. Your followers can join, react to your content with emojis, and vote in polls, but they can’t clutter the space with replies. This creates a clean, direct feed of communication controlled entirely by you. It’s similar to a Telegram channel or a VIP newsletter, but it lives right inside the Instagram app where your audience already hangs out.
This direct access is a game-changer. While feed posts and Reels fight for attention against the algorithm, a notification from your Broadcast Channel lands directly in your followers' primary inbox. It's an intimate and immediate way to engage your audience, offering them a feeling of exclusivity and a closer connection to you and your brand.
Creators are using Channels for everything from sharing real-time thoughts to dropping early links. Imagine these scenarios:
The core idea is value. You're rewarding your most loyal fans with content they can’t get anywhere else, fostering a deeper sense of community and brand advocates in the process.
There’s one small but important requirement before you can create a channel: you need an Instagram Creator Account. This feature is not currently available for Personal or Business accounts. The good news is that switching is easy and free, and it also unlocks additional analytics and monetization tools.
Not sure what account type you have? Don’t worry. Here’s how to check and switch if needed:
Once you've switched, the option to create a Broadcast Channel should become available to you. Keep in mind that Meta rolls out features in stages, so if you've done all the steps and still don't see the option, it might just not be available in your region or for your account yet.
Ready to get started? Creating the channel itself takes less than two minutes. Follow these simple steps.
Open the Instagram app and tap the messenger icon (it looks like a paper airplane or a speech bubble) in the top-right corner of your home feed. This will take you to your Direct Messages.
In your inbox, tap the icon that lets you compose a new message. This is usually a square with a pencil in it, also located in the top-right corner.
After tapping the compose icon, you’ll see a menu with a few options. If your account is eligible, you'll see a choice that says "Create broadcast channel." Tap it.
This is where you bring your channel to life. A pop-up screen will appear asking for a few key details:
Once you’ve filled everything out, tap the "Create channel" button at the bottom. And that's it! Your channel is now live. Instagram will immediately send a notification to your followers inviting them to join. This one-time alert is your first big opportunity to get members, so be ready to engage them right away.
Your channel exists, but now you need to fill it with people. Don't rely solely on that initial notification. Here's a quick launch strategy to build momentum.
The moment you create the channel, it sends the first invite. But the first message from you is what sets the tone. Make it exciting! Welcome your new members, tell them what to expect, and maybe ask a question using a poll to get immediate engagement.
Example: "Welcome to The Vault! I'm so excited to have you here. This is where I'll be sharing behind-the-scenes content that doesn't make it to the main feed. To kick things off, what do you want to see here first? [Poll: A) Raw creative process B) Q&,A session C) Early product previews]"
Your Instagram Stories are the number-one tool for promoting your new channel. When you create a Story, you can add a special sticker that links directly to your channel.
Do this multiple times throughout the first 24-48 hours. Show your face, talk about the benefits of joining, and make the call-to-action to tap the sticker crystal clear.
Create a dedicated feed post or Reel announcing your channel. Explain the kind of exclusive content you'll be sharing and direct people to join using the link in your profile. Because you enabled "Show channel on profile" in the settings, it will be easy for them to find.
Keeping your channel active with valuable content is what retains members. Here are some proven ideas that work wonders:
The goal is to maintain a mix of formats - text, images, video clips, voice notes, and polls - to keep things interesting. Don't overthink it, the vibe should be casual, direct, and authentic.
An Instagram Broadcast Channel is an asset for anyone serious about building a community, not just an audience. By offering exclusive, direct content, you’re nurturing your most engaged followers and turning them into true brand advocates. Start your channel, promote it with intention, and consistently provide value - you'll see the connection with your audience deepen in incredible ways.
Keeping all your social content aligned - from the public-facing Reels designed to attract new followers to the Stories that drive them to your channel - requires a clear plan. Without a bird’s-eye view, it’s easy for different platforms to feel disconnected. To help keep my entire content strategy organized, I use Postbase’s visual calendar to plan and schedule everything in one hub. Seeing my TikToks, Reels, and feed posts mapped out helps me sync my promotional efforts for things like a Broadcast Channel launch, ensuring my whole social presence tells one cohesive story.
Spencer's spent a decade building products at companies like Buffer, UserTesting, and Bump Health. He's spent years in the weeds of social media management—scheduling posts, analyzing performance, coordinating teams. At Postbase, he's building tools to automate the busywork so you can focus on creating great content.

Enhance your email signature by adding social media icons. Discover step-by-step instructions to turn every email into a powerful marketing tool.
Record clear audio for Instagram Reels with this guide. Learn actionable steps to create professional-sounding audio, using just your phone or upgraded gear.
Check your Instagram profile interactions to see what your audience loves. Discover where to find these insights and use them to make smarter content decisions.
Requesting an Instagram username? Learn strategies from trademark claims to negotiation for securing your ideal handle. Get the steps to boost your brand today!
Attract your ideal audience on Instagram with our guide. Discover steps to define, find, and engage followers who buy and believe in your brand.
Activate Instagram Insights to boost your content strategy. Learn how to turn it on, what to analyze, and use data to grow your account effectively.
Wrestling with social media? It doesn’t have to be this hard. Plan your content, schedule posts, respond to comments, and analyze performance — all in one simple, easy-to-use tool.

