

How to Add Social Media Icons to an Email Signature
Enhance your email signature by adding social media icons. Discover step-by-step instructions to turn every email into a powerful marketing tool.
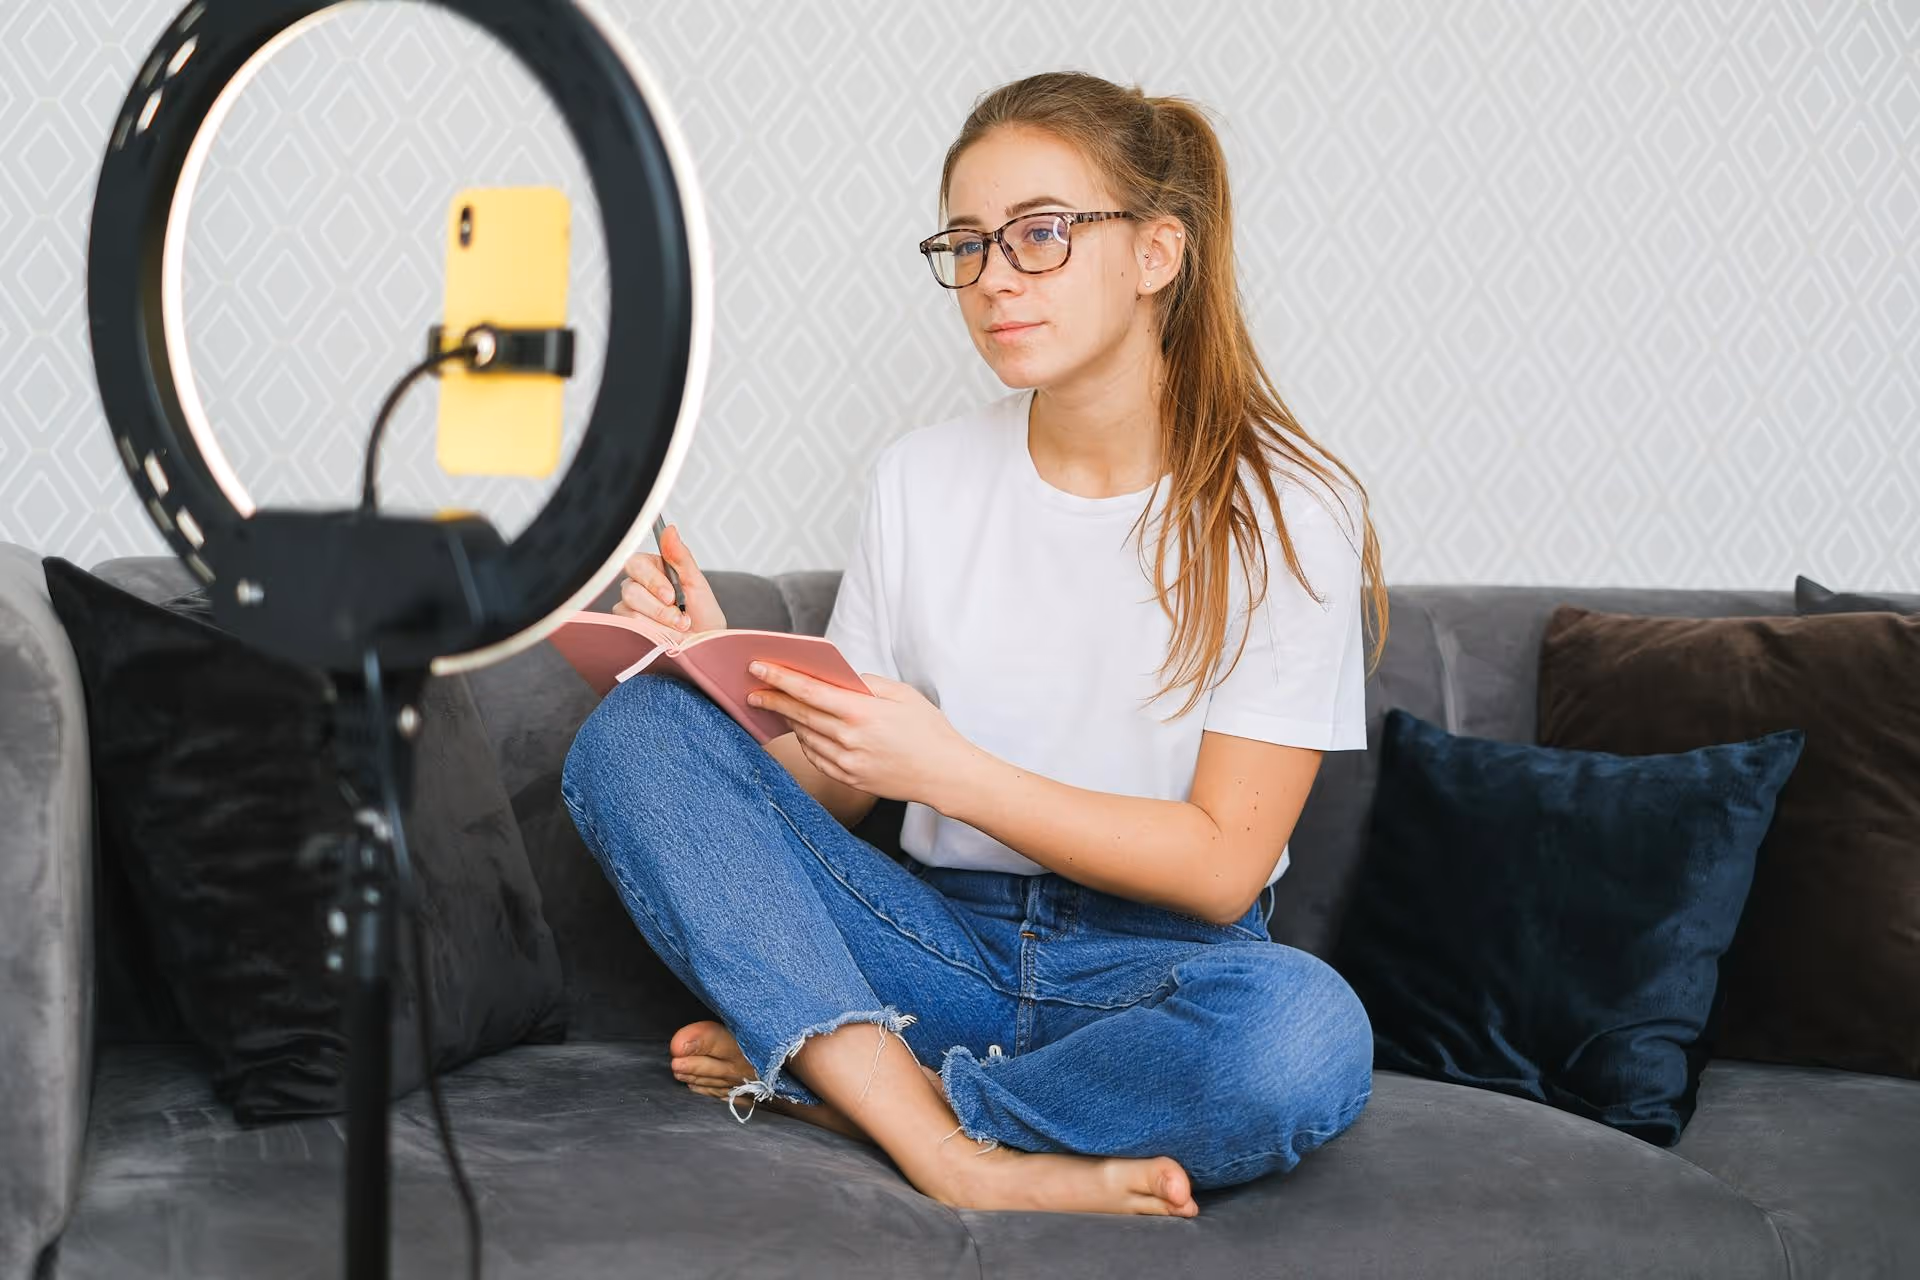
You've seen them everywhere: those perfectly smooth videos that pan across a stunning panorama, reveal a long infographic, or showcase a whole collection of products without ever cutting away. They elegantly scroll from left to right, capturing attention and making you want to watch until the very end. This article breaks down exactly how to create these captivating scrolling videos for Instagram, step-by-step, using tools you probably already have.
In short, a scrolling video, often called a panoramic video post, is an animation created from a single, wide image. Instead of being a static photo, the image is animated to pan from one side to the other, revealing the content gradually. Think of it as a digital version of an ancient scroll, slowly unfurling to tell a story.
But why go the extra mile to make one? Because they work.
This technique is incredibly versatile. Photographers can display breathtaking panoramas, small businesses can show off a product line, coaches can share a client's journey, and educators can break down a complex topic into a digestible infographic. They feel professional and high-effort without being seriously difficult to create.
The magic of a great scrolling video begins with a great image. Creating this wide-format graphic is the foundational step. If your graphic isn't compelling, the animation won't save it. Here's how to get it done.
You don't need highly specialized software for this. The best tool is the one you're comfortable with. Here are the most popular options:
This is arguably the most important technical detail. If you get the dimensions wrong, the effect will be ruined. A scrolling video is almost always destined for Instagram Reels or Stories, which use a vertical 9:16 aspect ratio, or 1080 pixels wide by 1920 pixels tall.
That means the height of your panoramic graphic should always be 1920px.
The width, however, depends on how long you want the scroll to be. The width is simply a multiple of the standard screen width (1080px). You're essentially lining up multiple "screens" side-by-side.
Here's a simple formula:
[Number of virtual screens] x 1080px = Your Total Width
Some good starting points:
Let's use the 3-screen example in Canva. To create this, open Canva, click "Create a design," select "Custom size," and enter 3240 for the width and 1920 for the height.
Now that you have your digital canvas, it's time to design. But don't just dump your content on the page - think about the experience of the scroll. Your goal is to keep people engaged from left to right.
Your graphic should read like a story. Use connecting elements like lines, arrows, or a continuous background color to guide the viewer's eye naturally to the right. A good flow might be:
Remember, the video will be moving. Avoid tiny fonts or overwhelming blocks of text. Stick to bold headlines, concise bullet points, and impactful imagery. Leave enough negative space around elements so the design feels clean and uncluttered, not chaotic. Before exporting, zoom out to get a feel for the overall composition and ensure all key elements stand out.
Once your graphic is exported as a high-quality PNG or JPG, it's time to bring it to life with animation. This might sound intimidating, but modern tools make it incredibly simple through a process called "keyframing." Even better, some platforms almost do it for you.
You can actually create the animation directly within Canva, saving you from switching between apps. This is the simplest workflow.
Using a dedicated video editing app like CapCut gives you even more control over the animation, including its speed and easing. CapCut is free, powerful, and wildly popular with creators.
Creating the video asset is the biggest part of the battle, but how you package it on Instagram makes all the difference.
A video is incomplete without sound. You can either add a song directly in your video editor or, better yet, upload your video to Instagram as a silent Reel and add trending audio there. Using a popular sound can significantly boost your video's potential reach.
Your caption should complement the video. If your scrolling visual was a quick tutorial, use the caption to elaborate on the details or share a personal story related to it. End with a strong call-to-action (CTA): ask a question to encourage comments, or direct people to your bio link.
Remember that the first frame of your video will appear as the cover on your feed and on the Explore page. Choose an engaging cover photo - either a frame from the video or a separate design you upload - that clearly communicates the video's topic and includes a title or hook to grab attention.
You now know how to transform a single, wide image into a captivating scrolling video using tools like Canva and CapCut. This technique is a simple yet incredibly effective way to make your content stand out, tell a richer story, and hold your audience's attention a little longer than a static post. Give it a try for your next big idea - you might be surprised by the result.
Once you've batch-created your awesome scrolling videos, the next step is making sure they get posted consistently. That's where we've found that seeing everything on a unified calendar is a game-changer. When using Postbase, we can upload our lineup of finished Reels for the week or month, customize the captions for each one, and visually arrange them on a drag-and-drop schedule. It removes the stress of last-minute posting and helps us build a much more coherent and effective content strategy from a bird's-eye view.
Spencer's spent a decade building products at companies like Buffer, UserTesting, and Bump Health. He's spent years in the weeds of social media management—scheduling posts, analyzing performance, coordinating teams. At Postbase, he's building tools to automate the busywork so you can focus on creating great content.

Enhance your email signature by adding social media icons. Discover step-by-step instructions to turn every email into a powerful marketing tool.
Record clear audio for Instagram Reels with this guide. Learn actionable steps to create professional-sounding audio, using just your phone or upgraded gear.
Check your Instagram profile interactions to see what your audience loves. Discover where to find these insights and use them to make smarter content decisions.
Requesting an Instagram username? Learn strategies from trademark claims to negotiation for securing your ideal handle. Get the steps to boost your brand today!
Attract your ideal audience on Instagram with our guide. Discover steps to define, find, and engage followers who buy and believe in your brand.
Activate Instagram Insights to boost your content strategy. Learn how to turn it on, what to analyze, and use data to grow your account effectively.
Wrestling with social media? It doesn’t have to be this hard. Plan your content, schedule posts, respond to comments, and analyze performance — all in one simple, easy-to-use tool.

