

How to Add Social Media Icons to an Email Signature
Enhance your email signature by adding social media icons. Discover step-by-step instructions to turn every email into a powerful marketing tool.
TikTok’s edit trend is one of the most powerful ways to grab attention, tell a compelling story in seconds, and make your content look incredibly professional. Far from being just one type of video, it’s a dynamic style of editing that creators use for everything from showing off a transformation to recapping a travel adventure. This guide will walk you through exactly how to create these captivating edits, from finding the perfect audio to mastering the quick cuts that make them so addictive.
You’ve definitely seen them. It’s a series of photos or video clips cut together perfectly in time with the beat of a popular song. An "edit trend" isn't a single challenge but rather a category of video that relies on tight editing, rhythmic pacing, and strong visual storytelling. These edits pop up in almost every niche and style.
Common examples include:
What they all have in common is a focus on rhythm. The visuals don't just accompany the music, they move with it. This beat-syncing technique is what makes the videos feel so polished and keeps viewers hooked until the end.
While you can do some basic editing within TikTok, the seamless, beat-synced edits require a little more power. The good news is that the tools you need are mostly free and easy to learn.
The audio is the foundation of every edit. Don't try to find a song first and then create your edit, instead, find the audio that’s already trending for this exact purpose. Viral edit sounds are specifically chosen for their distinct beats, dramatic drops, and builds, which make them perfect for timing your cuts.
How to find them:
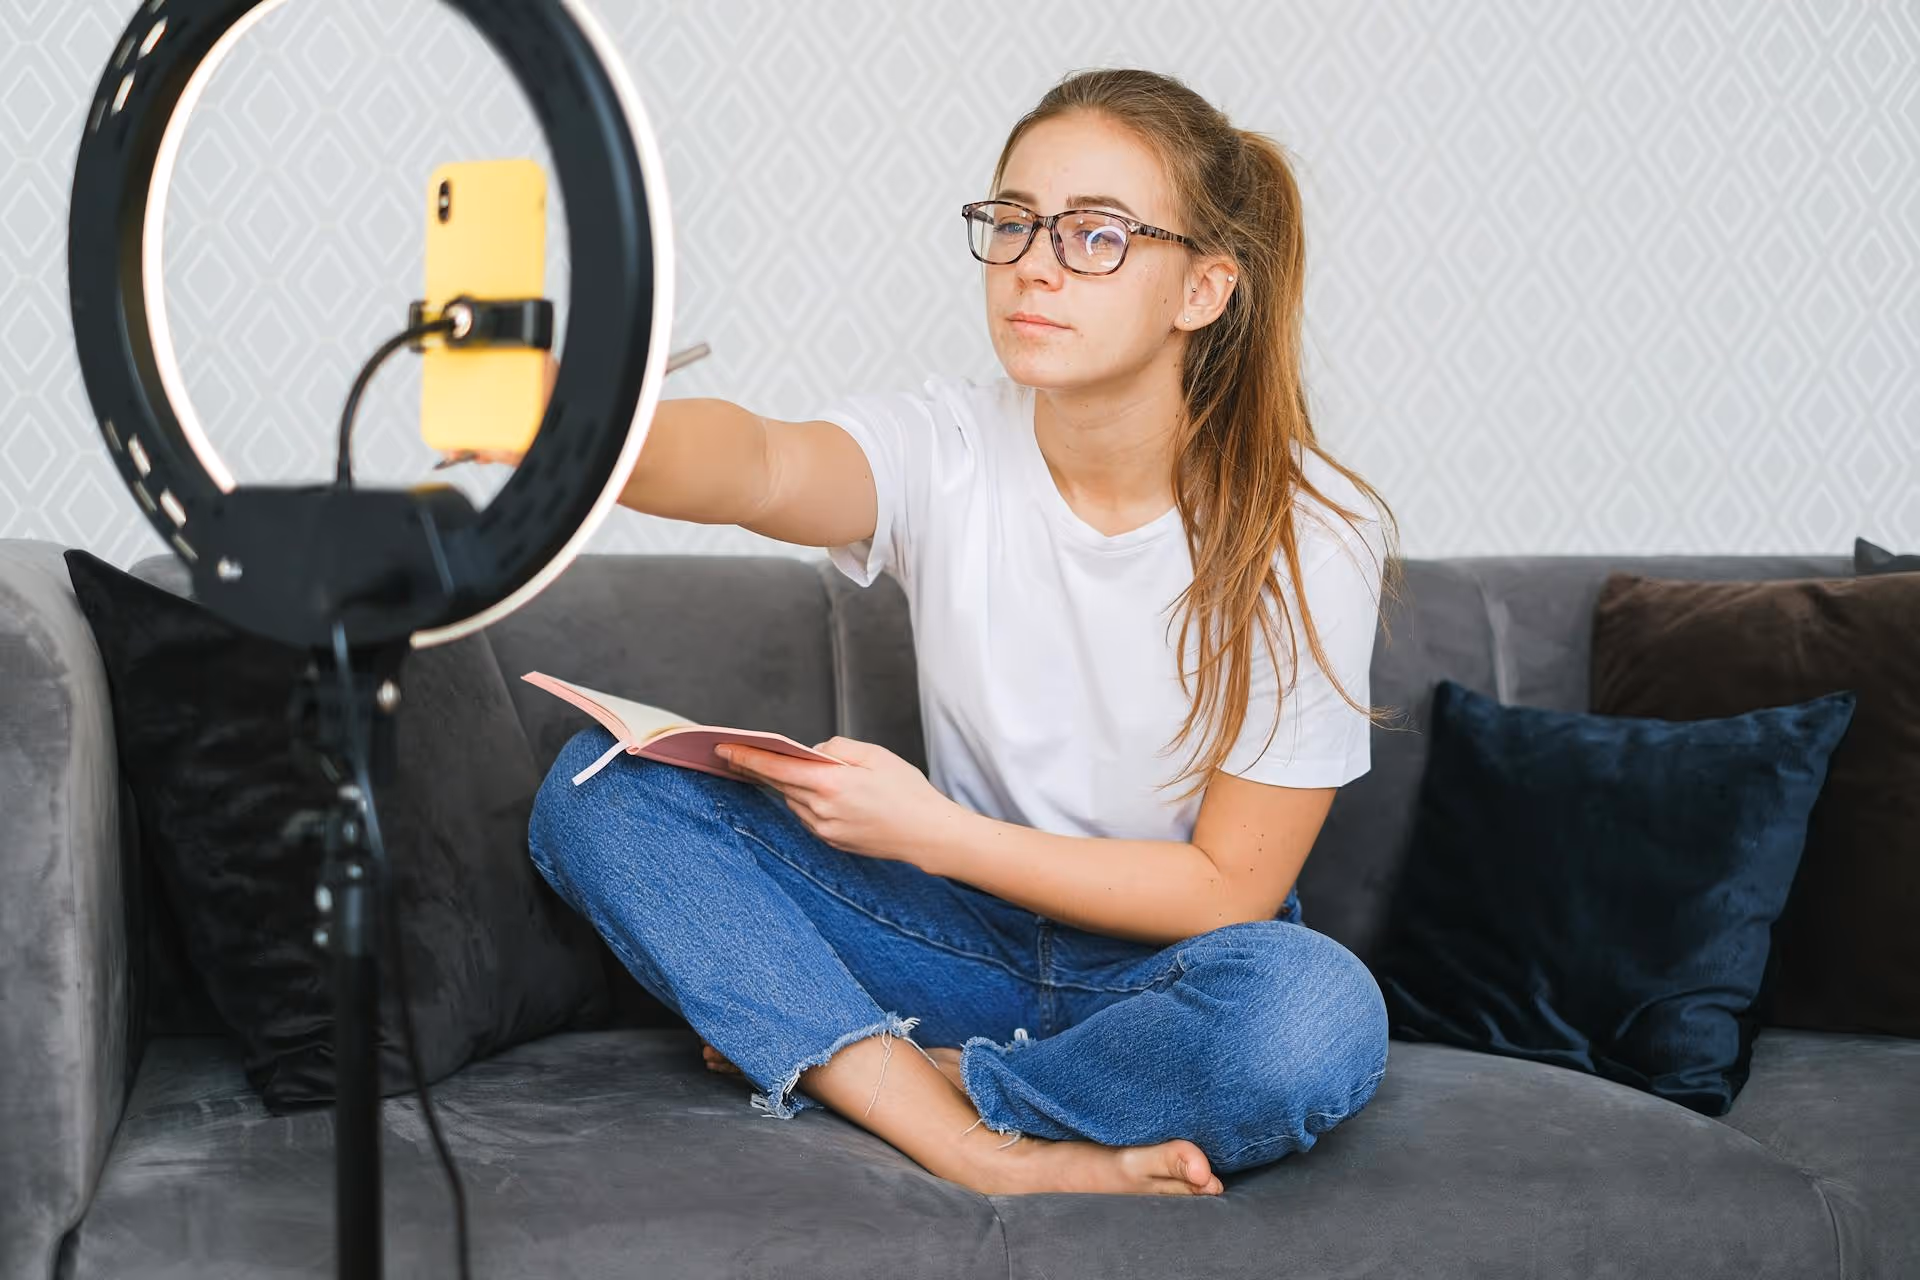
To line up dozens of tiny clips with split-second precision, you need an external app. TikTok’s official video editor, CapCut, is the undisputed champion here. It's built for these trends, connects seamlessly with TikTok, and most importantly, it's free.
Ready to create your own? Let's walk through the entire process, step by step, using the most popular tool for the job: CapCut.
First, find a TikTok video using the audio you want and tap the sound icon. Tap "Add to Favorites." Do not download the video itself - you only need to save the sound within the TikTok app.
Next, gather all the photos and video clips you want to use. Get more than you think you need. It's better to have too many options than to run out. Try to have a mix of angles, close-ups, and wider shots to keep things visually interesting.
Open CapCut and tap "New Project." Select all the photos and video clips you just gathered and tap "Add." Don’t worry about the order for now, you'll rearrange everything later.
Now you need to add your audio. Tap the "+ Add audio" button below your media timeline. Then tap "Sounds." In the top navigation, navigate to the TikTok section (you'll need to link your TikTok account if you haven't already). In the "Saved" or "Favorite" tab, you should see the sound you saved earlier. Tap the "+" to add it to your timeline.
This is where the magic happens. Lining up your cuts with the audio beat is what makes an 'edit' an 'edit'.
Once you’re happy, tap the checkmark. You'll now see your audio track dotted with yellow markers. These are your guides. Every single cut or new clip should start exactly on one of these dots.
Now for the editing itself. Your goal is to make each clip last from one yellow dot to the next.
Rearrange the clips to tell your story. Put your "before" clips at the start (in the slower part of the song) and your "after" or highlight clips where the beat drops and the music builds.
Pro Tip: For photo dumps, you might have each photo appear for just a fraction of a second, flashing between two or three beat markers.
With your cuts perfectly synced, it’s time to add some polish. Simple enhancements go a long way.
When your edit is finished, tap the resolution settings at the top of the screen (e.g., "1080p"). Make sure it’s set to 1080p resolution and 30fps for the best quality on TikTok. Tap the export arrow.
Once it's saved to your phone, close CapCut and open the TikTok app.
This part is really important for getting your video sorted algorithmically with the trend:
And that’s it! You've successfully created and uploaded your first TikTok edit.
Learning how to do the edit trend is less about technical perfection and more about storytelling and rhythm. By choosing a great audio track, gathering compelling visuals, and carefully syncing your cuts to the beat using an app like CapCut, you can create engaging content that stops the scroll. Don’t be afraid to experiment, and remember that with each video, you’ll get faster and more creative.
Once you’ve perfected an amazing edit, that’s just one piece of the puzzle. Growing on social media comes from consistently posting that great content over time, which can become exhausting. We built Postbase to solve this exact problem. As creators ourselves, we grew tired of wrestling with clunky tools, so we designed a simple visual calendar that lets you map out your TikToks, Reels, and Shorts weeks ahead. You can drag and drop to reschedule instantly, see gaps in your strategy, and spend far more of your time making awesome edits instead of constantly figuring out what to post next.
Spencer's spent a decade building products at companies like Buffer, UserTesting, and Bump Health. He's spent years in the weeds of social media management—scheduling posts, analyzing performance, coordinating teams. At Postbase, he's building tools to automate the busywork so you can focus on creating great content.

Enhance your email signature by adding social media icons. Discover step-by-step instructions to turn every email into a powerful marketing tool.
Record clear audio for Instagram Reels with this guide. Learn actionable steps to create professional-sounding audio, using just your phone or upgraded gear.
Check your Instagram profile interactions to see what your audience loves. Discover where to find these insights and use them to make smarter content decisions.
Requesting an Instagram username? Learn strategies from trademark claims to negotiation for securing your ideal handle. Get the steps to boost your brand today!
Attract your ideal audience on Instagram with our guide. Discover steps to define, find, and engage followers who buy and believe in your brand.
Activate Instagram Insights to boost your content strategy. Learn how to turn it on, what to analyze, and use data to grow your account effectively.
Wrestling with social media? It doesn’t have to be this hard. Plan your content, schedule posts, respond to comments, and analyze performance — all in one simple, easy-to-use tool.

