

How to Add Social Media Icons to an Email Signature
Enhance your email signature by adding social media icons. Discover step-by-step instructions to turn every email into a powerful marketing tool.
Thinking about hosting a live event on TikTok? Good. This often-overlooked feature is one of the most effective ways to build real-time hype, connect directly with your followers, and turn casual viewers into a dedicated community. This guide will walk you through exactly how to create an event on TikTok, promote it so people actually show up, and host a live session that leaves a lasting impression.
A TikTok Event is a feature that lets you schedule a future LIVE session. Instead of just hopping on a spontaneous livestream, you can set a specific date and time, give your event a title, and write a description. When you do this, TikTok creates a dedicated landing page for your event where people can register their interest.
So, why bother with the setup? Because it completely changes the dynamic of going live.
To use LIVE Events, you generally need to be at least 18 years old and have at least 1,000 followers to unlock the LIVE feature itself. Once you can go live, the Events feature should be available to you.
Setting up your first event is refreshingly straightforward. The whole process takes less than five minutes but pays off big time in attendance and engagement. Here’s exactly how to do it.
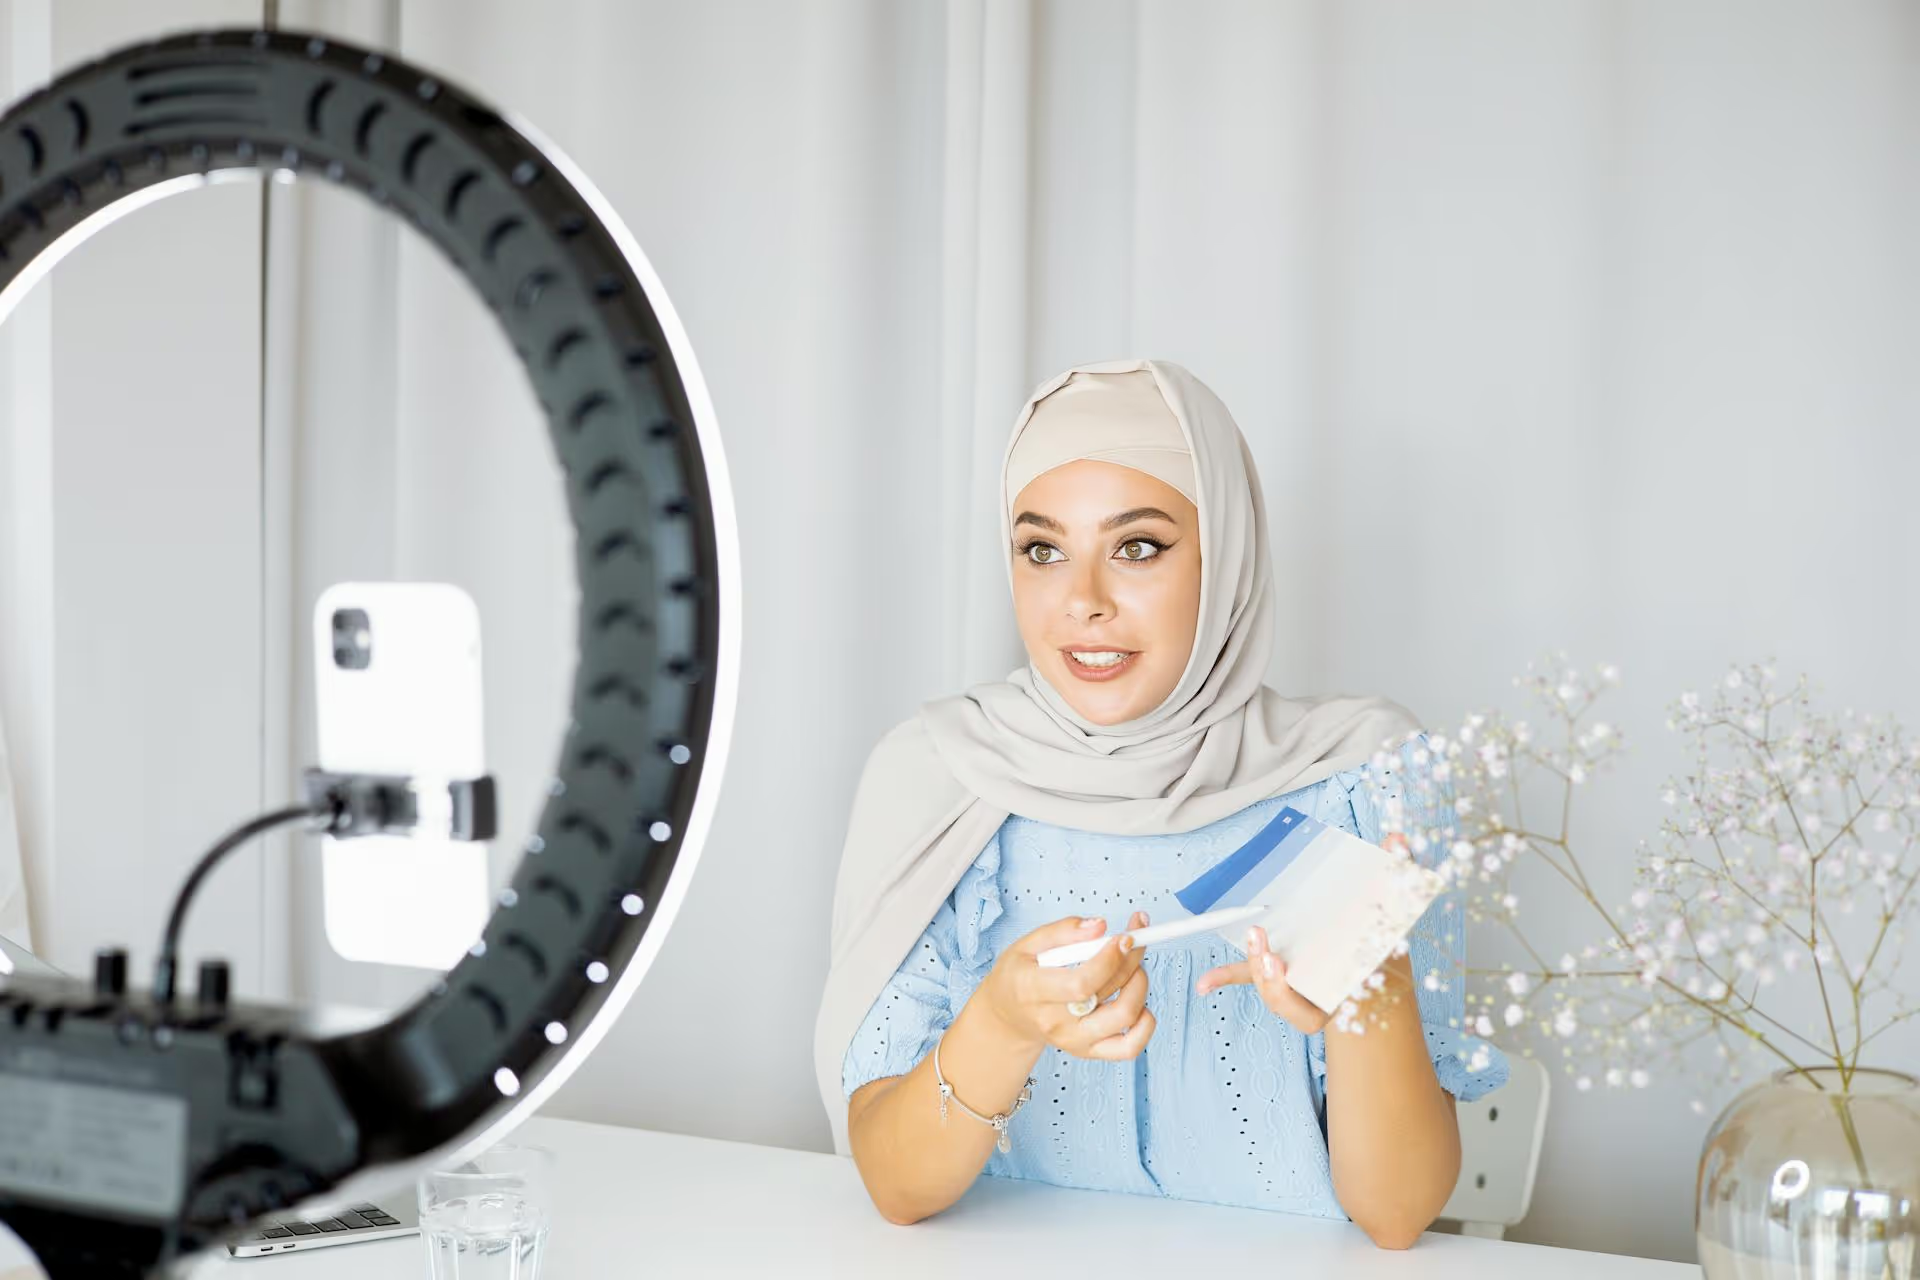
First things first. Open your TikTok app and tap the plus (+) icon at the bottom of the screen, just like you’re about to create a video. At the bottom of the camera screen, you’ll see several options like 'Camera', 'Templates', and 'Story'. Swipe along this menu until you reach the 'LIVE' option.
On the main LIVE screen, you’ll see the big red ‘GO LIVE’ button. Don’t press that yet! Instead, look for a set of options on the right-hand side of your screen. You should see an icon that looks like a calendar. It might be labeled 'LIVE Events' or just appear as the calendar icon. Tap on it.
This is where you bring your event to life. You’ll be taken to a new screen with several fields to complete. Let's break them down:
This is your headline - make it count. Be clear, concise, and compelling. Your Event Name should tell people exactly what you’ll be doing. Instead of something generic like "My Live Event," try something specific and appealing:
Select the date and time you want your event to start. A word of advice: think about your audience. Check your TikTok Analytics (under Followers >, Follower activity) to see when your followers are most active. Scheduling your event for peak times is a simple way to maximize your potential audience.
Here you have a bit more space to sell your event. Tell people why they should tune in. What will they learn? What will they experience? Use this space to highlight the value. For example:
"Join me live as I walk you through my complete content creation process. We'll cover idea generation, simple editing tricks, and how I plan my content calendar. Come with your questions ready!"
Once you’ve filled in the name, time, and description, hit the 'Create' button. TikTok will quickly review your event details (this is usually an automated check for any policy violations). Within a few seconds, you should get a notification that your event is live and ready to be shared. You can now add a link to your event to your bio, and you’ll also be able to link to it directly in your upcoming videos.
Creating the event is the easy part. Getting people to actually show up requires a little promotional effort. A great promotion strategy builds excitement and makes your LIVE a can’t-miss event. Here are the most effective ways to do it.
This is your most powerful promotional tool. Record a brand new TikTok video specifically to announce your upcoming LIVE Event.
Don't assume your audience sees everything you post on TikTok. Promote your event everywhere you have a presence.
Don't just mention the event once and go quiet. Build a steady stream of hype in the days leading up to it. If your LIVE is about answering marketing questions, maybe post a video of you answering one quick question as a "sneak peek." If you're doing a product reveal, show blurry behind-the-scenes shots of the new item. Give your audience a taste of what’s to come.
A day before your scheduled event, consider doing a quick, unscheduled 5-10 minute LIVE stream. The purpose? To remind people about the main event tomorrow. It’s a low-effort way to catch people who are online at that moment and give them a final nudge. Just hop on, say hello, and tell them, "Hey everyone, just a quick reminder that tomorrow at 7 PM we’re doing our big product reveal LIVE! Be sure to register!"
The promotion worked, and people are flooding in. Now it's time to deliver an amazing experience. Follow these tips to keep your audience engaged from start to finish.
You don't need a full script, but you shouldn't wing it either. Have a bulleted list of the main topics you want to cover. This gives your stream structure and prevents awkward "what should I talk about now?" moments. Your outline could be as simple as:
Failing to prepare is preparing to fail. At least 30 minutes before you go live, check your setup. Make sure your internet connection is stable (Wi-Fi is better than cellular data), your lighting looks good, and your audio is clear. A quick test will save you from stressful technical difficulties during the actual event.
A LIVE Event is a two-way conversation. Your main job as the host is to interact with the audience.
What is the one thing you want your audience to do after the event ends? Do you want them to follow you? Check out the new product on your website? Sign up for your newsletter? Whatever it is, state it clearly toward the end of your stream. "Thank you all so much for coming! If you want to learn more, check out the link in my bio to grab my free guide."
Creating and hosting a TikTok Event is an incredibly powerful way to move beyond passive content consumption and build a genuine connection with your audience. The feature provides all the tools you need - scheduling, reminders, and promotional links - to turn a simple LIVE stream into an event that people are genuinely excited to attend.
That promotion period leading up to the event is what truly sets the stage for a great turnout. Keeping your promotional content consistent across multiple platforms can feel like a lot to manage, which is why we built Postbase. I use its visual calendar to map out my timeline – scheduling the main announcement video, the reminder posts for Instagram Stories, and the 'day of' content – all in one go. That way, I can be confident my promotion is running smoothly while I focus on preparing for the actual event.
Spencer's spent a decade building products at companies like Buffer, UserTesting, and Bump Health. He's spent years in the weeds of social media management—scheduling posts, analyzing performance, coordinating teams. At Postbase, he's building tools to automate the busywork so you can focus on creating great content.

Enhance your email signature by adding social media icons. Discover step-by-step instructions to turn every email into a powerful marketing tool.
Record clear audio for Instagram Reels with this guide. Learn actionable steps to create professional-sounding audio, using just your phone or upgraded gear.
Check your Instagram profile interactions to see what your audience loves. Discover where to find these insights and use them to make smarter content decisions.
Requesting an Instagram username? Learn strategies from trademark claims to negotiation for securing your ideal handle. Get the steps to boost your brand today!
Attract your ideal audience on Instagram with our guide. Discover steps to define, find, and engage followers who buy and believe in your brand.
Activate Instagram Insights to boost your content strategy. Learn how to turn it on, what to analyze, and use data to grow your account effectively.
Wrestling with social media? It doesn’t have to be this hard. Plan your content, schedule posts, respond to comments, and analyze performance — all in one simple, easy-to-use tool.

