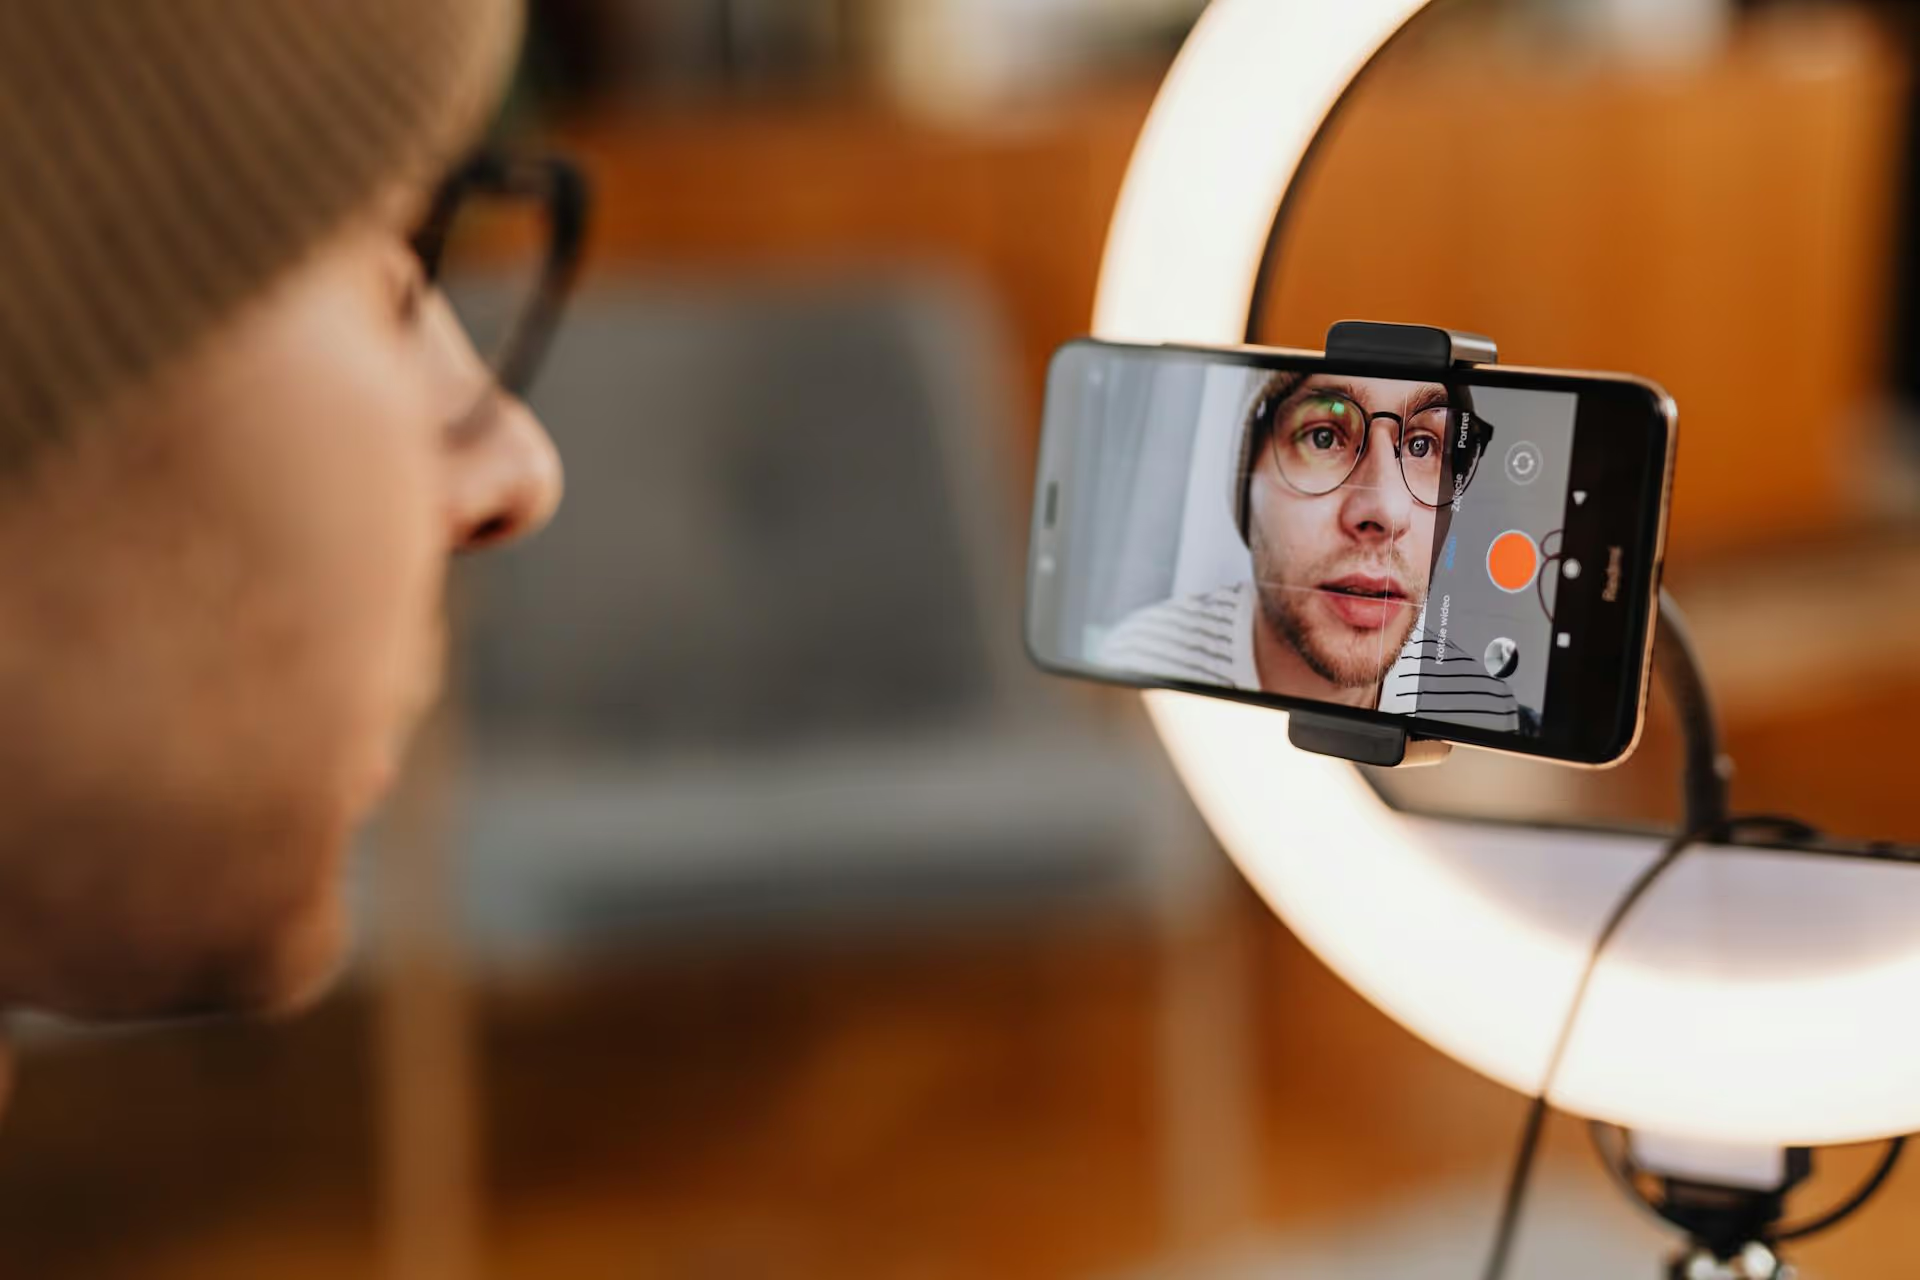
Nothing sours the moment more than taking a great photo, only to have Instagram's automatic crop butcher your composition. Suddenly, key details are cut off, and your perfect shot looks awkward and unprofessional. This guide walks you through exactly how to convert and resize your photos for Instagram's specific dimensions, ensuring your images look sharp, clear, and exactly as you intended every single time.
First, Understand Instagram's Image Sizes and Aspect Ratios
Before you can resize a photo, you need to know what you're resizing it to. Instagram uses specific aspect ratios and recommends certain dimensions to keep images looking their best. An aspect ratio is simply the proportional relationship between an image's width and its height. For example, a 1:1 ratio means the width and height are the same, creating a perfect square.
Getting these ratios right is the number one thing you can do to prevent unwanted cropping and compression.
The Key Instagram Dimensions You Need to Know (2024)
- Square Posts (1:1 Ratio): The classic Instagram format. Aim for 1080 x 1080 pixels.
- Portrait Posts (4:5 Ratio): The best format for grabbing attention in the feed. Portrait posts take up the most vertical space on a phone screen. Use 1080 x 1350 pixels.
- Landscape Posts (1.91:1 Ratio): Best for wide, scenic shots, but they take up the least amount of space in the feed. Aim for 1080 x 566 pixels.
- Instagram Stories &, Reels (9:16 Ratio): This is the standard vertical "phone screen" size. Use 1080 x 1920 pixels for both Stories and Reel covers.
A quick guideline: No matter which aspect ratio you choose, keep the width of your image at 1080 pixels. Instagram will compress anything larger, and anything smaller might appear blurry or pixelated.
Why Optimizing for Instagram Size Matters
Taking a few extra seconds to resize your photos is more than just a tedious step, it directly impacts your content's performance and your brand's perception. Here's why it's worth the effort:
- You Avoid the Dreaded Auto-Crop: When you upload an image that doesn't fit Instagram's approved ratios, the app forces you to crop it. You lose control over your composition and often have to make difficult choices about what parts of your photo to cut out.
- You Maintain Maximum Image Quality: Uploading an image with the correct 1080px width signals to Instagram that you've already optimized it. The app is less likely to apply harsh compression that degrades the quality, preserving the sharpness and detail in your photo.
- You Maximize Your Visual Real Estate: A photo resized to the 4:5 portrait orientation looks significantly larger in the mobile feed than a square or landscape photo. It captures more of the user's screen as they scroll, stopping them in their tracks and increasing the chances they'll engage with your post.
- You Maintain a Professional and Cohesive Feed: Consistently using optimized image sizes makes your entire profile grid look polished and deliberate. It shows an attention to detail that elevates your brand, whether you're a creator, a business, or managing a personal account.
Step-by-Step Guides: How to Resize Photos for Instagram
The good news is you don't need to be a graphic designer with expensive software to get this right. Here are several ways to convert your photos, from the tools already on your phone to free apps and professional software.
Method 1: Using Your Phone's Built-in Photo Editor
For quick and simple crops, you often don't need to download anything new. The editing tools built into your iPhone or Android device can handle basic resizing with ease.
For iPhone (Photos App):
- Open the Photos app and select the image you want to edit.
- Tap Edit in the top-right corner.
- Tap the Crop icon in the bottom menu (it looks like a square with rotating arrows).
- Tap the Aspect Ratio icon in the top-right (it looks like three interlocking rectangles).
- From the menu at the bottom, you can choose pre-set ratios. Select SQUARE (1:1), or swipe to find common ratios like 4:5 (for portrait) and 16:9 (which you might need to adjust for landscape).
- Drag the photo within the frame to perfect your composition, then tap Done.
For Android (Google Photos):
- Open the Google Photos app and choose your photo.
- Tap Edit from the bottom menu.
- Select the Crop tool from the menu.
- Tap the Aspect Ratio icon (it looks like a square with a small inner-square and a slash).
- You'll see different presets. Select Square (1 x 1), 4 x 5 (for portrait), or choose another option that suits your needs.
- Adjust the photo's position inside the crop box and tap Save copy.
Pro Tip: While convenient, built-in editors are best for compositional cropping, not pixel-perfect resizing. They help you fit the shape, but they might not give you the ideal 1080px dimensions, which can lead to slight quality loss.
Method 2: Using a Free Mobile App Like Canva
For more control and guaranteed pixel-perfect dimensions, a free app like Canva is an excellent choice. It's user-friendly and helps you build a template you can reuse.
- Download and open the Canva mobile app.
- Tap the + icon at the bottom of the screen to start a new design.
- Select Custom Size and enter your desired dimensions. For a portrait post, you would type in 1080 for the width (W) and 1350 for the height (H). Make sure the unit is set to px (pixels). Tap Create new design.
- You'll now have a blank canvas perfectly sized for Instagram. On the bottom menu, tap Uploads to add your photo from your camera roll.
- Once uploaded, tap the photo to add it to your canvas.
- Drag the corners of the photo to stretch it and fill the entire canvas. You can also drag the photo itself to reposition it within the frame until the composition is just right.
- When you're happy with it, tap the Share/Download icon in the top-right corner, select Download, choose your preferred file type (PNG or JPG), and hit Download again. The perfectly sized image will be saved to your phone.
Method 3: Using a Desktop Tool Like Adobe Photoshop
If you're already working with high-resolution photos on your computer, professional software like Adobe Photoshop or Lightroom gives you the most control over both cropping and export quality.
Steps for Resizing in Adobe Photoshop:
- Open your photo in Photoshop.
- Select the Crop Tool from the left-hand toolbar (or press 'C' on your keyboard).
- In the options bar at the top, click the dropdown menu that says "Ratio". Choose the 4:5 (8:10) preset for a portrait post or 1:1 (Square).
- A crop box will appear over your image. Reposition and resize it to frame your photo perfectly. Press Enter or click the checkmark to apply the crop.
- Now, it's time to resize it to the correct pixel dimensions. Go to Image >, Image Size.
- In the Image Size dialogue box, make sure the chainlink icon between Width and Height is selected (this maintains the aspect ratio). Set the Width to 1080 pixels. The height should automatically update to 1350 pixels (if you used a 4:5 ratio). Set the Resolution to 72 Pixels/Inch, which is standard for web.
- Click OK.
- Finally, export the image for the web. The best way is to go to File >, Export >, Save for Web (Legacy). Choose JPEG, set the Quality to around 70-80 (a good balance of size and quality), and make sure the "Convert to sRGB" box is checked. Click Save.
Quick Tips for Picture-Perfect Instagram Posts
Once you've mastered the resizing process, here are a few extra pointers to level up your Instagram game.
- Default to Portrait (4:5): Unless the composition absolutely demands a square or landscape format, use the 4:5 portrait ratio. It fills more of the screen and is more likely to make users stop scrolling.
- Shoot with the Grid: Turn on the grid lines in your phone's camera app. This helps you balance your composition while shooting, making it much easier to crop a photo later without losing important elements.
- Mind the "Safe Zones" in Stories: When resizing an image for Instagram Stories (9:16), remember that Instagram adds UI elements like your profile name, the reply bar, and call-to-action buttons. Keep important text, faces, or logos away from the very top and very bottom of the screen to prevent them from being covered up.
- Don't Be Afraid to Add Borders: What if your photo is extra wide and you don't want to crop anything out? A great workaround is to use an app like Canva or Snapseed to place your landscape photo onto a blank vertical canvas (like a 4:5 or 9:16 background). This creates clean borders on the top and bottom, allowing you to post the full image without any awkward cropping.
Final Thoughts
Perfecting your photo size for Instagram might seem like a small detail, but it's a foundational step in creating a polished, high-quality feed. By understanding the core aspect ratios and using the right tools to crop and resize your images, you take back control from the auto-cropper and ensure your content always looks its best.
Once your content is perfectly sized and ready to go, the final step is scheduling it without another set of headaches. At Postbase, we designed our platform specifically for the way social media works today. We built a clean, visual calendar and robust scheduling tools that handle every format - from perfectly sized 4:5 photos to Reels and Stories - natively. This way, you spend less time wrestling with different content restrictions and more time focused on your larger strategy.
Spencer's spent a decade building products at companies like Buffer, UserTesting, and Bump Health. He's spent years in the weeds of social media management—scheduling posts, analyzing performance, coordinating teams. At Postbase, he's building tools to automate the busywork so you can focus on creating great content.