

How to Add Social Media Icons to an Email Signature
Enhance your email signature by adding social media icons. Discover step-by-step instructions to turn every email into a powerful marketing tool.
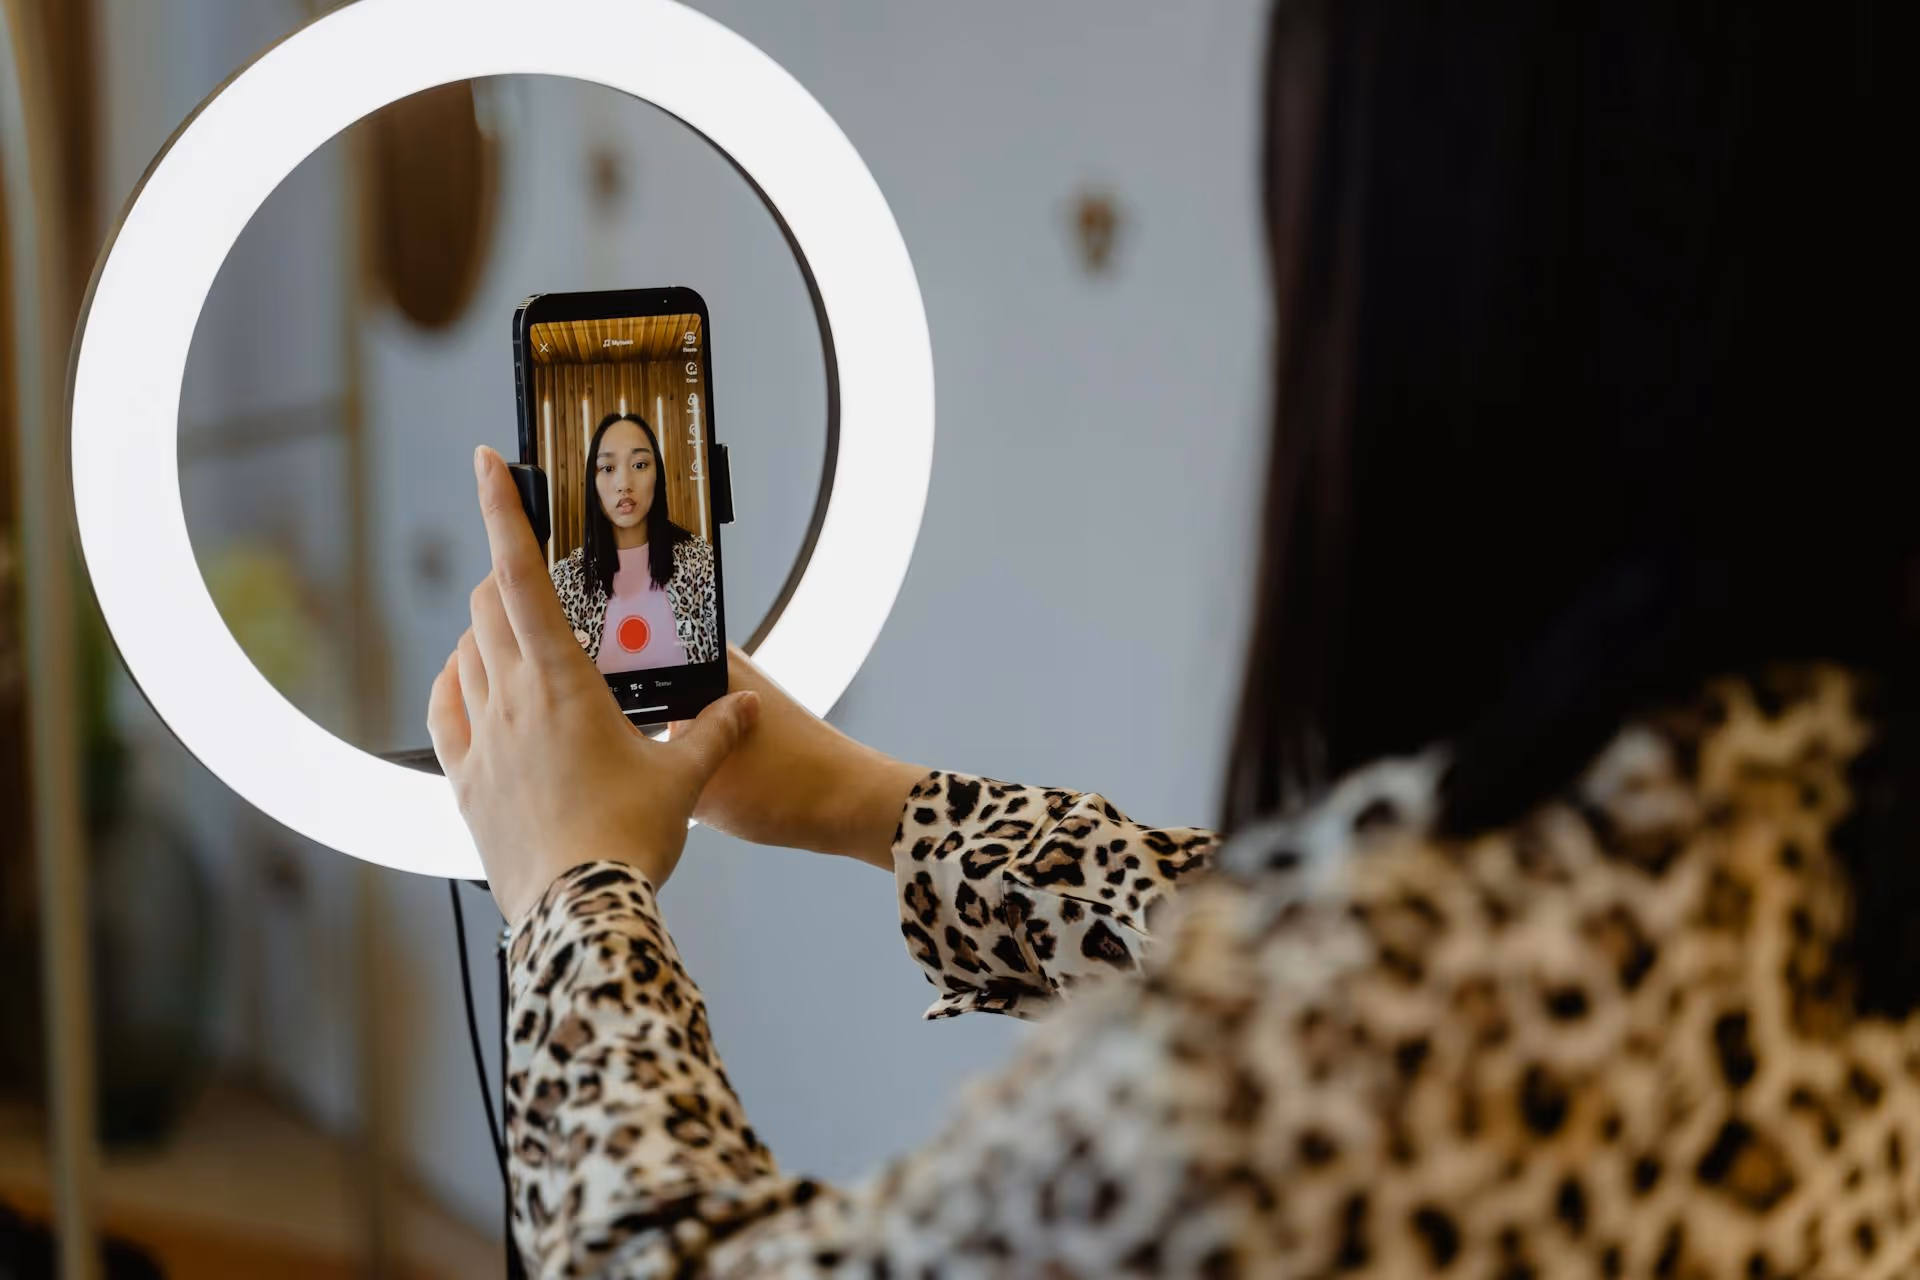
You’ve got a fantastic video clip sitting on your phone, but it’s missing that final bit of personality – a signature TikTok filter. Applying effects is simple when you’re shooting directly in the app, but how do you add one to a video you’ve already recorded? This guide will walk you through the exact steps to add TikTok filters and effects to existing videos, plus a few extra tips for making your content stand out.
Let's get straight to it: Yes, you absolutely can add filters and effects to a video you've already created. However, it doesn't work the way you might intuitively think. TikTok is designed to encourage in-app creation, so the process for editing existing content is a little different from just selecting a file and tapping an "add filter" button.
The confusion usually comes from the distinction between "Filters" and "Effects." Simple color-grading filters can be applied easily, but most of the trendy, transformative "filters" you see are technically called "Effects" within the app. The great news is you have access to almost the entire effects library for your pre-recorded videos. You just need to know where to find it during the upload process, not after.
This tutorial will show you the main method using the "Effects" panel, which gives you the most creative control and access to all the popular trends.
This is the go-to method for applying most of the fun, viral, and beautifying effects to a video from your camera roll. Follow these steps carefully, and you’ll be an editing pro in no time.
Get started by tapping the plus (+) icon at the bottom center of your screen. This will open the TikTok camera, just like you’re about to record a new video from scratch.
Instead of hitting the red record button, look to the bottom right and tap the "Upload" button. This takes you away from the live camera and opens your phone’s photo and video gallery. Here, you can select one or even multiple clips to stitch together.
Browse your library and tap on the video you want to edit. Once selected, TikTok gives you a chance to trim the beginning and end by dragging the edges of the timeline at the bottom. This is perfect for cutting out any awkward fumbling before the action starts. When you’re happy with the length, tap "Next."
This is the most important step! After tapping "Next," you'll be on the main editing screen. You’ll see icons on the right side of the screen for adding things like text, stickers, and sound. Here’s where you find the magic:
Now comes the fun part. The effects browser is organized into categories like "Trending," "New," "Green Screen," "Beauty," and "Interactive."
Once your chosen effect is applied, tap "Save" in the top right corner of the effects browser. This returns you to the main editor, where your video now looks exactly as you intended. From here, you can continue to add sound, text, or stickers. When your masterpiece is finished, tap "Next" to go to the final posting screen, where you'll write your caption, add hashtags, and either post it or save it as a draft.
It’s helpful to understand how TikTok categorizes these tools. In the main editor screen:
One of the most powerful features on TikTok is Green Screen, and it works wonderfully with existing videos. This technique lets you use your pre-recorded video as a background while you record new footage in front of it – perfect for commentary, reaction videos, or skits.
Start a new creation by tapping the (+) icon. But this time, before you do anything else, tap the "Effects" icon on the bottom left of the camera screen.
In the effects browser, find the "Green Screen" category. There are several versions, but you'll want the one that shows a little image icon with an up-arrow, indicating you can upload your own media. Select it.
When you select the Green Screen effect, a view of your phone's photo library will appear above the effect selections. Find the video you want to use as your background and tap on it. Your background will now be your video, and you'll see a small image of yourself from your phone’s front-facing camera on top of it.
Now, you can record yourself talking, pointing, or reacting to the video playing behind you. You can use your fingers to resize and move both your own image and the background video to get the perfect composition. Hit the red button to record your segment.
Once you’re done recording, you can proceed to the main editing screen to trim your new clip, add text callouts, music, or other finishing touches before posting.
Sometimes you don't need a wacky AR effect or a dramatic filter. You just want your video to look a little better – brighter, more vibrant, or less washed out. TikTok has built-in tools for this that are surprisingly capable.
After uploading and trimming your video (Steps 1-3 from the first method), stay on the main editing screen. On the right-hand side panel, tap the "Adjust" icon (it typically looks like a set of sliders). This opens up a professional-style editing toolbar where you can fine-tune your video with high precision.
You’ll be able to control settings like:
Playing with these sliders is a fantastic way to improve the quality of your video without relying on a filter. It gives you complete creative control over the final feel of your clip.
So you’ve applied the perfect effect, and you want to save the video for later or use it on another platform. Your best bet is to use the Drafts feature. On the final "Post" screen (where you add your caption and tags), instead of tapping "Post," simply tap the "Drafts" button next to it.
This will save the entire video, complete with the filter, sound, and any other edits, to a private Drafts folder on your TikTok profile. You can access it anytime by going to your profile page and tapping the Drafts folder. From there, you can edit it further or post it whenever you’re ready.
If you want to save the final video file to your phone, you have a couple of options. Tapping the "save" button on the final editing page (before you get to the post screen) will download a copy. Alternatively, you can post the video privately to only yourself, then go to the posted video and use the download option. Be aware that most methods for downloading your edited creation will include a TikTok watermark.
Adding a viral TikTok filter or a clever effect to a video you already shot is entirely possible once you know the workflow. By using the "Effects" panel after uploading and before posting, you unlock the full creative power of the platform for all your content, not just what you film on the spot. Experiment with different styles, from subtle color adjustments to full-blown Green Screen creations, and see what works for your brand.
For our own social media, once we've spent time getting those videos just right – with the perfect filters applied and saved – we schedule them out with the same attention to detail. That's where we built our own solution, because moving from creative to planning shouldn't be a clunky process. Using Postbase, we can take our polished TikToks, Reels, and Shorts and drop them into a visual calendar, seeing exactly what’s going out and when. It feels purpose-built for a modern, video-first workflow, which is exactly why we created it.
Spencer's spent a decade building products at companies like Buffer, UserTesting, and Bump Health. He's spent years in the weeds of social media management—scheduling posts, analyzing performance, coordinating teams. At Postbase, he's building tools to automate the busywork so you can focus on creating great content.

Enhance your email signature by adding social media icons. Discover step-by-step instructions to turn every email into a powerful marketing tool.
Record clear audio for Instagram Reels with this guide. Learn actionable steps to create professional-sounding audio, using just your phone or upgraded gear.
Check your Instagram profile interactions to see what your audience loves. Discover where to find these insights and use them to make smarter content decisions.
Requesting an Instagram username? Learn strategies from trademark claims to negotiation for securing your ideal handle. Get the steps to boost your brand today!
Attract your ideal audience on Instagram with our guide. Discover steps to define, find, and engage followers who buy and believe in your brand.
Activate Instagram Insights to boost your content strategy. Learn how to turn it on, what to analyze, and use data to grow your account effectively.
Wrestling with social media? It doesn’t have to be this hard. Plan your content, schedule posts, respond to comments, and analyze performance — all in one simple, easy-to-use tool.

