Adding lyrics to your Instagram Reels transforms them from simple video clips into engaging, shareable stories that capture your audience's attention, even with the sound off. This guide breaks down the simple, step-by-step methods you can use to add song lyrics to your Reels, from the built-in Instagram feature to more advanced techniques for a custom look.
Why Bother Adding Lyrics to Your Reels?
Before jumping into the "how," let's quickly cover the "why." Adding lyrics isn't just a fun creative touch, it's a strategic move that delivers real benefits for your brand or personal account. Think about it from a viewer's perspective:
- Accessibility and Silent Viewing: A huge number of users watch Reels without sound - they might be in a quiet office, on public transit, or simply prefer to scroll in silence. Lyrics make your content understandable and impactful for everyone, regardless of their audio setting. It also makes your content more accessible to viewers who are hard of hearing.
- Increased Engagement and Retention: Lyrics give viewers something to follow along with, keeping their eyes on your video longer. They might sing along, connect with the message, or just appreciate the dynamic energy of text on screen. This is a great way to boost watch time, a key metric that the Instagram algorithm loves.
- Context and Storytelling: Lyrics add a layer of emotion and context that your video content alone might not provide. The right words synced to the right moments can change the entire feel of your Reel, turning a simple clip into a mini music video with a narrative.
- Joining Trends: So many Instagram trends are centered around specific song clips or soundbites. Highlighting a particular lyric and acting it out is a classic way to participate in viral trends and increase your content's discoverability.
Method 1: The Built-in Instagram Music Sticker (The Easiest Way)
This is the fastest and most popular way to get lyrics on your Reel. Instagram has integrated a dynamic lyric feature directly into its music library for many popular songs. It's user-friendly and perfect for getting started.
Step-by-Step Instructions:
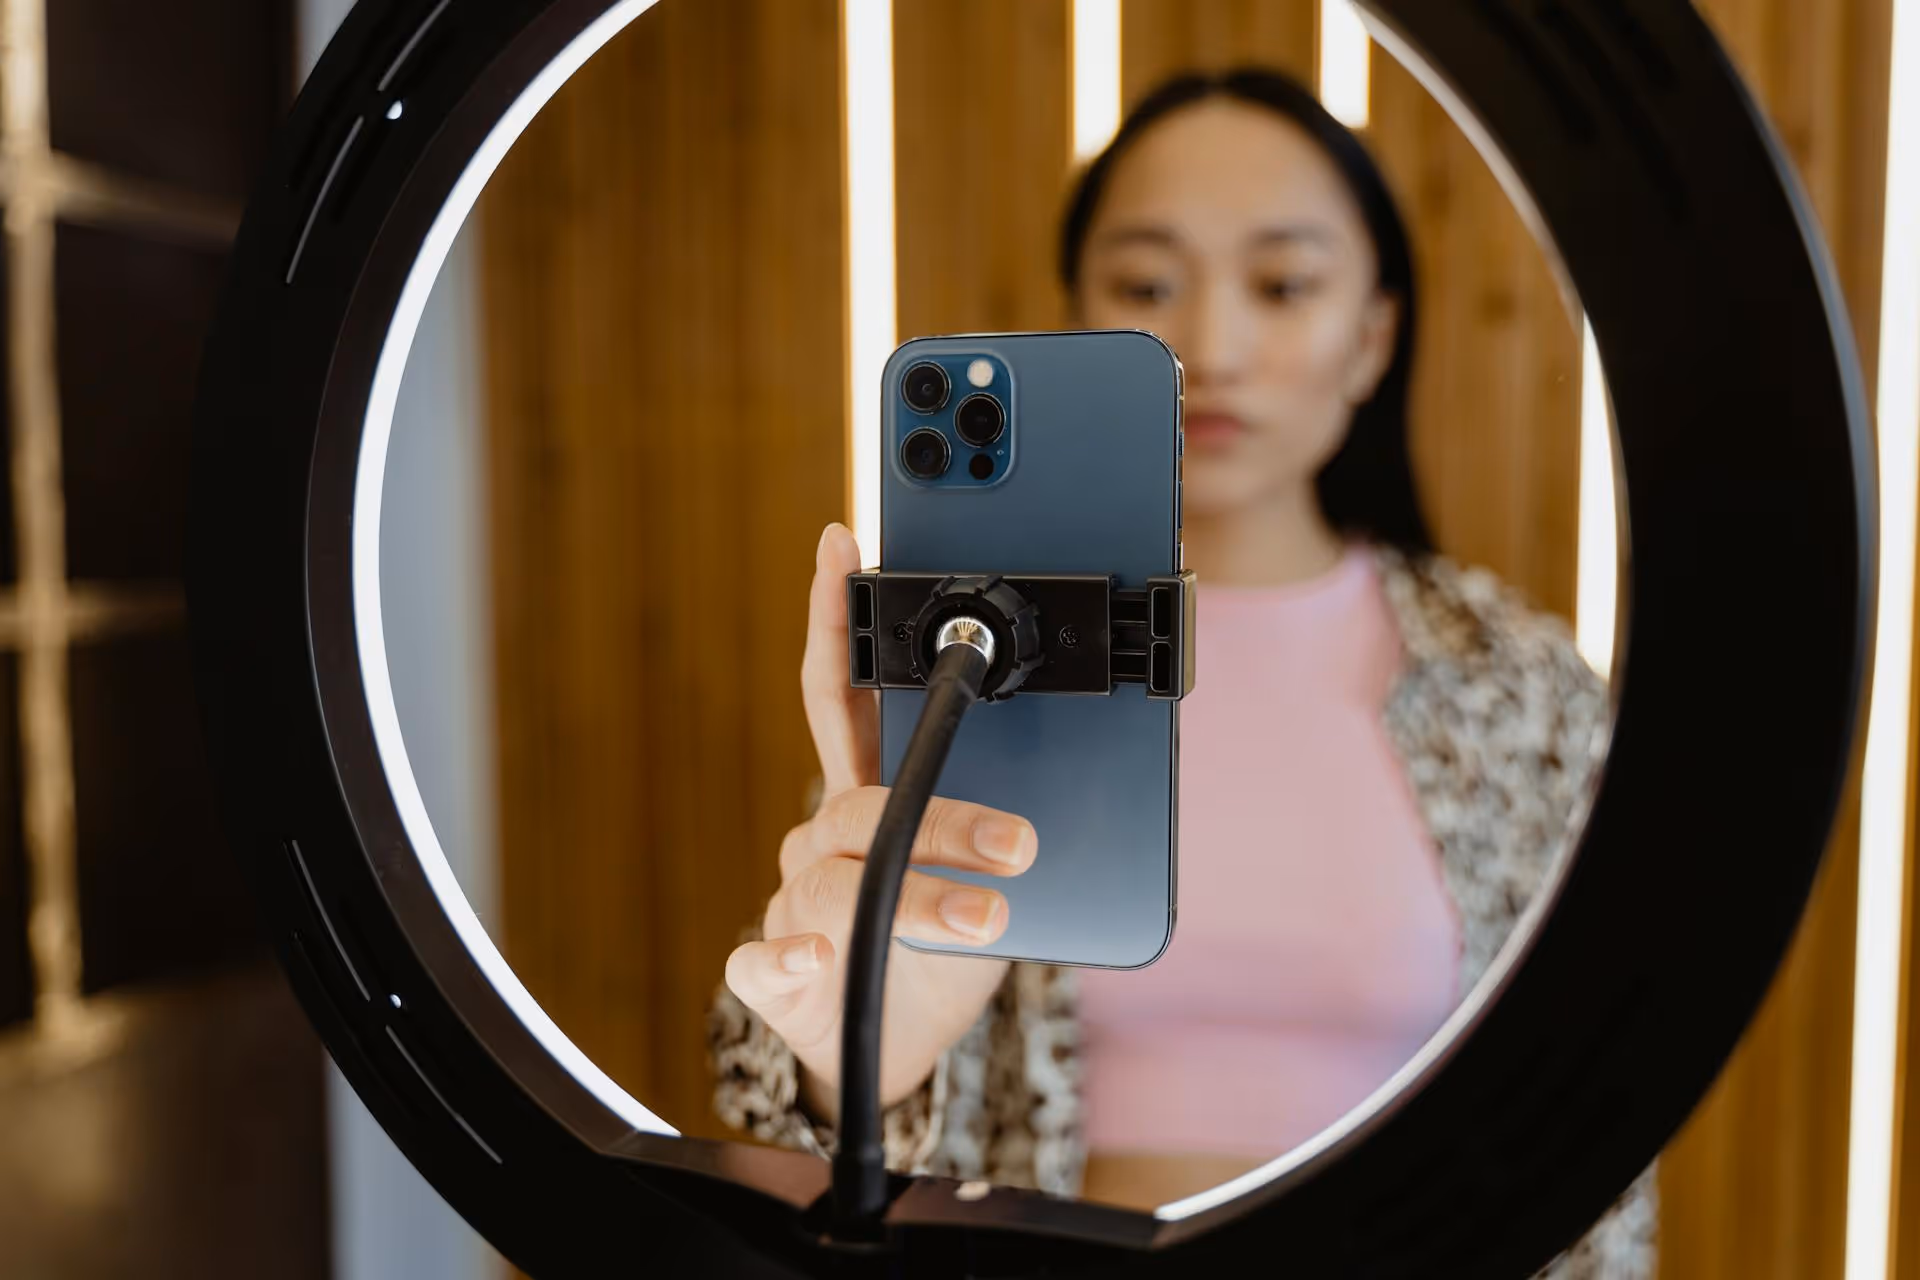
- Start a New Reel: Open Instagram, swipe right or tap the “+” icon at the bottom, and select "Reel." You can either record a new video directly in the app or upload a pre-recorded clip from your phone’s gallery.
- Open the Audio Tool: On the right-hand menu, tap the music note icon to open the Instagram music library.
- Find a Song with Lyrics: Use the search bar to find the song you want to use. You'll notice that some songs have a “Lyrics” tag underneath the title. This tag indicates that the dynamic lyric feature is available for that track. If a song doesn't have this tag, you won’t be able to use this method.
- Select Your Song and Clip: Once you choose a song, you can scrub through the timeline at the bottom to find the specific part of the song you want to use for your 15, 30, 60, or 90-second Reel. When you've found the perfect snippet, tap "Done."
- Activate the Lyrics: Your video preview screen will now have the audio added. To see the lyrics, you need to go into the editor. Tap "Next" to get to the editing screen where you see options for text, stickers, and more. Here, tap the "Sticker" icon (the smiley face in a square) at the top.
- Choose the Music Sticker: In the sticker tray, find the sticker that shows the song title and artist you just selected. Tap on it. Your song will be added again to your screen as an overlay.
- Cycle Through Lyric Styles: By tapping the music sticker on your screen, you can cycle through its different display options. The first couple of options are static stickers showing the album art and song name. Keep tapping, and you’ll see several different animated lyric styles appear. Some scroll by line-by-line, others appear word-by-word.
- Customize Your Look: Once you've found a lyric animation you like, you can customize it further. Tap the color wheel at the top of the screen to change the text color. Just below the timeline at the bottom, you can also tap the "A" icon to change the font style. The options are a bit limited, but you can usually find one that fits your Reel's aesthetic. You can also pinch to resize the lyrics and drag them anywhere on the screen.
- Finish and Post: After you position and style your lyrics, you’re ready to go. Add your caption, hashtags, and share your Reel.
Pros: Fast, easy, and directly integrated. It’s officially supported and syncs perfectly with Instagram’s music library.
Cons: Limited customization. Not all songs have the lyrics feature, and you're stuck with Instagram's pre-set fonts and animations.
Method 2: Manually Add Lyrics with the Text Tool (For Better Control)
What if the song you want isn't available with the lyrics feature? Or what if you want total control over the font, color, and timing? The manual method using Instagram’s regular text tool is your best bet. It takes more effort but offers much more creative freedom.
Step-by-Step Instructions:
- Set Up Your Reel with Audio: Start a Reel and either record your video or upload it from your gallery. Add your audio using the same music tool as in Method 1. This time, it doesn’t matter if the song has the “Lyrics” tag or not. Finish selecting the audio and proceed to the editing screen.
- Add Your First Line of Text: Play the first few seconds of your video to hear the first line of the lyrics. Tap the text tool (the "Aa" icon) and type out that line. Customize the font, color, background, and animation using the tools at the top and bottom of the screen. Tap "Done."
- Set the Text Duration: This is the most important part. At the bottom of the screen, you'll see a small thumbnail of the text you just added. Tap on it. This will open the video timeline clipper. Drag the handles on either side of the text clip to trim its duration. You want the text to appear precisely when the line is sung and disappear when it ends.
- Repeat for Each Line: Now, repeat the process. Play the next section of your Reel, tap the text tool again, type out the next line, customize it, and then set its duration on the timeline. You will see a new text layer appear above the previous one on the timeline editor, allowing you to sync them perfectly. Continue this process until you've added all the lyrics you want.
- Final Adjustments and Posting: Once all your text layers are in place, review the video one last time to make sure the timing feels right. You can tap any text layer on the timeline to re-open the trimmer and make adjustments. When you’re happy, add your caption and post.
Pros: Full creative control. Use any song, font, or color. Place lyrics anywhere on the screen and control the timing down to the millisecond.
Cons: Tedious and time-consuming, especially for longer clips. Getting the timing just right can be tricky on a small screen.
Method 3: Third-Party Video Editing Apps (The Pro Go-To)
For brands, content creators, and anyone who wants a truly professional and polished look, using an external video editing app is the way to go. Apps like CapCut, InShot, and VN Editor offer features that go far beyond what Instagram can do natively.
General Workflow:
- Import Your Footage: Open your chosen editing app and start a new project. Import the video clip you want to use.
- Add Your Audio: Add the song either from the app's library (if it has one) or by uploading an audio file. Alternatively, you can screen-record the sound from a music app for timing purposes.
- Add and Animate Lyrics: This is where these apps shine. They offer multi-layered timelines and extensive text tools.
- Auto-Captions Feature: Apps like CapCut have a brilliant "Auto-Captions" feature that can automatically detect the words in a song and generate timed text layers for you. It's not always 100% accurate, but it saves a massive amount of time, and you can easily edit any mistakes.
- Manual Text: If you add text manually, you'll have access to hundreds of fonts, gradients, outlines (strokes), shadows, and professional-grade animations (fade in, pop up, typewriter effect, etc.).
- Fine-Tune Timing: The track-based timeline in these apps makes it extremely easy to adjust the duration and placement of each lyric with precision.
- Export and Upload: Once your video looks perfect, export it to your phone’s camera roll.
Important Pro Tip: Avoiding Copyright Issues
When you upload a video with commercial music directly to Instagram, the platform may mute it or take it down due to copyright infringement. To get the best of both worlds - your custom lyrics and Instagram's official audio - follow this two-step process:
1. Finish your edit in the third-party app and export the final video without any music (just the visuals).
2. Upload your silent, beautifully edited lyric video to Reels. Then, use the Instagram music sticker (Method 1) to add the *exact same song*. Line up the start of the song with the start of your video visuals. Now you have your polished custom graphics and legitimate audio, keeping your content safe while looking professional.
Final Thoughts
Adding lyrics to your Instagram Reels is a powerful way to make your content more compelling, accessible, and likely to perform well. Whether you choose the speed of Instagram's built-in feature, the control of the manual text tool, or the polish of a third-party app, you now have the skills to level up your video strategy.
Creating engaging lyric videos is only one part of a successful content strategy. Staying consistent is just as important. With all the demands of creating Reels, Shorts, and TikToks, we built Postbase to make that process a lot easier. Since our platform was designed for today's short-form video formats, we handle video scheduling smoothly, without glitchy uploads or formatting errors. Our visual calendar helps us plan out our video content for weeks in one sitting, so we can focus more on creativity and less on the daily scramble to post.
Spencer's spent a decade building products at companies like Buffer, UserTesting, and Bump Health. He's spent years in the weeds of social media management—scheduling posts, analyzing performance, coordinating teams. At Postbase, he's building tools to automate the busywork so you can focus on creating great content.