

How to Add Social Media Icons to an Email Signature
Enhance your email signature by adding social media icons. Discover step-by-step instructions to turn every email into a powerful marketing tool.
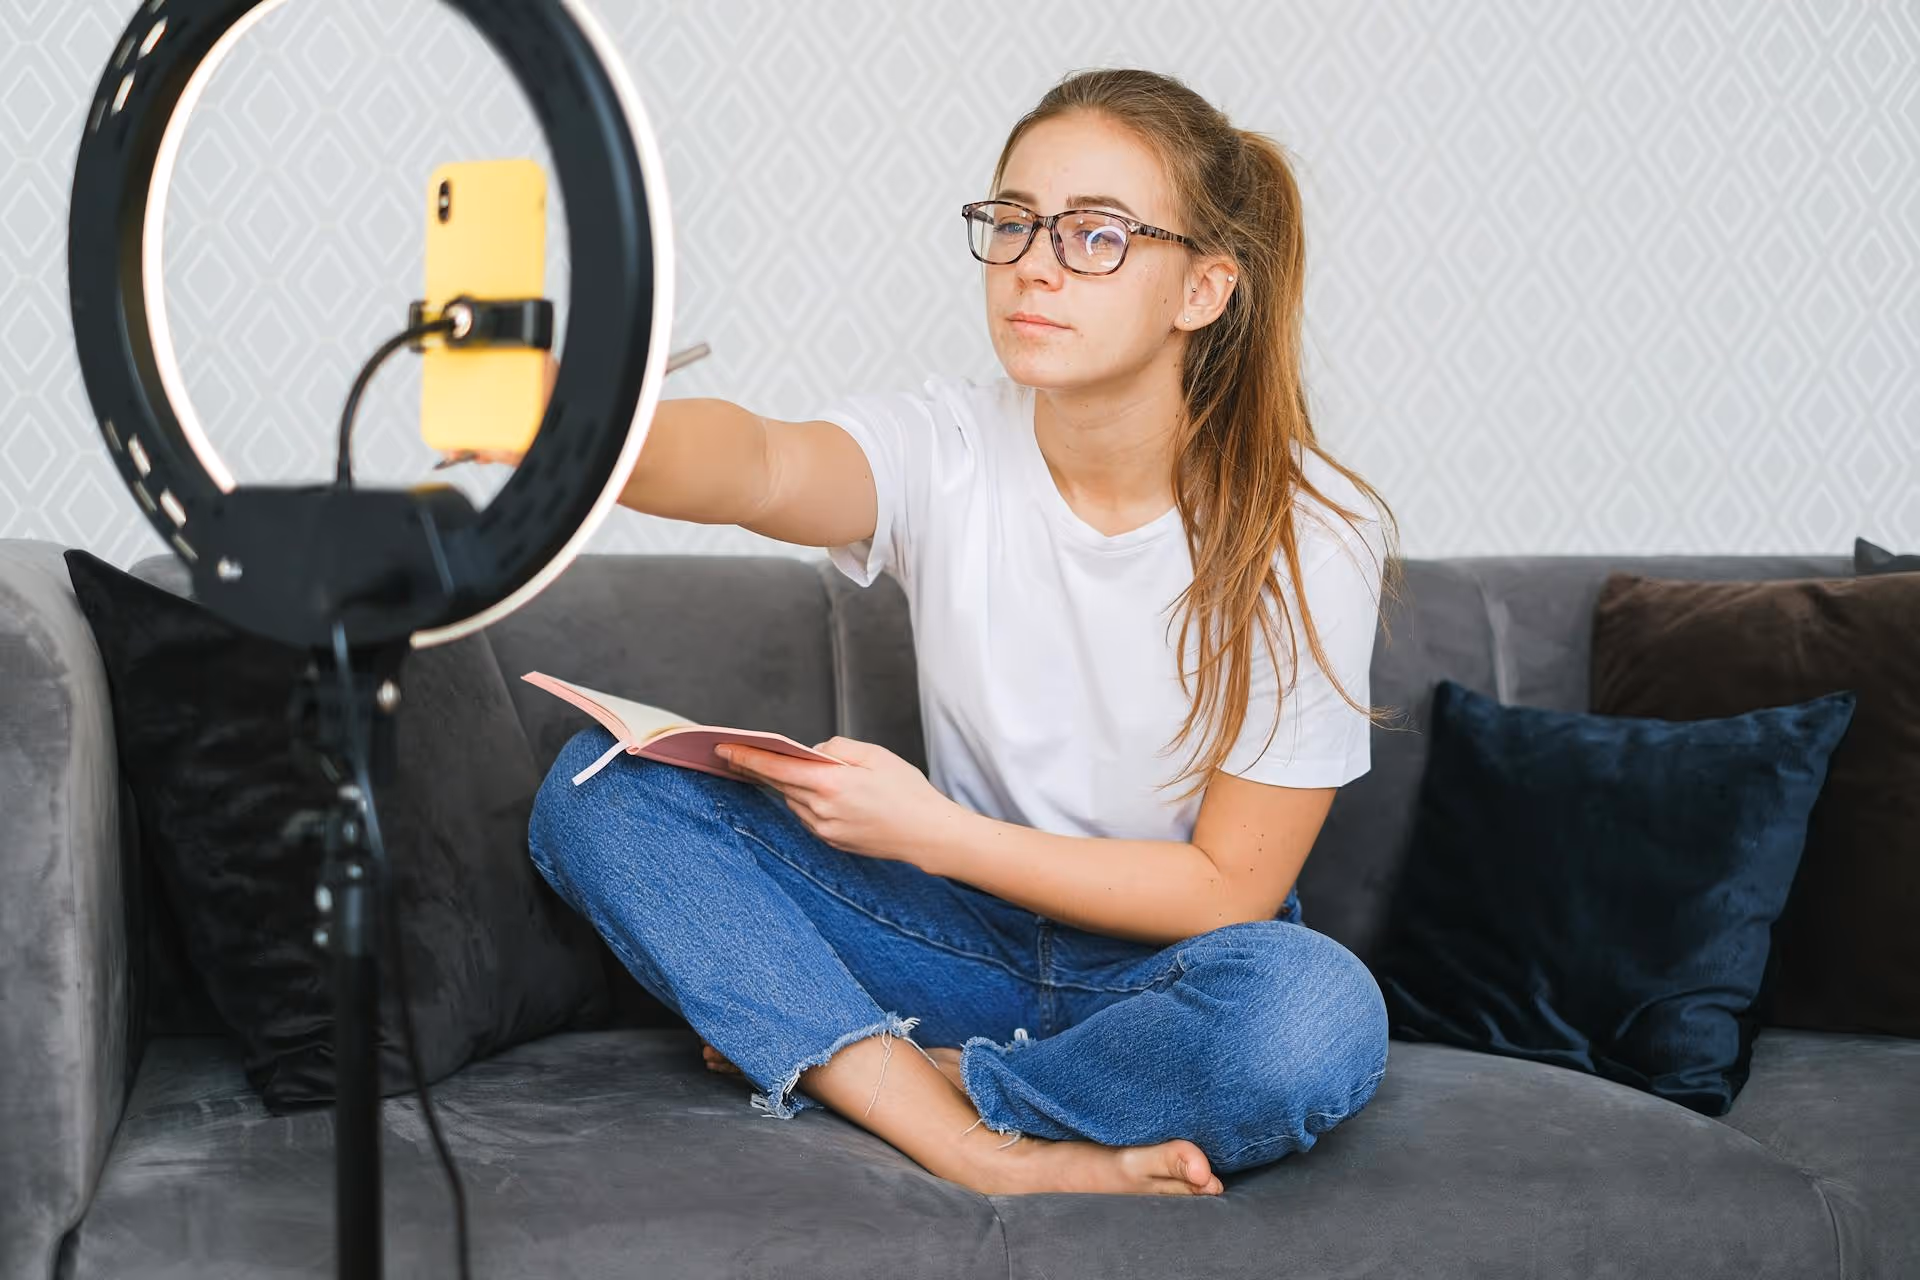
You’ve filmed the perfect clips, spent ages trimming them in the TikTok editor, and saved your masterpiece to your drafts, ready for its big debut. But then it hits you: you forgot a clip, or maybe you just filmed an even better one that would complete your video. Now you’re staring at your draft, wondering how to slot that new footage in without starting all over. We've all been there. This guide will walk you through exactly how to add a clip to a TikTok draft, exploring the direct limitations and the simple, effective workarounds to get your video back on track.
Before jumping into the solutions, it helps to understand what’s happening under the hood. When you are in the initial editing stage - trimming, reordering, and adjusting your clips - you are working in TikTok’s multiclip editor. This is where all the timeline magic happens. However, once you tap the “Next” button and move to the screen where you add sounds, text, stickers, and effects, you’ve left that initial timeline editor behind.
If you save your video as a draft from this screen, TikTok essentially "bakes" your clip sequence into a single video file for post-production. You can still pile on effects, change sounds, and add text overlays, but you can no longer go back to the original editing timeline to add, remove, or reorder the base clips. This is the core limitation that every content creator runs into, and it’s a frustrating but intentional part of the app's workflow. Don't worry, though, there are a few clever ways to work around it.
This is the most reliable way to add a clip to the timeline of your draft. It involves a few more steps than we'd like, but it gives you full control over the final product and preserves most of the work you’ve already done. Essentially, you're going to save your current draft as a video, then start a brand new project using that saved video plus your new clip.
First things first, you need to get your draft out of the draft folder and into a format you can actually work with - a single video file. The safest way to do this without anyone seeing your "work in progress" is to post it privately.
Now that your draft is saved as a private video on your profile, you can download it to your device's camera roll. This turns your edited clip sequence into a single piece of media you can use in a new project.
A quick note: When you download a video from TikTok, it will include a small, moving watermark with your username and the TikTok logo. For most creators, this is not a huge deal, as the final video will be uploaded back to TikTok anyway. But it’s something to be aware of.
Okay, you now have your edited draft (minus the new clip) saved as a video file, and your new clip is ready to go. Let's combine them.
Here, you have full control again. You can drag and drop the clips to reorder them, putting your new footage at the beginning, middle, or end. You can tap on each clip to trim the length and make sure everything flows together smoothly.
Because you're starting a new project, some of the elements from your original draft won’t carry over perfectly. The sound will be baked into the downloaded video, but if you want to use a trending new audio or ensure high-quality sound, it's best to mute the original clips and add the sound fresh from TikTok's library.
Similarly, any text or stickers you had placed at specific times will now be part of the flattened video. This is your chance to add your text, stickers, voiceovers, and effects again. While it feels a bit like redoing work, it also gives you an opportunity to improve upon your original idea and make sure everything is perfectly synced with your new, combined video.
What if you just want to add a reaction shot or a quick visual reference without going through the whole process of downloading and re-uploading? You might not need to add the clip to the timeline at all. Instead, you can layer it on top using a simple effect.
This method doesn't add the clip sequentially (before or after your draft's content), but rather overlays it. It’s perfect for adding commentary, a reaction, or showing another perspective simultaneously.
This is undeniably a workaround and not a true "edit," but for certain creative needs, it's a fast way to incorporate new footage into an existing draft. Think of it less as adding a clip and more as adding a picture-in-picture layer.
Getting your content rhythm down on TikTok is all about working smarter, not harder. Here are a couple of habits and strategies you can adopt to make the editing process smoother and avoid the draft-editing panic in the future.
The most straightforward solution is to handle your editing in a dedicated video editing app before uploading to TikTok. Apps like CapCut (which is made by the same parent company as TikTok) are incredibly popular for a good reason. They offer more powerful and flexible tools that mirror a professional desktop editing experience.
When you edit in CapCut:
Your workflow would look like this: film your clips, edit them together in a third-party app, export the final video, and then upload that single, finished video to TikTok. From there, you just use TikTok’s editor for the fun stuff that works best natively, like adding trending sounds, text-to-speech, or interactive stickers. This almost completely eliminates the problem of getting locked out of an edit.
If you're still doing an intricate edit and using sounds only available on TikTok at the time of publication - which sometimes cannot be ported to third-party editors - we have another great solution: every few minutes, stop what you’re doing and export your video. Now you’ve set a “checkpoint” that gives you a much better "save" than hoping your one, lone draft doesn't go sideways. If something goes wrong - or in your case, you realize you need to swap or add a clip - you don’t lose nearly as much progress.
While you can’t directly insert a new clip into a saved TikTok draft's timeline, effective workarounds like saving your work as a private video and re-uploading everything into a new project give you the full control you need. For simpler additions, experimenting with post-effects like the Green Screen filter can sometimes do the trick in a pinch, but the best long-term strategy is adopting a workflow that doesn't put you in this locked-in position to begin with.
Putting together the perfect video is one thing, but consistently planning and managing your whole social media content strategy is another challenge altogether. We built Postbase because we got tired of struggling with tools that just weren't made for today's video-first world. Being able to plan our Reels, TikToks, and Shorts in a clean visual calendar, schedule them reliably, and see what's actually performing helps us think about the bigger picture instead of just scrambling to post. It streamlines our creative process so we can focus on making great stuff, not just fighting with our tools to get it published.
Spencer's spent a decade building products at companies like Buffer, UserTesting, and Bump Health. He's spent years in the weeds of social media management—scheduling posts, analyzing performance, coordinating teams. At Postbase, he's building tools to automate the busywork so you can focus on creating great content.

Enhance your email signature by adding social media icons. Discover step-by-step instructions to turn every email into a powerful marketing tool.
Record clear audio for Instagram Reels with this guide. Learn actionable steps to create professional-sounding audio, using just your phone or upgraded gear.
Check your Instagram profile interactions to see what your audience loves. Discover where to find these insights and use them to make smarter content decisions.
Requesting an Instagram username? Learn strategies from trademark claims to negotiation for securing your ideal handle. Get the steps to boost your brand today!
Attract your ideal audience on Instagram with our guide. Discover steps to define, find, and engage followers who buy and believe in your brand.
Activate Instagram Insights to boost your content strategy. Learn how to turn it on, what to analyze, and use data to grow your account effectively.
Wrestling with social media? It doesn’t have to be this hard. Plan your content, schedule posts, respond to comments, and analyze performance — all in one simple, easy-to-use tool.

